Raspberry Cream Cheese Coffee Cake Recipe
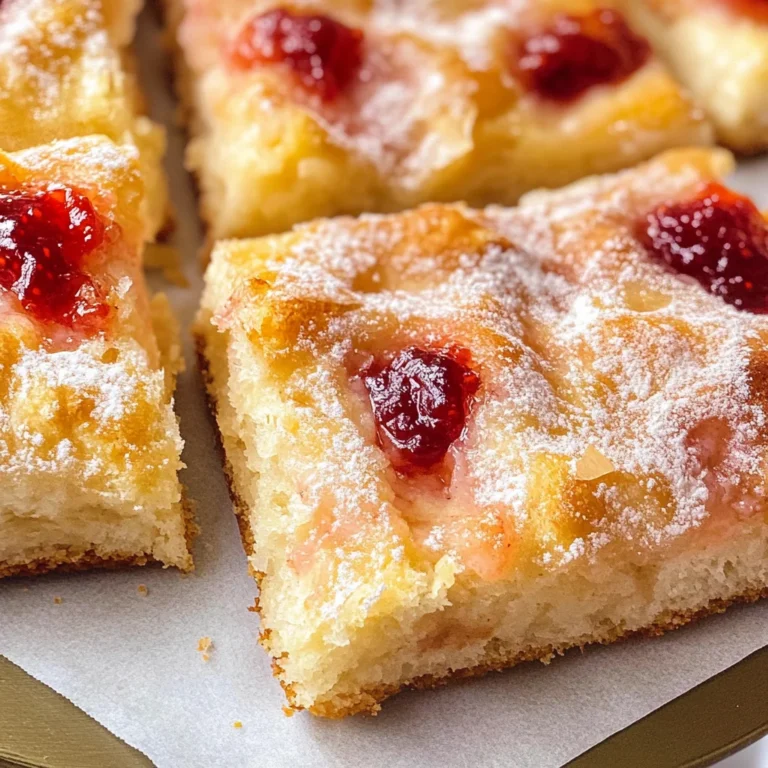
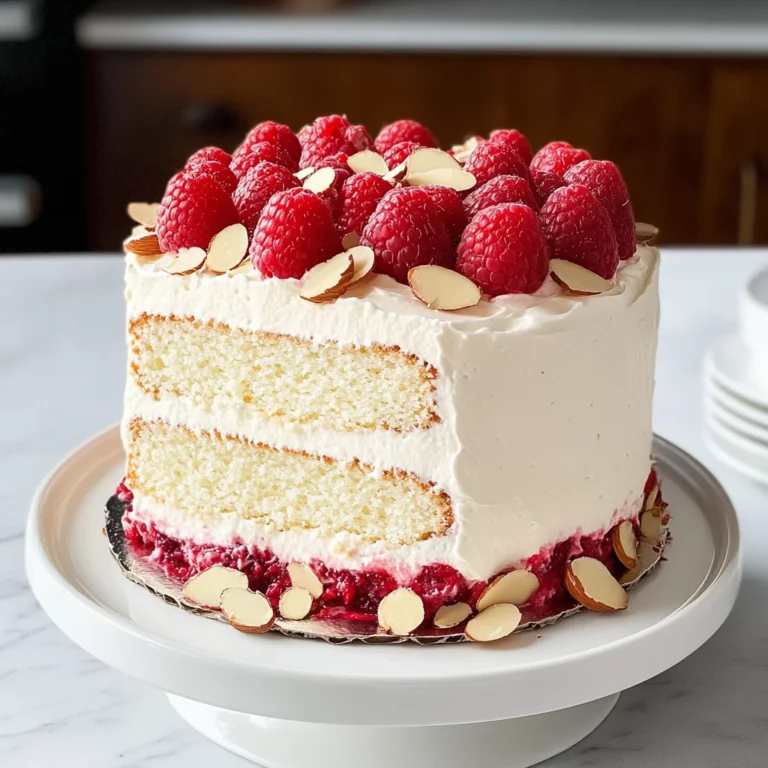
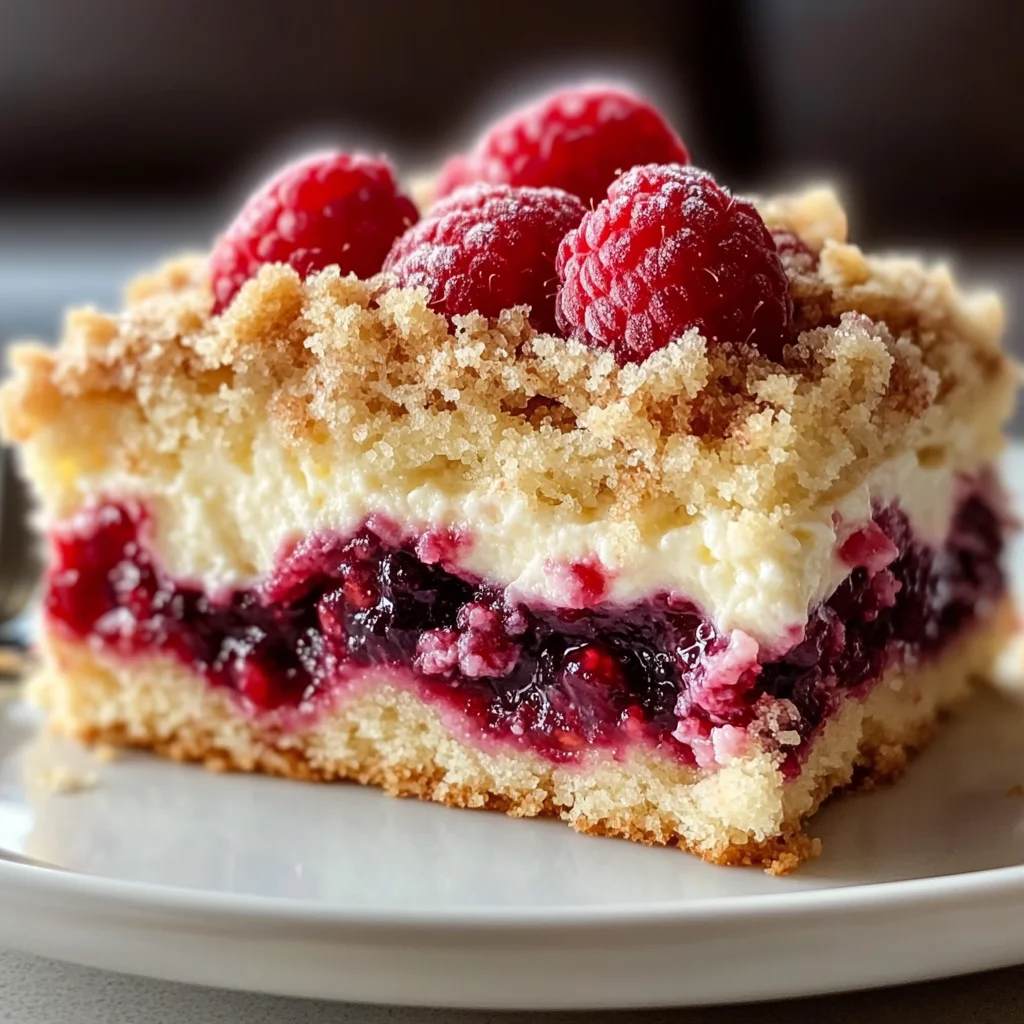
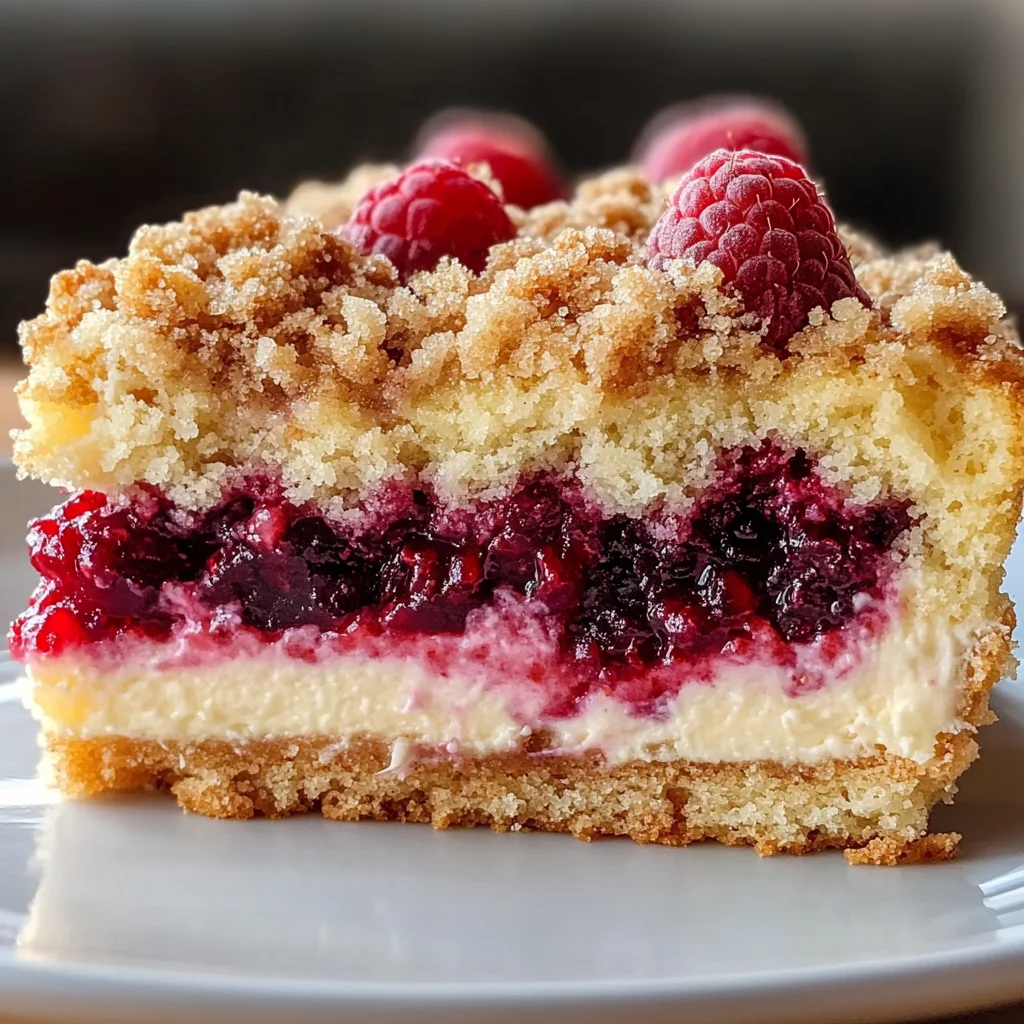
Oh, my dear friend! Let me take you on a culinary journey that will fill your kitchen with warmth and delight. Today, I’m thrilled to share my cherished recipe for Raspberry Cream Cheese Coffee Cake. This isn’t just any dessert; it’s a symphony of flavors, textures, and memories that come rushing back every time I bake it. Picture this: a moist and buttery cake base, layered with a creamy cheesecake filling that melts in your mouth, all topped with juicy raspberries that burst like little pockets of sunshine. And let’s not forget the crunchy streusel topping—oh, how it adds that perfect contrast! This cake is truly extraordinary and is bound to become a staple in your home.
Every bite of this Raspberry Cream Cheese Coffee Cake is an experience—a delightful bridge between comforting tradition and modern innovation. The combination of tangy cream cheese and sweet raspberries creates a balanced flavor profile that dances on your palate, making it an ideal companion for your morning coffee or as a centerpiece at gatherings. Trust me when I say that this dessert has the power to bring people together, creating moments filled with laughter and joy. It’s perfect for brunches, family celebrations, or simply as a sweet treat to enjoy after dinner. I promise you, once you serve this cake to your friends and family, they’ll be begging for the recipe!
Raspberry Cream Cheese Coffee Cake Recipe: A Sweet Symphony of Flavors
Let’s dive into the heart of this recipe together! As we embark on this baking adventure, you’ll find that each ingredient plays a vital role in creating the magic of our Raspberry Cream Cheese Coffee Cake. So gather your supplies; it’s time to create something beautiful!
Ingredients:
The journey begins with a carefully curated selection of ingredients that will come together in harmony to create our delightful cake.
- 1/4 cup sugar. Ah, sugar—the sweet spark that brings life to our dessert! In this recipe, sugar is essential not just for sweetness but also for texture. It helps create a tender crumb while enhancing the natural flavors of the raspberries and cream cheese. When choosing sugar, go for granulated white sugar for its fine texture which dissolves easily into the batter. You could even try using coconut sugar for a more caramel-like flavor if you’re feeling adventurous!
- 8 oz cream cheese, softened. This creamy dream is the heart of our cheesecake filling! Softening the cream cheese is crucial; it allows us to blend it smoothly without any lumps—a key factor in achieving that velvety texture we crave in each bite. Look for full-fat cream cheese to ensure richness; trust me, it’s worth it! If you’re looking for an alternative due to dietary preferences, consider using vegan cream cheese made from nuts or soy.
- 1 egg white. In this case, we’re using only the egg white because it adds structure without weighing down our delicate cake. Egg whites help provide lift while keeping things light and fluffy—a non-negotiable aspect when aiming for dessert perfection! If you’re looking to substitute due to allergies or preferences, aquafaba (the liquid from canned chickpeas) can work wonders here.
- 1 cup raspberries, washed and well drained. These beautiful berries are not just eye candy; they add moisture and a burst of tartness that beautifully complements the sweetness of our cake. Always choose fresh raspberries if possible; they should be plump and vibrant in color without any signs of mushiness or mold. If fresh isn’t available, frozen raspberries can be used but make sure to thaw them thoroughly before adding them to avoid excess moisture.
- 1 and 1/2 cups all-purpose flour. The foundation of our cake’s structure lies within this unassuming ingredient! All-purpose flour provides the necessary gluten development which gives our cake stability while maintaining tenderness—a delicate balance that’s absolutely paramount in baking. For those seeking gluten-free options, almond flour or gluten-free all-purpose blends can work nicely; just keep an eye on consistency as adjustments may be needed.
- 1/2 teaspoon baking powder & 1/2 teaspoon baking soda. Both are essential leavening agents here—baking powder works its magic at room temperature while baking soda requires an acidic counterpart (like sour cream) for activation. Together, they give our cake its beautiful rise! It’s critical not to skip these as they ensure our coffee cake doesn’t turn out flat as a pancake.
- 1/4 teaspoon salt. You might think salt doesn’t belong in dessert—but oh how wrong you’d be! Salt enhances flavors and balances sweetness beautifully; it’s like bringing everything together in perfect harmony. A pinch goes a long way!
- 5.5 tablespoons unsalted butter, softened at room temperature. Butter is liquid gold in baking—it contributes flavor and moisture while creating tenderness in our cake crumb through creaming with sugar (more on this later!). Using unsalted butter lets you control the overall saltiness of your dish perfectly.
- 1/2 cup sugar (again). Here we go again—this second dose adds sweetness to balance out our rich butter and brings texture as well when combined with flour during creaming.
- 1 egg + 1 egg yolk—yes two different forms here! The whole egg adds moisture while contributing protein which aids structure; meanwhile, the additional yolk enriches flavor and texture further by adding fat—definitely not something you want to skip!
- 3/4 cup sour cream—what an incredible ingredient! Sour cream lends both moisture and tanginess which elevates flavors significantly; its acidity reacts wonderfully with baking soda ensuring proper rise while keeping everything tender.
- 1 teaspoon vanilla extract, because every great dessert deserves a hint of warmth from vanilla! Its aromatic notes deepen overall flavor profiles so don’t skip out on using quality pure vanilla extract for maximum impact.
- 1/3 cup sugar (yet again!). This will form part of our streusel topping—adding delightful crunch alongside some brown color when baked as well!
- 1/2 cup flour—this joins forces with sugar in making up that crumbly streusel topping—the texture contrast is crucial here!
- 3 tablespoons chilled butter, cubed fine into dry ingredients ensures those coveted crumbly bits form beautifully when baked—a perfect finishing touch atop those luscious layers below!
Equipment You’ll Need:
Now that we have gathered all these wonderful ingredients together let’s talk about the essential tools you’ll need along the way! Having the right equipment makes everything smoother—and trust me; it’ll elevate your experience as you bake!
- 9-inch springform pan – This beauty allows us easy access once our cake has baked perfectly without damaging its delicate layers inside! The removable sides ensure hassle-free serving so no one misses out on enjoying every morsel without fussing over crumbs stuck around edges.
- Mixing bowls – A set of various sizes will help tremendously during preparation—from mixing batters effortlessly together while accommodating different components like our luscious cheesecake filling separately too!
- Electric mixer (stand or hand) – This trusty appliance takes effort off mixing tasks allowing air incorporation into batters easily resulting in fluffier cakes overall—just remember not overmix when getting closer towards end stages though!
- Measuring cups & spoons – Accurate measurements are crucial especially within baking so having these handy ensures we get ratios absolutely right—no guessing games allowed here!
Each piece of equipment plays its part perfectly contributing towards making what starts as simple ingredients blossom into something utterly intoxicating…
Preparing the Raspberry Cream Cheese Coffee Cake Recipe
Step 1: Preheat Your Oven & Prepare Your Pan
First things first: let’s get that oven preheating at 350°F (175°C). Preheating is crucial because it ensures even baking from start to finish—it’s non-negotiable if you’re aiming for perfection! While that’s warming up (and trust me it’ll smell divine!), grease your 9-inch springform pan thoroughly before lining the bottom with parchment paper—this step prevents any sticky situations later on when trying to release your gorgeous creation from its mold post-baking.
Step 2: Create Your Cream Cheese Filling
In one mixing bowl, combine softened cream cheese along with ¼ cup sugar until smooth—that lovely creamy consistency we’re striving for should come together nicely after beating on medium-low speed for just about two minutes or so… Don’t rush this step—it builds foundational flavors essential within each slice later down line! Once smooth, gently fold in one egg white ensuring everything blends harmoniously before setting aside whilst we tackle other components coming up next—which brings us right into…
Step 3: Whisk Your Dry Ingredients Together
In another bowl sift together 1½ cups all-purpose flour alongside half teaspoons each baking powder & soda plus just enough salt (¼ tsp) required—all working cohesively together creating base mix needed later on during batter assembly stage itself—so important don’t overlook this portion! Sifting helps aerate dry ingredients allowing them mix uniformly without clumps being present inside final product yielding smoother textures throughout entire finished result ultimately making each bite so satisfying…
Step 4: Creaming Butter & Sugar
Using either stand mixer fitted paddle attachment or handheld device mix softened butter (5½ tbsp) combined alongside half cup remaining sugars until light fluffy consistency achieved approx two-three minutes time frame—we want incorporation air bubbles happening here leading fluffier results further down road ahead too… Once nice & fluffy add whole egg plus yolk followed by teaspoon vanilla extracting stirring everything till fully blended—you’ll love aroma wafting through kitchen now trust me!
Final Touches
Step 9: Cooling Down – The Sweet Anticipation
Once baked to perfection, remove your Raspberry Cream Cheese Coffee Cake from the oven and allow it to cool on a wire rack for at least 15-20 minutes before attempting to remove from the pan. Cooling is crucial because it allows structure formation within our cake—this waiting period gives all those flavors time to settle while preventing any potential mishaps when removing from its cozy home inside that springform pan!
After cooling slightly but still warm enough to release aromas that make everyone swoon in anticipation (trust me!), carefully run a thin knife around the edge before loosening that springform ring—it should come away easily if you’ve greased well earlier on! If any bits stick stubbornly by chance—and they sometimes do—gently coax them free without disrupting your beautiful creation too much.
Finally, store any leftovers (if there are any!) in an airtight container in your refrigerator; serving chilled adds another layer of deliciousness as flavors deepen overnight—a true joy when you sneak bites later after dinner or enjoy it with morning coffee!
And there you have it—the most delightful Raspberry Cream Cheese Coffee Cake Recipe waiting patiently for you to savor each decadent bite! I promise you this will become one of those recipes you’ll cherish making again and again—your friends will eagerly await invitations just so they can indulge! So go ahead now—bake this beauty up—and let’s create some delicious memories together!
Storage and Enjoyment Tips for Your Raspberry Cream Cheese Coffee Cake Recipe
Now that you’ve baked this stunning Raspberry Cream Cheese Coffee Cake, it’s time to revel in the delightful flavors and textures you’ve created. With its moist and buttery layers, creamy filling, and crunchy streusel topping, I promise you, this cake is not just a dessert; it’s an experience! Whether you’re serving it at a brunch gathering or enjoying a quiet afternoon slice with your favorite cup of tea, the joy it brings is truly extraordinary. But let’s talk about how to keep this beauty fresh so you can savor every last crumb.
Storing Leftover Raspberry Cream Cheese Coffee Cake Recipe
To store your leftover Raspberry Cream Cheese Coffee Cake, I recommend placing it in an airtight container to maintain its moistness and flavor. If you don’t have one on hand, simply cover the cake tightly with plastic wrap or aluminum foil. You can store it in the refrigerator for up to five days. Trust me on this — keeping it chilled helps preserve the luscious cream cheese filling and the bright burst of raspberries. An insider tip? Placing a slice of bread in the container can help keep the cake wonderfully moist! After a day or two in the fridge, you might find that the flavors deepen and meld beautifully, creating an even more profound eating experience. When you’re ready to enjoy another slice, you can serve it cold straight from the fridge for that refreshing tang or let it come to room temperature for a softer bite.
Freezing Raspberry Cream Cheese Coffee Cake for Later
If you’d like to save some cake for a later occasion (or just want to indulge every now and then), freezing is a fantastic option! To freeze your Raspberry Cream Cheese Coffee Cake properly, first, ensure it has completely cooled after baking. Then wrap individual slices tightly in plastic wrap, followed by aluminum foil for extra protection against freezer burn. You can also freeze the entire cake by wrapping it as mentioned above. This delightful treat will last in the freezer for up to three months! The convenience of having a ready-made dessert at your fingertips is absolutely paramount—imagine pulling out a slice of this heavenly cake on a busy day when you just need something sweet to brighten your mood. When you’re ready to enjoy your frozen masterpiece, simply thaw it overnight in the fridge or leave it at room temperature for about an hour before serving.
Raspberry Cream Cheese Coffee Cake
Indulge in the delightful flavors of our Raspberry Cream Cheese Coffee Cake Recipe—a perfect blend of creamy filling and fresh raspberries that will elevate your baking game! This luscious coffee cake features a moist, buttery base layered with a velvety cream cheese mixture and topped with juicy raspberries for a burst of flavor in every bite. The crunchy streusel topping adds an irresistible texture, making it ideal for brunch, cozy gatherings, or as a sweet treat anytime. Whether enjoyed with morning coffee or served at special occasions, this cake will surely impress family and friends alike!
- Prep Time: 20 minutes
- Cook Time: 45 minutes
- Total Time: 1 hour 5 minutes
- Yield: Approximately 12 servings 1x
- Category: Dessert
- Method: Baking
- Cuisine: American
Ingredients
- 1/4 cup granulated sugar
- 8 oz cream cheese, softened (or vegan cream cheese)
- 1 egg white (or aquafaba)
- 1 cup fresh raspberries
- 1 1/2 cups all-purpose flour (or gluten-free option)
- 1/2 teaspoon baking powder
- 1/2 teaspoon baking soda
- 1/4 teaspoon salt
- 5.5 tablespoons unsalted butter, softened
- 3/4 cup sour cream
- 1 teaspoon vanilla extract
Instructions
- Preheat your oven to 350°F (175°C) and grease a 9-inch springform pan.
- Prepare the cream cheese filling by mixing the softened cream cheese with 1/4 cup sugar until smooth. Fold in the egg white and set aside.
- In another bowl, whisk together flour, baking powder, baking soda, and salt.
- Cream the butter with remaining sugar until fluffy, then add the whole egg and vanilla extract.
- Gradually add dry ingredients alternating with sour cream to the butter mixture until just combined.
- Layer half of the batter into the pan, spread the cream cheese filling over it, add raspberries gently on top, then finish with remaining batter.
- For the streusel topping, mix together sugar and flour with chilled butter until crumbly; sprinkle over the top.
- Bake for 40 to 45 minutes until golden brown and a toothpick comes out clean.
Nutrition
- Serving Size: 1 slice (85g)
- Calories: 290
- Sugar: 18g
- Sodium: 180mg
- Fat: 14g
- Saturated Fat: 8g
- Unsaturated Fat: 5g
- Trans Fat: 0g
- Carbohydrates: 38g
- Fiber: 2g
- Protein: 5g
- Cholesterol: 45mg