Pickled Red Onions
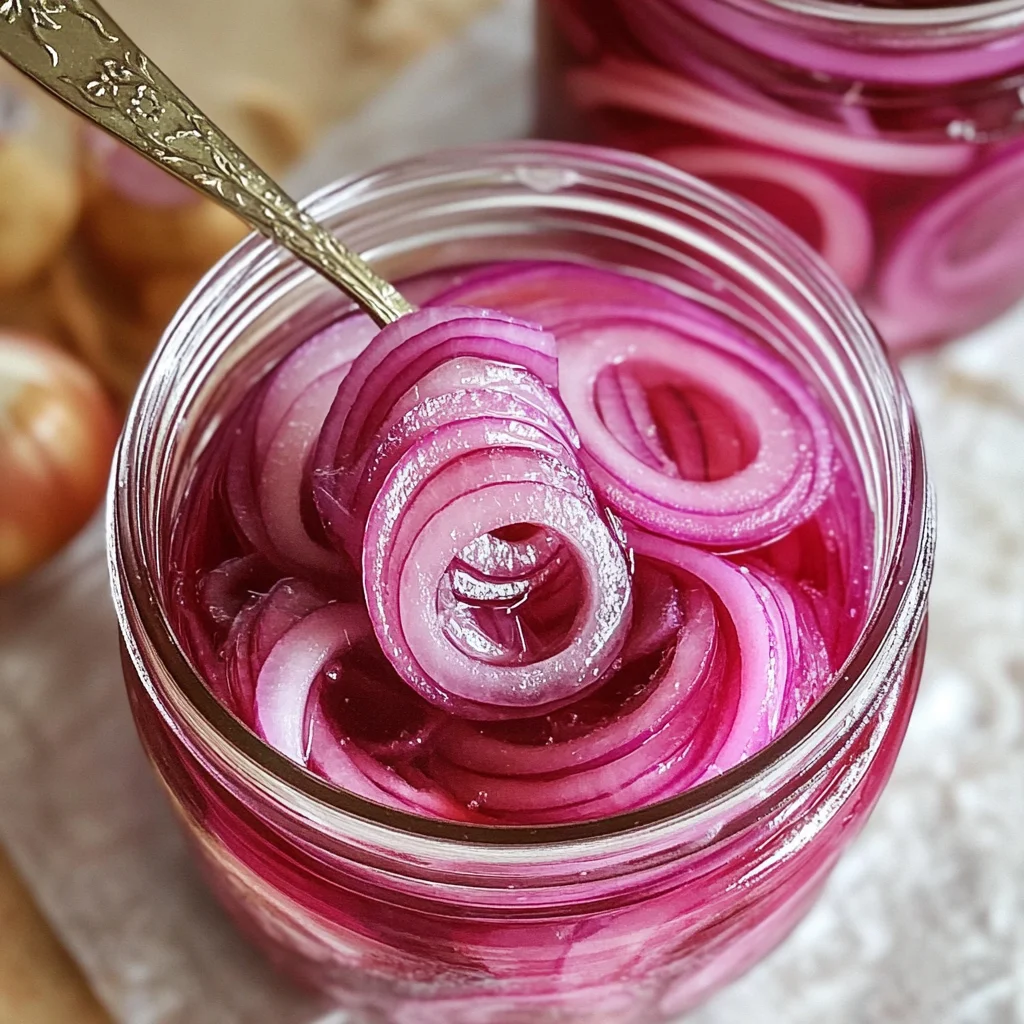
There’s something undeniably magical about the art of pickling, and today, I can’t wait to share one of my absolute favorites with you: pickled red onions. This recipe is not just about creating a condiment; it’s an experience that transforms simple ingredients into something utterly intoxicating. Picture this: vibrant, jewel-toned rings of onion, infused with a sweet and tangy brine that dances on your palate, igniting your senses with each bite. These quick pickled red onions are crisp, refreshing, and so versatile—they can elevate everything from a simple salad to gourmet burgers or tacos. Trust me when I say that once you start making these, they will become a staple in your kitchen.
I’ve always been captivated by the way pickled red onions add that perfect zing to dishes. They’re not just a garnish; they’re a flavor bomb! The contrast of their sharpness with other savory elements creates a symphony of flavors that’s simply irresistible. Plus, they come together in a matter of minutes—so quick and easy! You’ll feel like an accomplished chef without spending hours in the kitchen. So grab your apron and let’s dive into this delightful recipe that’s sure to impress your family and friends!
Pickled Red Onions: A Flavorful Revelation
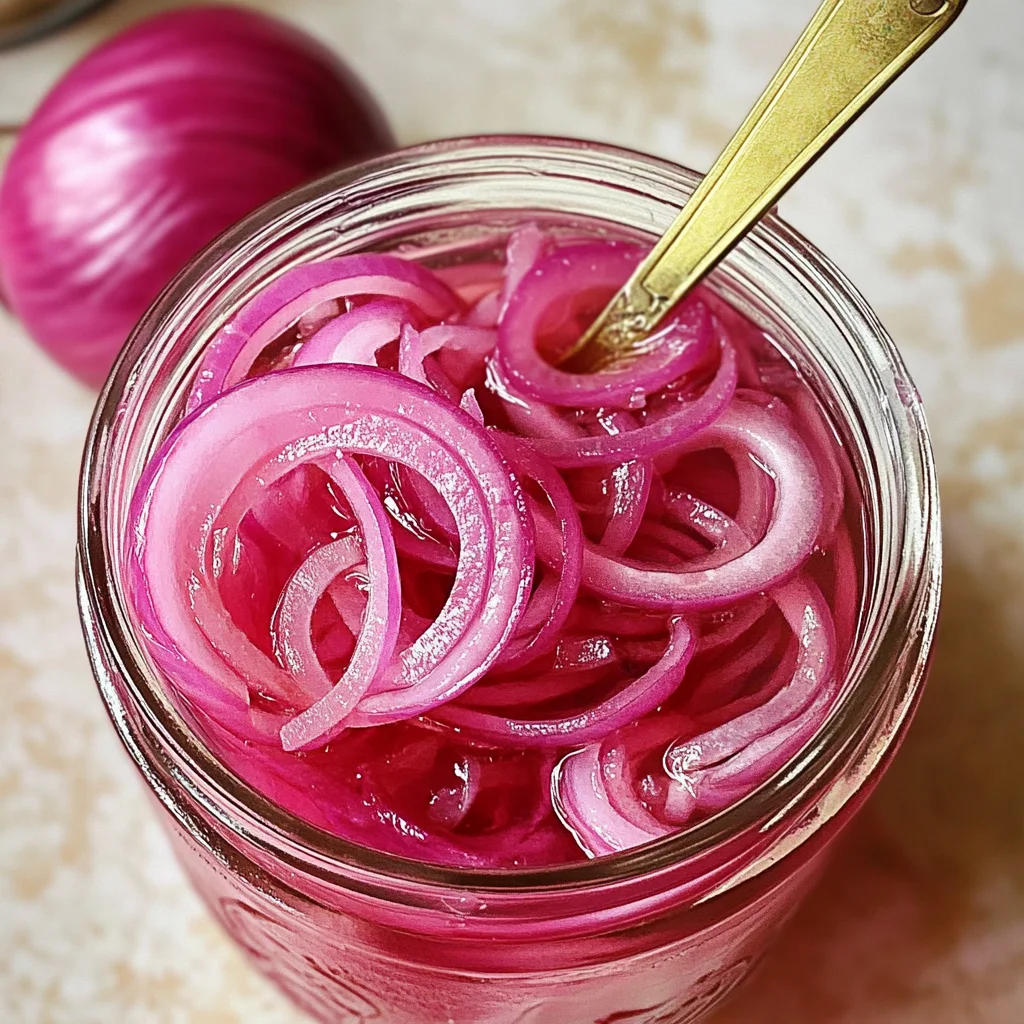
With just five simple ingredients, we’re embarking on a culinary journey that will transform your meals into something extraordinary. These pickled red onions are not only visually stunning but also pack a punch in terms of flavor. Sweet, tangy, and slightly spicy (if you choose to add the red pepper flakes), they bring life to every dish they touch. From avocado toast to falafel and beyond, the possibilities for enjoying these beauties are endless!
Ingredients:
As we gather our ingredients for these quick pickled red onions, let’s take a moment to appreciate each one’s role in creating this culinary delight.
- 2 medium red onions (or 3 small ones). The star of our show! Red onions are naturally sweeter than their white or yellow counterparts, making them perfect for pickling. Their vibrant purple skin adds a pop of color that not only beautifies your plate but also brings depth to the flavor profile of the brine. When selecting your onions, look for firm bulbs without any soft spots or blemishes—this ensures they will maintain their crispness during the pickling process.
- 1 1/4 cup water. While it may seem mundane compared to the other ingredients, water acts as the canvas upon which our flavors will be painted. You want it to be at room temperature when mixed with vinegar; this helps dissolve the sugar and salt effectively without cooking the onions prematurely—remember, we want them crunchy!
- 1 1/4 cup white vinegar. This ingredient is absolutely paramount for achieving that characteristic tanginess we adore in pickled foods. White vinegar provides a sharp acidity that balances out the sweetness from the sugar while also ensuring food safety through preservation. If you prefer something milder or want to experiment with different flavors, feel free to substitute it with apple cider vinegar—but remember that this will alter both taste and color slightly.
- 3 tbsp sugar (of choice). Sugar is often overlooked but is essential in balancing out the acidity of the vinegar. It rounds off harsh edges and enhances the overall flavor profile of our pickles—making them irresistibly delicious! Whether you use granulated sugar or opt for alternatives like agave syrup or coconut sugar depends on your dietary preferences; however, stick with granulated forms for best results in dissolving quickly.
- 1 tbsp sea salt. Salt does more than just season; it draws out moisture from the onions while enhancing their natural flavor during pickling. Make sure you’re using high-quality sea salt here; it makes all the difference as it dissolves better than regular table salt and contributes additional minerals that enrich the taste.
- 1/4-1/2 tsp red pepper flakes (optional). If you like a bit of heat to accompany your sweet-tangy creation, sprinkle some red pepper flakes into your brine! This optional ingredient adds a lovely kick without overwhelming those delicate onion flavors—just enough spice to keep things exciting.
Equipment You’ll Need:
Having the right tools can transform cooking from a chore into pure joy! While they may not be ingredients, these essential partners help streamline our process and ensure our success as we craft these delightful pickled red onions.
- Mason jar(s) – A sturdy mason jar is vital for storing our finished product safely while allowing us to see those beautiful layers of color through clear glass—a feast for both eyes and taste buds! Opt for jars around 750 mL capacity if you want one big batch or smaller jars if you’d prefer individual servings; either way works perfectly!
- Saucepan – We’ll need this trusty pan for heating our water before adding it to our mixture—a step often forgotten but crucial as it aids in dissolving sugar and salt effectively without cooking any ingredients.
- Mandoline slicer or sharp knife – To achieve those perfectly thin slices (which helps them pickle faster), I recommend using either a mandoline slicer or simply honing your skills with a sharp knife! Whichever method you choose should focus on uniformity—this ensures consistent texture throughout each bite.
Now that we have all our ingredients lined up like eager performers ready for their moment on stage, let’s move on to making these astonishingly vibrant pickled red onions!
Step 1: Infuse Your Water
In order to begin crafting our delicious pickle brine, we’ll first heat our water gently in a saucepan over medium heat until warm but not boiling—it’s crucial here not to let it simmer! Once you reach this stage (and trust me—you’ll know because you’ll see gentle steam rising), turn off the heat immediately. This step allows us enough warmth without compromising any integrity within our brine by cooking down any ingredients unnecessarily.
Step 2: Slice Those Onions
While our water cools slightly—a good time-saving tip—I encourage you to prepare those lovely red onions by slicing them thinly into rings or half-moons using either your trusty knife or mandoline slicer if you’re feeling fancy! Thin slices create an even marination process; thicker cuts might result in uneven flavors throughout each bite—and nobody wants that! Carefully transfer those beautiful little rings into whichever jar(s) you’ve chosen earlier; they should fit snugly but without being squished together too tightly.
Step 3: Create Your Brine
Now comes one of my favorite parts—the magic moment where everything comes together! In your warm water from Step 1 still resting comfortably in its saucepan, add sea salt alongside those tempting red pepper flakes if you’re opting for spice today—don’t skip this part because it intensifies flavors beautifully! Next up? Add sugar of choice (whether granulated or alternative) along with white vinegar before giving everything an enthusiastic stir until fully dissolved—it might take just moments! This harmonious blend becomes truly remarkable once combined with crunchy onion goodness waiting patiently inside their jars!
Step 4: Pour & Press
Carefully pour your freshly mixed brine over those sliced onions nestled snugly within their jar(s). Make sure every ring is submerged beneath liquid gold—this is non-negotiable if we want flavorful results later down line! Gently press them down using either back end of spoon or fork just enough so they stay immersed before sealing tightly shut with lids—it’s important at this stage since air exposure could spoil delicate balance we’ve created here!
And there we have it—the foundational steps completed towards creating your very own unforgettable pickled red onions! These beauties can begin marinating immediately but trust me when I say letting them sit overnight yields far more intensified flavors—a true testament showcasing patience pays off deliciously well when it comes time for indulging later on!
Enjoy every single bite knowing how easy yet transformative these little gems can be—not just condiments but cherished additions elevating all manner dishes across tables everywhere… now go forth & relish discovering new ways enjoying life through food alongside friends & family alike!
The Art of Quick Pickling: Your Pickled Red Onions Journey
Step 5: Pouring Brine Over the Onions – A Dance of Flavors
Here comes the moment where you truly begin to see your pickled red onions come to life! You’ve just prepared a delightful brine, and it’s time to pour this liquid gold over the sliced onions. Using a large spoon or ladle, carefully pour the warm vinegar mixture into the mason jar, ensuring that it fully covers the onions. This step is crucial because the warmth of the brine helps to gently soften those vibrant onion slices, allowing them to absorb all that sweet, tangy goodness. You want every piece submerged in this flavorful bath; if any bits are floating above, just give them a gentle press with your spoon to ensure they’re well-coated.
Now, take a moment to admire this beautiful concoction! The vivid colors will start to blend as the onions soak up that briny elixir. Trust me on this: letting these beauties marinate will yield extraordinary results. If you’re feeling particularly adventurous, consider adding more spices or herbs at this stage—perhaps a sprig of fresh dill or some coriander seeds could enhance the flavor profile even further. Just remember, balance is key; you want your pickled red onions to shine without being overwhelmed by other flavors.
Step 6: Sealing and Storing – An Act of Patience
Once you’ve poured your brine over the onions and given them that loving press, it’s time for an essential yet often overlooked step: sealing and storing. Screw on the lid tightly but not overly forcefully; you don’t want it to be impossible to open later! Store your jar in the fridge where it can chill out and work its magic. It’s tempting to dive right in after just thirty minutes, and while they will be delicious at that point, I implore you—give them at least a few hours or preferably overnight! This resting period allows the flavors to develop fully and meld together beautifully.
In terms of storage, these pickled red onions can last up to two weeks in your refrigerator (if they last that long!). However, I guarantee that once you start using them as a topping on everything from salads to sandwiches, you’ll find yourself reaching for them daily! So take a deep breath and let those flavors mingle; patience is non-negotiable here. The longer they sit, the more profound their tangy sweetness becomes—a truly transformative experience.
Step 7: Sampling Your Creation – A Sensory Delight
After patiently waiting overnight (or at least several hours), it’s finally time for that first taste! Open the jar with excitement; you’ll be greeted by an intoxicating aroma that’s both sweet and tangy—an invitation you simply can’t resist. Grab a fork or just use your fingers (I won’t tell!) and take out a slice. Notice how crisp they are; that’s thanks to our careful slicing earlier combined with the vinegar’s ability to enhance their texture. As you pop that first slice into your mouth, prepare yourself for an explosion of flavor—the delicate sweetness from the sugar dances alongside the vinegar’s sharpness while those red pepper flakes add just a hint of warmth on your palate.
This moment is what makes all your efforts worthwhile—a deeply satisfying reward for your patience! Use these delightful pickled red onions liberally on everything from tacos bursting with flavor to avocado toast transformed into something utterly extraordinary. And guess what? You can customize these beauties as per your taste! Want them spicier? Add more red pepper flakes next time. Prefer them sweeter? Adjust the sugar accordingly; it’s all about what excites your taste buds!
Step 8: Serving Suggestions – Elevate Your Meals
Now that you’ve perfected your pickled red onions, let’s talk about how best to enjoy them! These little jars of joy are incredibly versatile—they can elevate nearly any dish you create. Imagine spooning some onto grilled burgers for an added crunch and zing; they’ll cut through rich flavors beautifully. Or picture tacos adorned with these vibrant slices—they add color and brightness that truly transforms each bite into something special.
Don’t stop there! Consider adding them atop fresh salads where their crispness will contrast beautifully with greens and creamy dressings or even tossing them into grain bowls where they provide both flavor and visual appeal. I promise you’ll soon find yourself dreaming up new recipes just as an excuse to use these pickled beauties again and again! They’re not merely a condiment; they’re an essential element in crafting meals filled with love and flavor.
Conclusion:
As we wrap up this culinary adventure together, I can’t help but feel an overwhelming excitement about sharing my beloved recipe for Pickled Red Onions with you. From slicing those lovely red onions into delicate rings to witnessing the transformation as they soak up the sweet-tangy brine, each step carries its own charm. What makes this recipe truly special are those dynamic flavors—the sweet kiss of sugar dancing with the tanginess of vinegar—and how they create a bright pop that elevates even the simplest dishes into something utterly extraordinary.
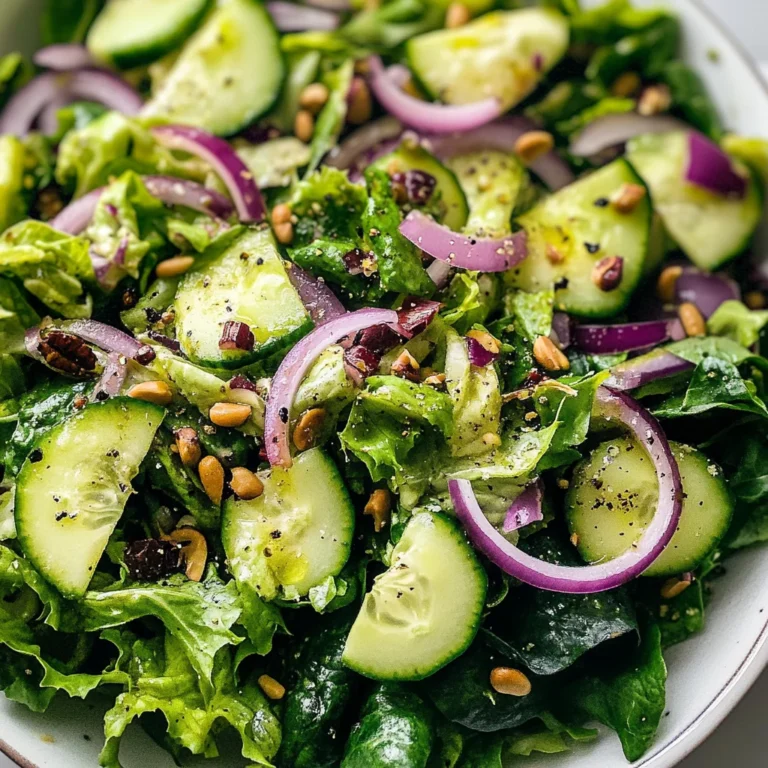
But why should you consider this recipe a must-try? Beyond just taste, it’s all about the joy of creating something from scratch that not only enhances meals but also sparks happiness around the table. Picture it: you’ve worked hard all week and decide to treat yourself on Taco Tuesday—imagine layering those tacos high with seasoned veggies and then finishing it off with crispy cucumbers and luscious Pickled Red Onions. Each bite offers an explosion of flavor that transforms an ordinary meal into an unforgettable experience!
When it comes time to serve these delightful pickles, think beyond traditional pairings. Imagine savoring one alongside creamy avocado toast for brunch; or perhaps topping off a fresh falafel bowl with vibrant pickles for an afternoon pick-me-up? And let’s not forget how spectacular they are on burgers or tucked inside wraps—truly versatile companions that never fail to impress!
Feeling adventurous? This recipe is wonderfully adaptable! You could try adding slices of jalapeño for some heat or infusing spices like cumin for an exotic twist. If you’re feeling particularly creative, consider experimenting with different types of vinegar—apple cider or rice vinegar could add unique notes that will surprise and delight your palate! I invite you to take this recipe and make it your own; share your experiences with me—I would love nothing more than to hear how these Pickled Red Onions have found their way into your heart (and kitchen). Together we can celebrate cooking as not just nourishment but as an expression of love!
Pickled Red Onions

Pickled Red Onions are a vibrant and tangy addition to any meal, transforming everyday dishes into culinary delights. With their sweet-tart flavor and crunchy texture, these quick pickled onions elevate salads, tacos, and sandwiches alike. The beauty of this recipe lies in its simplicity; using just five ingredients, you can create a flavorful condiment that adds a pop of color and zest to your table. In under an hour, you’ll have homemade pickles that not only please the palate but also impress guests at any gathering. Get ready to embark on a delicious journey with Pickled Red Onions that you’ll want to make again and again!
- Prep Time: 15 minutes
- Cook Time: None
- Total Time: 0 hours
- Yield: About 10 servings 1x
- Category: Condiment
- Method: Pickling
- Cuisine: Global
Ingredients
- 2 medium red onions
- 1 1/4 cup water
- 1 1/4 cup white vinegar (or apple cider vinegar)
- 3 tbsp sugar (of choice)
- 1 tbsp sea salt
- 1/4–1/2 tsp red pepper flakes (optional)
Instructions
- Heat water in a saucepan over medium heat until warm but not boiling.
- Thinly slice the red onions using a sharp knife or mandoline and place them in a mason jar.
- In the warm water, mix in sea salt, red pepper flakes (if using), sugar, and white vinegar; stir until fully dissolved.
- Pour the brine over the onions in the jar, pressing down gently to ensure they are fully submerged.
- Seal the jar tightly and refrigerate for at least 30 minutes before enjoying; overnight is best for enhanced flavor.
Nutrition
- Serving Size: 1/4 cup (60g)
- Calories: 35
- Sugar: 6g
- Sodium: 250mg
- Fat: 0g
- Saturated Fat: 0g
- Unsaturated Fat: 0g
- Trans Fat: 0g
- Carbohydrates: 9g
- Fiber: 1g
- Protein: 0g
- Cholesterol: 0mg