Easy Pickled Beets
There’s something incredibly heartwarming about the act of pickling. It’s as if you’re capturing a moment in time, preserving nature’s bounty to be savored long after the harvest has passed. When I think of pickled beets, I’m transported back to my grandmother’s sunny kitchen, where the air was filled with the earthy aroma of beets mingling with a sweet and tangy brine. This Easy Pickled Beets recipe doesn’t just create a condiment; it transforms ordinary ingredients into vibrant treasures that dance on your palate and bring life to salads, sandwiches, or even as a quick snack straight from the jar. Trust me when I say these beets will become a staple in your fridge—a colorful reminder of summer’s abundance.
The beauty of making pickled beets is that it marries simplicity with versatility. You don’t need to be a culinary wizard to master this technique—just a little patience and an open heart. Each bite delivers a symphony of flavors: the earthiness of the beetroot, the brightness of vinegar, and the subtle sweetness from sugar. It’s this balance that makes them so irresistible! And if you’re like me and enjoy meal prepping, these pickled beauties can last in your fridge for weeks, growing even more flavorful over time. So whether you’re hosting friends for dinner or simply looking for a healthy, satisfying snack, you have found your secret weapon.
Easy Pickled Beets: A Vibrant Delight for Any Occasion
Let’s dive into this delightful recipe! With each step, I’ll guide you through creating these beautiful pickled beets that not only taste divine but also look stunning in their jars. You’ll soon discover that making Easy Pickled Beets is not just about following a recipe; it’s about embracing the joy of cooking and sharing something special with those you love.
Ingredients:
As we embark on this culinary journey together, let’s take a closer look at each ingredient that plays its part in crafting these fabulous Easy Pickled Beets. Each one brings its unique essence to this dish, combining harmoniously to create the perfect balance of flavors.
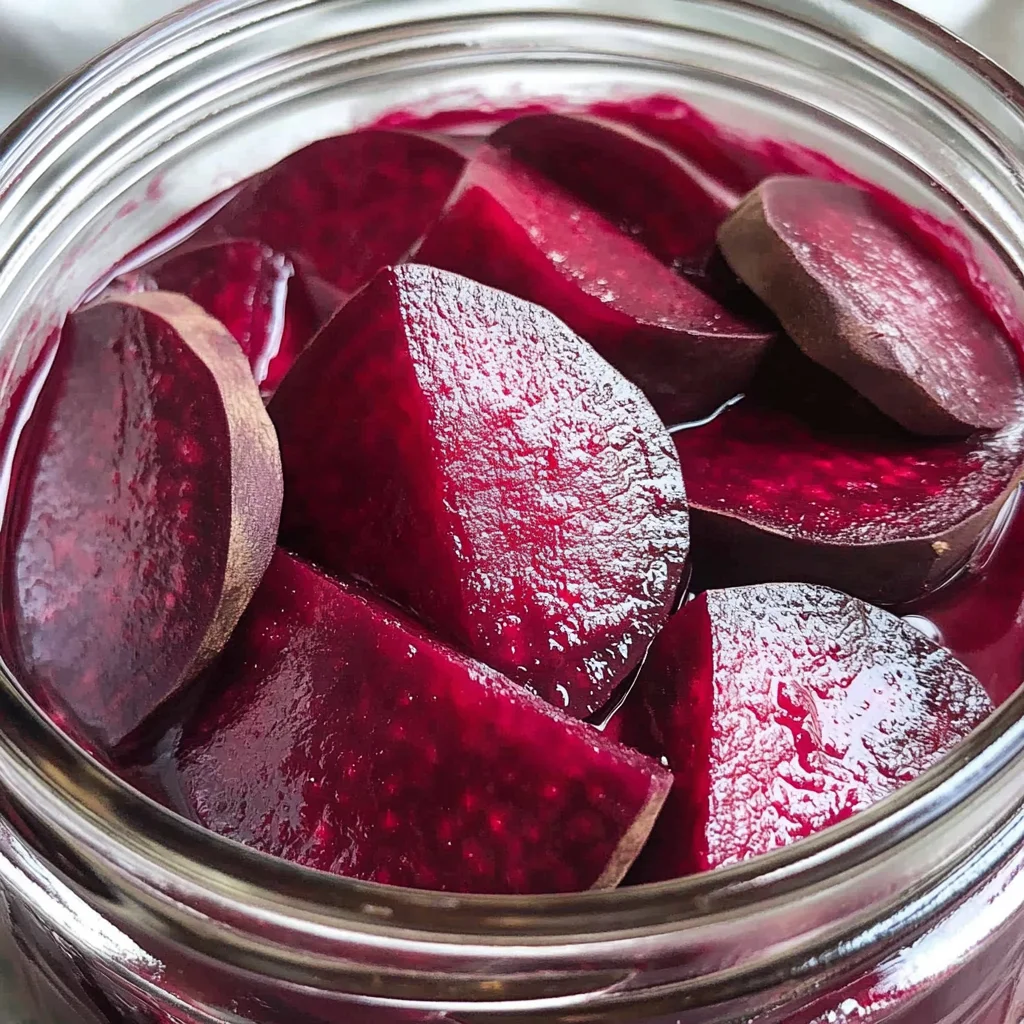
- 2 medium Whole Cooked Beets. The star of our show! When selecting cooked beets for this recipe, aim for medium-sized ones that are firm and vibrant in color; they should feel heavy in your hand. Their natural sweetness and earthy flavor are what make them such an extraordinary addition to any meal. If you can find fresh beets, feel free to roast or steam them before using—this enhances their natural sugars even further. Just remember to peel off the skins before slicing; this step is non-negotiable as it allows the brine to penetrate fully.
- 1 cup White Vinegar (or other vinegar). This is where we start building our delicious brine! White vinegar is often preferred due to its sharpness and ability to brighten flavors without overpowering them. However, feel free to experiment with apple cider or red wine vinegar for different taste nuances—each brings its own character! The acidity from vinegar is crucial here; it not only preserves our beets but also balances their sweetness beautifully.
- 1 cup Water. Simple yet essential! Water serves as the base for our brine mixture, diluting the acidity just enough while still allowing those vibrant flavors to shine through. Using filtered water can enhance purity if you’re sensitive to tap water’s taste; every little detail counts in achieving perfection!
- ⅓ cup White Sugar. Here comes the magic touch! Sugar helps balance out the tanginess of vinegar and contributes to that glossy finish we all adore in pickles. It transforms our brine into something truly luscious and syrupy while enhancing the natural sweetness of the beets themselves. If you’re watching your sugar intake, feel free to reduce it slightly or substitute with a sweetener of your choice—but I promise you won’t regret sticking close to this amount!
- ½ teaspoon Salt. A seemingly small amount but absolutely paramount! Salt acts as both flavor enhancer and preservative here—without it, your pickles would lack depth and character. Choose kosher salt or sea salt for purity; avoid table salt which may contain additives that can alter texture.
Now that we’ve gathered our ingredients let’s prepare ourselves—you’re going to love what happens next!
Equipment You’ll Need:
As we venture into creating our Easy Pickled Beets, having the right tools makes all the difference in ensuring a smooth experience filled with joy instead of frustration. While these tools might not go into our jars directly, they are essential partners in crafting something wonderful.
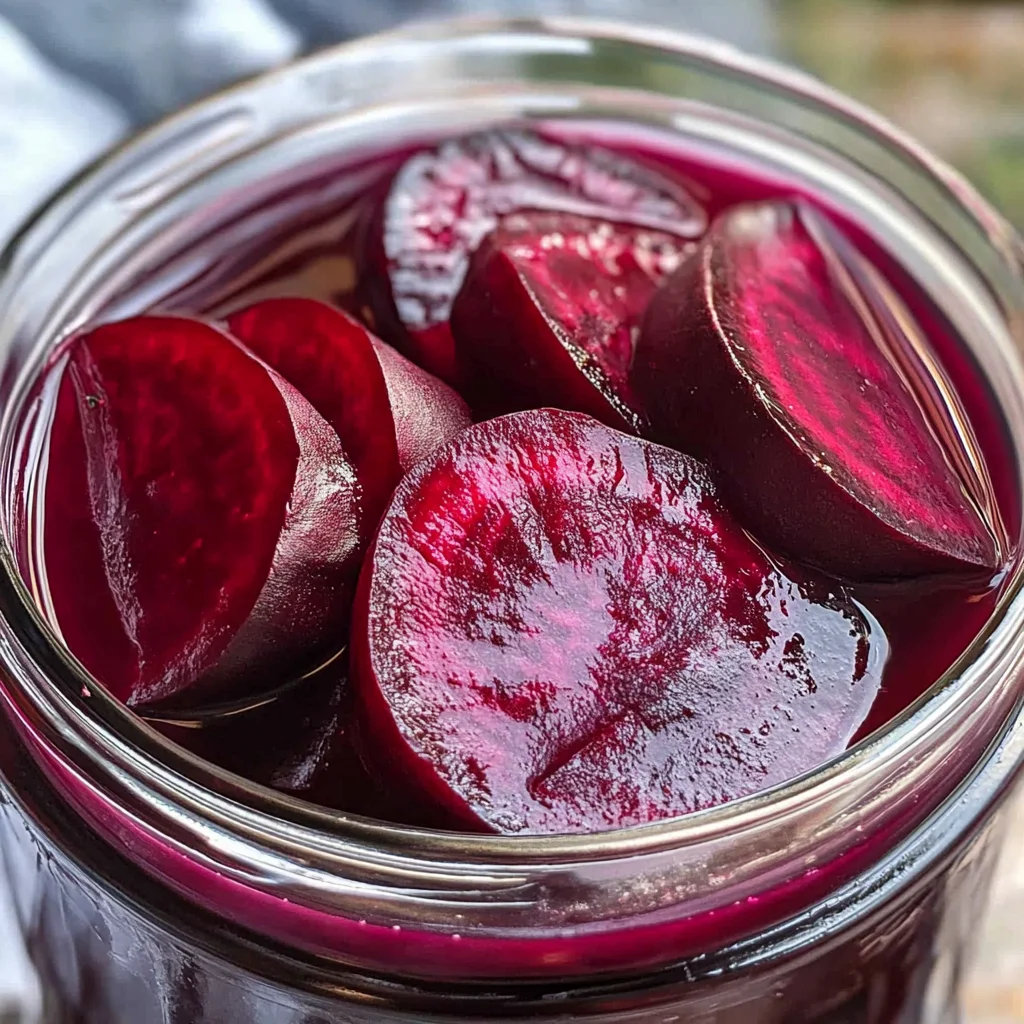
- Pint-sized mason jars – These charming containers are perfect for storing your pickled delights! They not only keep everything fresh but also allow you to see those beautiful layers of color once filled with bright beet slices swimming in brine. Mason jars are designed for preservation; their airtight seals ensure longevity while adding rustic charm to any kitchen counter.
- Heat-safe bowl or saucepan – This will be where all magic begins as we whisk together our brine ingredients! A heat-safe bowl is especially handy if you’re using a microwave method; otherwise, a sturdy saucepan works perfectly on the stove top too. Just make sure whatever vessel you choose can withstand heat without warping or reacting with acidic ingredients like vinegar.
- Whisk or spoon – An essential tool for mixing up our brine until it’s perfectly combined! A whisk allows air into the mixture which helps dissolve sugar quickly—no one likes gritty pickles after all! A wooden spoon works equally well if that’s what you’ve got on hand.
- Cutting board and knife – For slicing those gorgeous cooked beets into pieces worthy of admiration! A sharp knife ensures clean cuts without bruising; this retains those vibrant colors and textures we crave when indulging in homemade dishes like this one.
Now that we’re equipped with our ingredients and tools let’s dive deeper into how easy—and utterly satisfying—it is—to create these delightful pickled beets!
Step 1: Prep Your Beautiful Beets
First things first: let’s prepare those lovely cooked beets! Carefully remove any stems or skins—this step is essential because peels can lead to bitterness when combined with our sweet brine later on. Slice or cut them into your desired shape—whether that’s rounds, wedges, or cubes—the choice is yours! Just remember: uniformity matters here since evenly sized pieces will pickle at similar rates while making presentation more appealing too.
Step 2: Pack Your Jars
Next up is packing those prepared beet slices tightly into pint-sized mason jars while leaving about half an inch at the top—this space allows room for brine absorption without causing overflow later on during storage. Don’t rush this step; arrange them artfully if you wish—it’s all part of creating something special!
Step 3: Create Your Brine
Now onto creating that luscious brine everyone will rave about! In either your heat-safe bowl or saucepan (whichever method suits your fancy), combine white vinegar, water, sugar, and salt together until dissolved completely—a whisk works wonders here since it introduces air which enhances flavor blending beautifully!
Step 4: Heat It Up!
Time to bring our brine mixture up to temperature! If using stovetop heat over medium-high flame until it reaches boiling point works fine; alternatively microwaving until bubbling achieves similar results quickly too—just keep an eye out so nothing boils over (we want no mess!). Pouring warm liquid over sliced beet pieces aids infusion later down line by encouraging maximum absorption right off bat… oh yes—the anticipation builds!
Continue with additional steps until we’ve completed this delightful adventure together…
Easy Pickled Beets: A Symphony of Flavors
I absolutely adore pickled beets, and I can’t wait to share with you how to make these vibrant, tangy delights right in your own kitchen! There’s something so deeply satisfying about the process of transforming simple cooked beets into a jar of gorgeous, ruby-red pickles that can elevate any meal. Imagine having a jar of these beauties in your fridge—perfect for tossing on salads, layering in sandwiches, or simply enjoying as a snack. With just a few ingredients and steps, you’ll unlock a flavor that is utterly intoxicating. Ready to dive in? Let’s continue creating our Easy Pickled Beets masterpiece!
Step 5: Pouring the Warm Brine – The Heart of Flavor Infusion
Now comes one of the most crucial parts of making Easy Pickled Beets—the brining process! Once you’ve whisked together your white vinegar, water, sugar, and salt in either a heat-safe bowl or saucepan, it’s time to heat this mixture until it reaches a gentle boil. This step is not just about warming; it’s where the magic happens! Heating the brine helps dissolve the sugar and salt completely, creating a harmonious blend that will penetrate our beets beautifully. If you’re using the microwave method, keep an eye on it—about 2 to 3 minutes on high should do the trick. If you’re on the stovetop, stir gently as it heats until the mixture bubbles up.
Why is this brining step so paramount? The warmth encourages flavors to meld and intensify. As you pour that hot brine over your sliced beets later on, you’ll notice how it effortlessly envelops those vibrant slices—almost like a warm hug for your veggies! Don’t rush through this; allow yourself to appreciate the transformation happening right before your eyes. You want that sugar dissolved completely for an even sweetness. Trust me; skipping this step could lead to unevenly flavored beets, and we definitely don’t want that!
Step 6: Filling Your Jars – Packing with Love
With your brine ready and steaming warmly, it’s time to fill those pint-sized mason jars with your sliced beets. This part is where love and care truly shine through! Gently pack those beet slices into the jars while leaving about half an inch of space at the top—this little gap is non-negotiable because it allows room for the brine to circulate around every delicious piece without overflow when they start soaking up all those flavors. Arrange them artfully if you’d like; after all, we eat with our eyes first!
What makes this step special is not just about filling jars; it’s about creating a visual feast! As you layer those deep magenta slices into the jars, take a moment to marvel at their beauty—their color alone can brighten up even the dreariest day. And remember—these pickles are going to soak in all that lovely brine magic; they’ll transform from simple cooked beets into something truly extraordinary over time.
Step 7: Brining It All Together – Pouring Over That Liquid Gold
Now comes my favorite moment—the grand reveal as we pour that warm brine over our lovingly packed beets! Carefully ladle or pour the steaming mixture over your beet slices until they are completely submerged beneath that sparkling liquid gold. Ensure every piece gets its fair share of that tangy goodness because each slice deserves an equal opportunity for flavor infusion. You might find it helpful to give them a gentle poke with a chopstick or fork just to make sure there are no air pockets hiding underneath.
Once you’ve poured in your brine, let’s take a moment to appreciate what’s happening here: The vinegar provides acidity which not only adds incredible flavor but also acts as a natural preservative. This means your pickled beets will remain fresh much longer than raw ones! It’s like capturing summer’s essence in a jar for you to enjoy all year round. After pouring, allow them some time at room temperature; we want them cool enough before sealing them up tightly.
Step 8: Cooling Down – Patience Is Key
After pouring that delectable brine over our beets, patience becomes our best friend! Allow your jars of beautiful crimson beets to cool down at room temperature for about two hours—a crucial period where everything starts to settle in nicely. During this time, you’ll notice steam rising from those jars—it’s almost like watching magic unfold right before your eyes! The warmth helps everything blend more harmoniously and ensures that every slice soaks up just enough of that zesty flavor.
I know it can feel tempting to rush ahead and shove those jars straight into the fridge after pouring—resist that urge! Cooling allows flavors to deepen and marry beautifully while also preventing any drastic temperature changes which could lead to condensation inside the jar—a definite no-no if we want crispy crunchiness rather than soggy bites later on. Remember too; these pickled wonders will only get better with time as they sit together in their flavorful bath!
Final Touches: Storing Your Easy Pickled Beets
Step 9: Sealing & Storing – A Treasure Trove Awaits
Once cooled down completely (and you’ve probably been tempted by their aroma), it’s finally time to seal those jars tightly with their lids and pop them into the refrigerator! Make sure they’re snugly closed; this ensures no air sneaks in which can spoil our efforts. Now here comes another essential bit of advice: let them marinate for at least 24 hours before diving in. I promise you—the wait will be worth every minute as they transform into something profoundly satisfying.
As they chill out in their cool haven (your fridge!), they’ll continue absorbing flavors until they become bursting with zestiness and sweetness—an utterly divine combination! But don’t stop there; these gorgeous pickled beets can last several weeks when stored properly—and trust me—they only get better as days go by! Each bite becomes more layered with flavor like an exquisite symphony playing out on your taste buds.
So there you have it—a journey full of love, patience, and culinary delight leading us straight to Easy Pickled Beets glory! Enjoy these treasures solo or incorporate them into various dishes—you’ll never look at a salad bar the same way again once you’ve tasted these beauties! Happy pickling my friends; may each bite bring joy and flavor into your life as they have mine!
Storage and Enjoyment Tips for Your Easy Pickled Beets
Now that you’ve created this delightful jar of Easy Pickled Beets, you might be wondering how to make the most of them and keep them tasting fresh! Trust me when I say there’s nothing quite as satisfying as having a jar of vibrant, tangy pickled beets ready to elevate your meals. These little gems are not just for snacking; they can transform salads, sandwiches, and even charcuterie boards into something truly special. But let’s talk about storage so you can relish them for weeks to come!
Storing Leftover Easy Pickled Beets
For storing your Easy Pickled Beets, I recommend using clean, airtight mason jars. This type of container is not only perfect for keeping the beets fresh but also allows you to admire those stunning jewel tones. Once you’ve packed your jars with the beautifully sliced beets and poured over that tangy brine, seal them tightly and pop them in the refrigerator. They should stay deliciously crisp for up to six weeks! Pro tip: If you’re concerned about maintaining their crunchiness, consider placing a slice of bread in the jar—this technique helps absorb excess moisture. As time goes by, these pickled beets will develop an even deeper flavor profile, offering a sweet and tangy taste that becomes utterly irresistible. When you’re ready to enjoy them again, simply pull out your jar and serve chilled alongside your favorite dishes for an enchanting burst of flavor.
Freezing Easy Pickled Beets for Later
Ah, but what if you find yourself with more pickled beets than you can handle? Fear not! Freezing is a fantastic option that allows you to savor these delights long after they’ve been made. To freeze your Easy Pickled Beets properly, start by ensuring they’re in an airtight freezer-safe container or heavy-duty freezer bags. This method prevents freezer burn and keeps those vibrant flavors intact. They can last up to three months frozen! When you’re ready to use them, simply transfer the frozen beets to the refrigerator overnight to thaw or toss them directly into salads while still slightly frozen—trust me, they’ll add a refreshing chill! This flexibility makes it so convenient; you can enjoy your homemade pickles whenever the craving strikes without worrying about spoilage.
Easy Pickled Beets
Easy Pickled Beets are a delightful way to preserve the vibrant flavor of fresh beets, transforming them into a tangy, sweet treat that brightens up any meal. This quick and simple recipe captures the earthy essence of beets, enhanced by a zesty brine that balances sweetness with acidity. Perfect for salads, sandwiches, or as a healthy snack right from the jar, Easy Pickled Beets offer versatility and a burst of color to your dishes. With just a handful of ingredients and minimal effort, you can create these refrigerator delights that not only satisfy your taste buds but also provide a nutritious addition to your diet. Whether you’re hosting a gathering or looking for a refreshing side dish, these pickled beauties will quickly become a staple in your kitchen.
- Prep Time: 15 minutes
- Cook Time: 5 minutes
- Total Time: 20 minutes
- Yield: About 4 servings 1x
- Category: Side Dish
- Method: Pickling
- Cuisine: American
Ingredients
- 2 medium cooked beets
- 1 cup white vinegar (or apple cider vinegar)
- 1 cup water
- ⅓ cup sugar
- ½ teaspoon salt
Instructions
- Prepare the cooked beets by peeling and slicing them into rounds or wedges.
- Pack the beet slices tightly into pint-sized mason jars, leaving half an inch at the top.
- In a heat-safe bowl or saucepan, combine vinegar, water, sugar, and salt; whisk until dissolved.
- Heat the brine mixture until boiling.
- Pour the warm brine over the packed beets until completely submerged.
- Allow to cool at room temperature for about 2 hours before sealing and refrigerating.
Nutrition
- Serving Size: 1/4 cup / 60g
- Calories: 45
- Sugar: 10g
- Sodium: 150mg
- Fat: 0g
- Saturated Fat: 0g
- Unsaturated Fat: 0g
- Trans Fat: 0g
- Carbohydrates: 11g
- Fiber: 2g
- Protein: 1g
- Cholesterol: 0mg