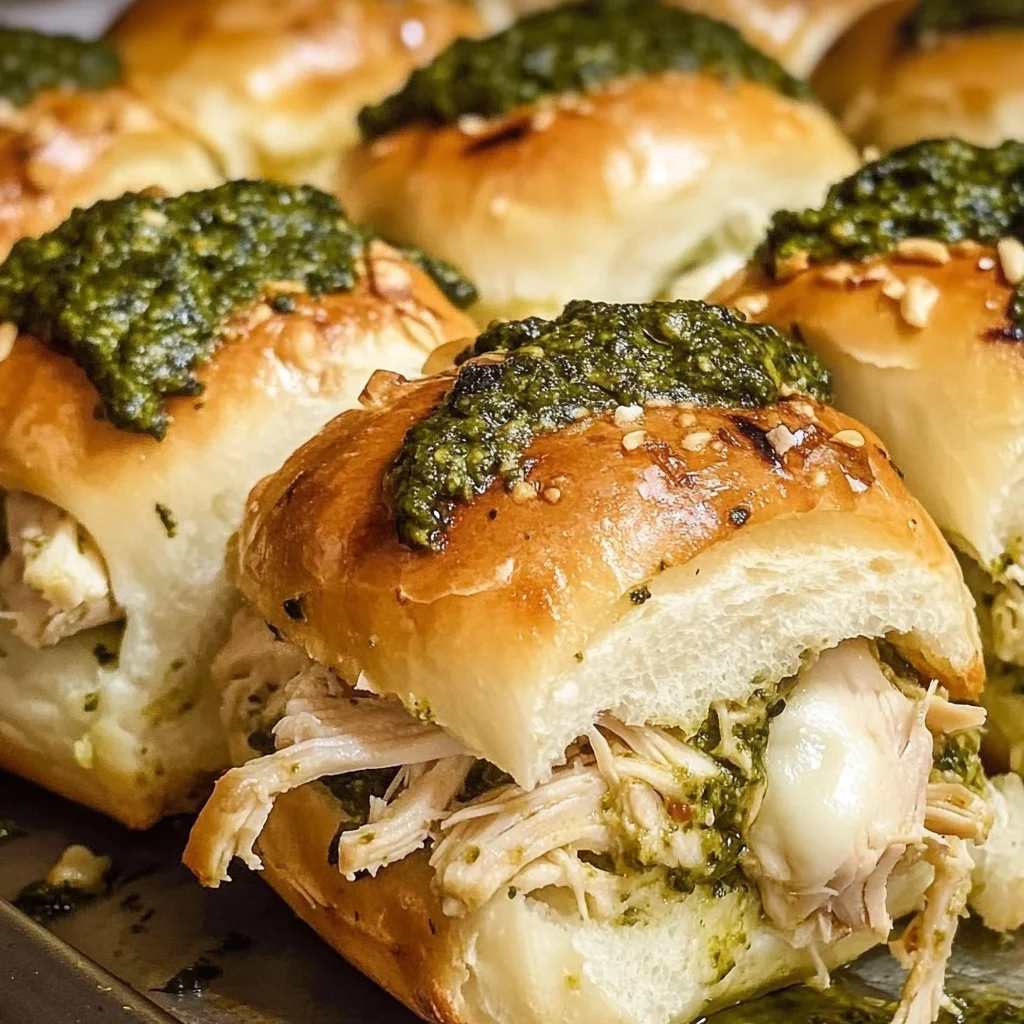
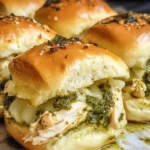
Pesto Chicken Pull Apart Sliders
There’s something truly magical about the act of cooking, isn’t there? It’s not merely about blending ingredients or following a set of instructions; it’s about creating an experience that transcends the plate, connecting us to one another and to our memories. As I sit here reminiscing about family dinners filled with laughter, I can’t help but think of my beloved Pesto Chicken Pull Apart Sliders. With each gooey, cheesy mouthful, it’s like a warm embrace from a close friend—a delightful reminder that food is love, and these sliders are the embodiment of that sentiment. The vibrant basil pesto mingling with tender chicken and melty mozzarella creates an utterly intoxicating symphony of flavors that will have you dreaming about this dish long after the last bite. I promise you, once you try these sliders, they will become a cherished staple in your culinary repertoire.
Imagine gathering around the dinner table after a long day, the aroma of freshly baked sliders wafting through the air, beckoning everyone to join in. These Pesto Chicken Pull Apart Sliders are not just a meal; they’re a celebration of convenience and comfort. They make for a quick weeknight dinner or an impressive dish for casual gatherings with friends. Imagine pulling apart those fluffy rolls, still warm from the oven—each piece dripping with cheese and pesto goodness. What makes this recipe so special is its versatility; it’s perfect for lunchboxes the next day or as an easy snack while binge-watching your favorite show. Trust me; this recipe blends tradition with modern flair in the most delightful way.
Pesto Chicken Pull Apart Sliders: A Cheesy Delight for Everyone
Let’s dive into this wonderful recipe together! I can almost hear your excitement as we embark on this culinary adventure to create Pesto Chicken Pull Apart Sliders. This dish is not only easy to whip up but also brings joy and satisfaction to every table it graces. Whether you’re serving it at a family gathering or making a cozy dinner for yourself, these sliders are bound to impress.
Ingredients
As we gather our ingredients for this delightful slider journey, remember that each component plays an essential role in crafting the final masterpiece. From the texture of the rolls to the creamy mozzarella, every element contributes something unique and special.
- 9 Slider Rolls or tray buns – The foundation of our sliders! Opt for soft slider rolls that have just enough structure to hold all that deliciousness without falling apart—think little clouds of bread that soak up flavor beautifully without losing their integrity. If you can’t find slider rolls, any soft sandwich bun will do beautifully as well; just keep in mind their size when preparing your sliders.
- 1/4 cup Pesto – Here comes the magic! Pesto is like liquid gold—it brings herbal freshness and vibrant flavor that elevates our sliders from ordinary to extraordinary. You can use store-bought pesto for convenience or make your own by blending fresh basil, garlic, nuts (like pine nuts or walnuts), olive oil, and cheese together until smooth. The herbaceous notes contrast beautifully with rich cheeses and tender chicken while adding depth and brightness.
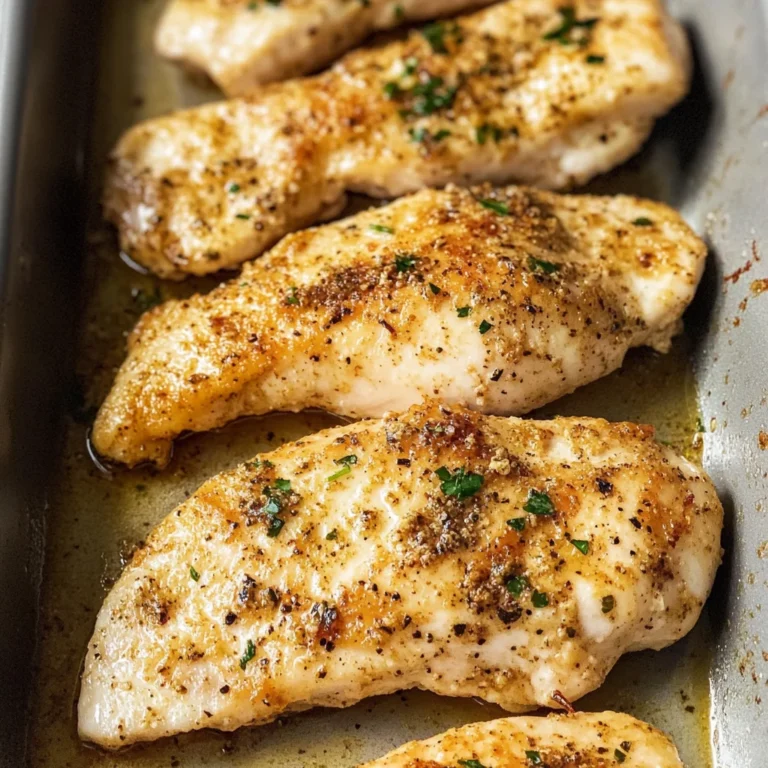
- 2 cups Cooked Shredded Chicken – This ingredient is key for protein-packed goodness! You can use rotisserie chicken for ease or roast some chicken breasts seasoned simply with salt and pepper—whatever suits your schedule best! Shredding allows for even distribution throughout each slider while ensuring every bite is bursting with flavor; don’t rush this step as texture matters here!
- 1 cup Shredded Mozzarella Cheese – Ahh, mozzarella—the stringy delight we all adore! This cheese melts wonderfully and adds creaminess to our sliders; it’s crucial that you use fresh shredded mozzarella rather than pre-packaged varieties since they often contain anti-caking agents which can hinder melting quality.
- 2 tablespoons Butter, melted – Butter enhances flavor and adds that golden richness we crave in baked dishes like these sliders. It also helps in browning the tops beautifully while keeping everything moist underneath; always opt for unsalted butter so you can control how much saltiness comes through.
- 1/2 teaspoon Garlic Salt – This seasoning adds an extra layer of taste that pairs perfectly with both chicken and pesto! Garlic salt not only enhances flavor but also complements other ingredients harmoniously; if you prefer fresh garlic instead, feel free to substitute it—just remember it may take longer to infuse its essence!
- 1 teaspoon Dried Parsley – A touch of dried parsley brings color and subtle earthiness that’s lovely against all those vibrant greens from our pesto! While fresh parsley could be used if available (and I encourage you if you have access!), dried herbs are convenient as they provide consistent flavor without needing any chopping!
Equipment You’ll Need
Before we get started on assembling these scrumptious sliders, let’s take a moment to ensure we’re equipped with the right tools—because having proper equipment makes all the difference in achieving perfection in any kitchen adventure!
- 8×8-inch baking dish – This size is ideal for fitting your slider rolls snugly together while allowing them to rise slightly during baking without overcrowding. If you don’t have one on hand, feel free to use any similarly sized dish—or even a larger one if needed—but keep an eye on baking time as it may vary!
- Cooking spray – A light coating prevents sticking and ensures easy removal of those glorious sliders once they’re done baking; trust me—you want them to come out effortlessly so you can showcase their beauty!
- Small bowl & whisk – For mixing together your flavorful garlic butter mixture easily before brushing it onto those buns—this step ensures every bite has an enhanced buttery goodness that’ll leave everyone wanting more!
Now that we’ve gathered everything we need—the ingredients are assembled and tools are ready—we’re primed for success in creating our Pesto Chicken Pull Apart Sliders! So roll up those sleeves because it’s time to dive into preparing this delicious dish step by step.
Step 1: Preheat Your Oven & Prepare Your Baking Dish
To kick things off right, preheat your oven to 375°F (190°C). This temperature is absolutely paramount as it ensures our cheese melts beautifully while giving those buns just enough time to achieve golden perfection on top. Meanwhile, lightly spray your 8×8-inch baking dish with cooking spray—this simple act will prevent any potential sticking disasters later on when you’re trying to serve up those delectable sliders!
Step 2: Slice Your Dinner Rolls
Next up is slicing those divine dinner rolls! If you’re using pull-apart rolls—which I highly recommend because they create such fun presentation—you can leave them attached as one unit before cutting through them horizontally into two halves simultaneously. Just be sure not to cut all the way through if they’re connected! Layering them properly into your prepared dish sets us up perfectly for spreading all those irresistible flavors later on.
Step 3: Assemble Your Flavor Layers
Now comes one of my favorite parts—layering everything together! First off, spread that luscious pesto sauce generously over the bottom halves of your sliced rolls; don’t skimp here—it’s what makes these sliders sing with flavor! Next up is introducing our cooked shredded chicken atop this vibrant green canvas followed by a generous sprinkle of shredded mozzarella cheese over everything else; trust me when I say each bite needs gooey cheese goodness enveloping it like a warm hug from inside out!
Step 4: Cap It Off & Add Some Extra Love
Once you have layered all those incredible flavors together nicely within their bread embrace—take those top halves of your slider rolls and gently nestle them back onto their cheesy chicken bed below! Now let’s turn our attention back toward enhancing flavor even further by whisking together melted butter along with garlic salt & dried parsley in another small bowl until well combined before brushing this fragrant mixture generously across every exposed surface area on top of those glorious rolls—you’ll want every inch covered so no one misses out on this flavorful touch!
This journey has only begun as we’re nearly there—but stay tuned because soon enough you’ll get rewarded with melted cheesy bites wrapped up snugly within pillowy bread heaven… Can’t wait? Neither can I! Let’s continue bringing these Pesto Chicken Pull Apart Sliders fully alive before diving headfirst into indulgence together!
Step 5: Layering on the Flavor
Now that we have our bottom halves nestled in their baking dish, it’s time to unleash the magic of flavors! This step is crucial because it sets the stage for the entire dish, ensuring that each slider is a little pocket of joy. Start by generously spreading 1/4 cup pesto over the bottom halves of the rolls. Use the back of a spoon or a spatula to ensure every inch gets coated; you want this vibrant green sauce—bursting with basil, garlic, and olive oil—to be an integral part of every bite. The pesto not only adds incredible flavor but also keeps the chicken moist, creating a delightful contrast with the soft bread.
Once your pesto layer is beautifully spread, it’s time to add 2 cups of cooked shredded chicken. This is where you can make this recipe truly your own! If you have leftover rotisserie chicken, feel free to use that; it brings a rich depth of flavor that’s hard to beat. Sprinkle the chicken evenly across the pesto layer, making sure each slider will have its fair share of tender protein. After that, shower 1 cup of shredded mozzarella cheese on top. Cheese is like a warm hug for these sliders—it melts into gooey perfection and binds everything together. As you layer on this cheesy goodness, imagine how utterly intoxicating it will be when melted and golden—trust me; your taste buds will thank you later!
Step 6: Topping It Off
With the chicken and cheese now in place, it’s time to crown our sliders with the top halves of the dinner rolls. Gently place each roll atop the cheesy mound as if you’re tucking them into bed—this is essential for keeping all those flavors tucked away during baking. Don’t rush this step; take your time so that they align beautifully and snugly with their bottoms. This ensures that every bite remains balanced with layers of pesto, chicken, and cheese. Pro tip: If you’re using pull-apart rolls, keep them connected as they provide a wonderful texture when baked together.
Once your sliders are topped off, it’s important to enhance their flavor even further with a buttery mixture that you’ll whip up next!
Step 7: The Alluring Butter Mixture
Now for one of my favorite parts—the butter mixture! In a small bowl, whisk together 2 tablespoons of melted butter, 1/2 teaspoon garlic salt, and 1 teaspoon dried parsley until everything is well combined. This step might seem simple—but let me tell you, it’s absolutely paramount! The melted butter not only adds richness but also helps create a golden crust on top while infusing every slider with irresistible garlicky goodness. The garlic salt enhances each bite’s flavor profile while parsley adds a pop of color and freshness that’s just lovely.
Using a pastry brush or even just the back of a spoon, carefully brush this luscious mixture over the tops of your assembled sliders. Make sure to cover them generously—every slider deserves its fair share! As they bake, this buttery coating will crisp up beautifully while keeping the insides moist and flavorful—a perfect symphony of textures that you won’t want to miss out on.
Step 8: Covering Up for Success
With all those delicious components layered together and brushed with buttery goodness, it’s now time for some TLC—let’s cover our sliders tightly with aluminum foil before sending them off to bake! This crucial step traps steam inside which helps cook everything evenly while preventing those glorious toppings from browning too much too soon. Place them in your preheated oven at 375°F for about 15-20 minutes—this is where patience comes into play!
Keep an eye on them around the 15-minute mark; once you start smelling that intoxicating aroma wafting through your kitchen (and trust me—you will!), it’s a good sign they’re nearing doneness. You’ll want to peek underneath that foil; if the cheese has melted beautifully but hasn’t started browning yet—that’s exactly what we want! As your timer ticks down towards 20 minutes, check for visual cues: are those edges starting to turn golden? Are you seeing little bubbles from the cheese? Those are all signs indicating you’ve reached slider perfection!
Conclusion:
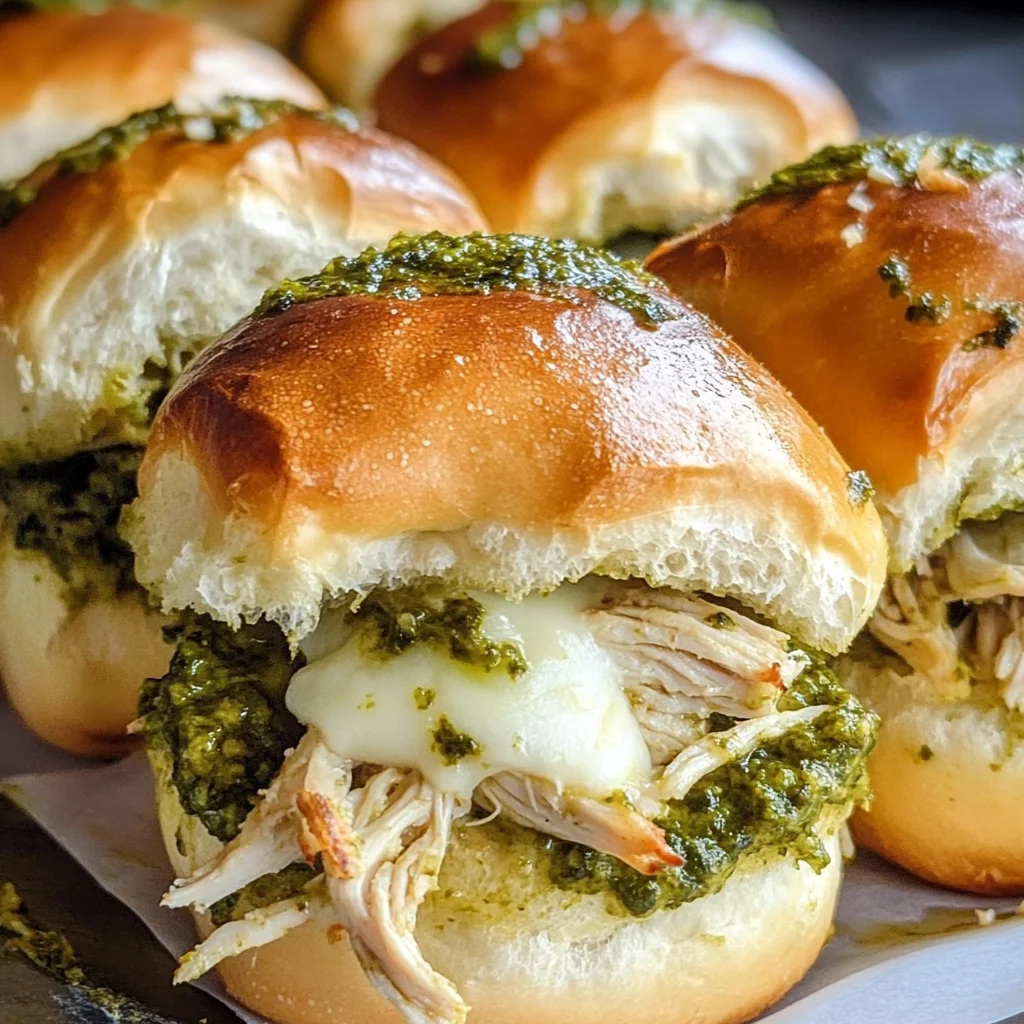
As we wrap up our journey through this scrumptious recipe for Pesto Chicken Pull Apart Sliders, I can’t help but feel genuinely excited about sharing it with you! There’s something profoundly satisfying about pulling apart those perfectly baked rolls, revealing layers of tender chicken enveloped in vibrant pesto and ooey-gooey mozzarella cheese. Each bite is a symphony of flavors and textures—a creamy richness meets an earthy zest—truly extraordinary! It’s not just a meal; it’s an experience filled with love and comfort.
This dish is undeniably a must-try because it embodies joy in every step of its creation. Whether you’re preparing it for a cozy family dinner or whipping it up for game day gatherings, these sliders shine brightly on any occasion. Imagine gathering around the table with loved ones as you pull apart these warm delights—the laughter and chatter filling the air as everyone dives into this cheesy goodness. Trust me when I say this is one of those dishes that creates memories as much as it satisfies hunger.
For serving suggestions that elevate your enjoyment even further, picture savoring one of these sliders alongside a crisp side salad drizzled with balsamic vinaigrette, which adds brightness against the rich flavors of the pesto chicken. Or perhaps pair it with some homemade sweet potato fries—imagine dunking those crispy bites into your favorite dipping sauce while enjoying every mouthful of warmth from your sliders! And don’t forget about serving them with a refreshing glass of iced tea or sparkling lemonade; they complement each other so beautifully!
Feeling adventurous? This recipe is wonderfully adaptable! You could easily swap out traditional mozzarella for pepper jack cheese if you’re seeking an extra kick, or add fresh spinach leaves between layers for added nutrition and color—the possibilities are endless! You might even try using different types of pesto—like sun-dried tomato or basil walnut—to give it your own unique twist. I invite you to dive into this culinary adventure with open arms; try it out yourself, share your experiences with friends and family, and let’s connect over our love for great food!
Pesto Chicken Pull Apart Sliders
Indulge in savory Pesto Chicken Pull Apart Sliders—easy to prepare and perfect for any occasion! Try this recipe today!
- Prep Time: 15 minutes
- Cook Time: 20 minutes
- Total Time: 35 minutes
- Yield: Serves 9 sliders 1x
- Category: Dinner
- Method: Baking
- Cuisine: American
Ingredients
- 9 Slider Rolls
- 1/4 cup Pesto
- 2 cups Cooked Shredded Chicken
- 1 cup Shredded Mozzarella Cheese
- 2 tablespoons Butter, melted
- 1/2 teaspoon Garlic Salt
- 1 teaspoon Dried Parsley
Instructions
- Preheat your oven to 375°F (190°C) and prepare an 8×8-inch baking dish with cooking spray.
- Slice the slider rolls horizontally but do not separate them completely. Place the bottom halves in the prepared dish.
- Spread pesto on the bottom halves of the rolls. Layer cooked shredded chicken evenly over it, followed by shredded mozzarella cheese.
- Place the top halves of the rolls back on and brush with a mixture of melted butter, garlic salt, and dried parsley.
- Cover with aluminum foil and bake for 15-20 minutes until cheese is melted; remove foil in the last few minutes for a golden top.
- Allow to cool slightly before serving. Pull apart and enjoy!
Nutrition
- Serving Size: 1 slider
- Calories: 240
- Sugar: 2g
- Sodium: 450mg
- Fat: 12g
- Saturated Fat: 6g
- Unsaturated Fat: 5g
- Trans Fat: 0g
- Carbohydrates: 24g
- Fiber: 1g
- Protein: 12g
- Cholesterol: 40mg