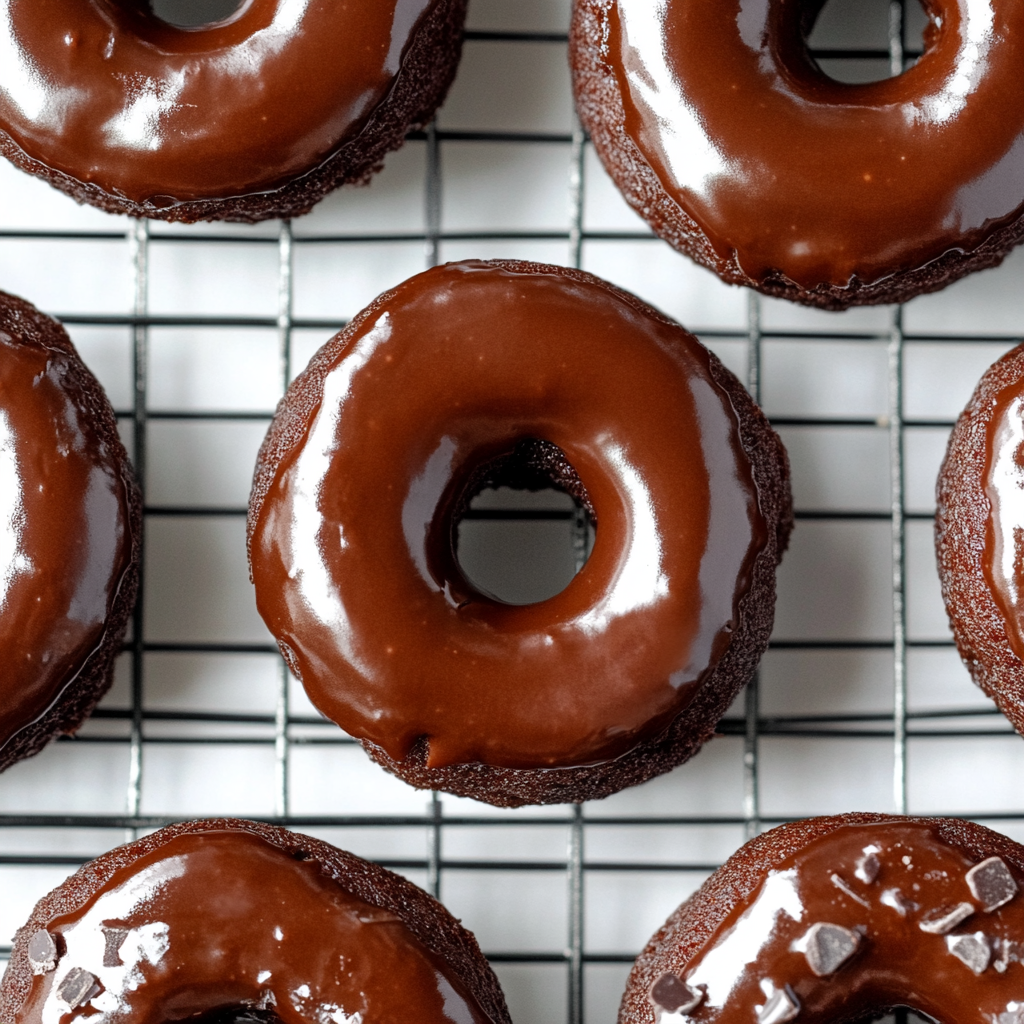
Chocolate Mini Donuts
There’s something utterly enchanting about chocolate mini donuts, isn’t there? They hold a special place in my heart, acting as a sweet little hug on a busy morning or a delightful treat after a long day. These aren’t just any donuts; they’re soft and fluffy morsels that offer the perfect balance of rich cocoa goodness, sweetness, and that melt-in-your-mouth texture we all crave. Baked to perfection and ready in just 20 minutes, this recipe is more than just a way to satisfy your sweet tooth; it’s an experience that brings joy and comfort into your kitchen. Every bite takes you back to moments of laughter and warmth—a reminder that the simplest pleasures can create the most profound memories. So grab your apron, because I promise you, these chocolate mini donuts will be your new favorite indulgence.
Now, let’s talk about why this recipe is so close to my heart. You see, there’s a beautiful blend of tradition and innovation in baking—an art form where family recipes often meet exciting new twists. Chocolate mini donuts have been around for ages, but with each batch I make, I find myself experimenting with flavors and techniques while keeping the essence intact. This delightful treat is perfect for breakfast or dessert, making it so versatile that you can whip them up for any occasion. Whether it’s a lazy Sunday brunch or a last-minute invite with friends, these little gems are sure to impress. And trust me when I say that once you start sharing them with loved ones, they’ll become part of your family traditions too.
Chocolate Mini Donuts: A Sweet Start to Your Day
Let’s dive into this delightful recipe together! The beauty of these chocolate mini donuts lies not only in their taste but also in how simple they are to make. With minimal fuss and maximum flavor, they’ll quickly become a staple in your home.
Ingredients:
Embarking on this culinary journey means gathering some essential ingredients that are foundational to creating those scrumptious chocolate mini donuts. Each element plays a crucial role in developing flavor, texture, and that irresistible allure we all love.
- ¼ cup light brown sugar: This sugar adds depth and moisture to our donuts. The slight caramel notes from light brown sugar create an exquisite flavor profile that balances beautifully with the cocoa powder. When choosing brown sugar, look for one that feels slightly moist—this indicates freshness and ensures better incorporation into your batter.
- ⅓ cup white sugar: White sugar contributes sweetness without altering the flavor too much; it allows the rich chocolate taste to shine through. By using both white and brown sugars, we achieve a well-rounded sweetness that elevates our mini donuts from good to utterly divine.
- 4 tbsp sunflower oil (or other neutral oil): Oil helps keep our donuts tender and moist while providing fat necessary for richness without being overwhelming. Sunflower oil is ideal because it has a light flavor that won’t compete with the chocolatey goodness. If you prefer an alternative, melted butter works wonderfully here as well—just remember it may impart a slightly richer taste.
- 1 tsp vanilla extract: Ah, vanilla—the magic elixir! Its warm aroma complements the cocoa perfectly and enhances all other flavors within the batter. Always opt for pure vanilla extract whenever possible; imitation versions simply don’t offer the same depth of flavor.
- 1 egg: Eggs act as binders in our dough while also contributing moisture and richness—an essential component for achieving those fluffy textures we adore so much. Be sure your egg is at room temperature before mixing; it incorporates better into the batter.
- ½ cup milk (regular or dairy-free): Milk helps create that luscious batter consistency we’re after while adding moisture to our finished product. For those avoiding dairy, almond or oat milk work beautifully as substitutes without sacrificing taste or texture.
- 1 cup all-purpose flour: Flour provides structure to our donuts—too much can result in dense bites while too little will yield fragile ones. Sift it before measuring to ensure airiness; you’ll thank yourself later when biting into those cloud-like treats!
- ⅓ cup cocoa powder: Cocoa powder is what gives these mini donuts their gorgeous color and intense chocolate flavor. Opt for unsweetened cocoa powder for optimal results; its rich bitterness balances out the sweetness from sugars nicely.
- ⅛ tsp salt: A pinch of salt is non-negotiable here—it heightens all flavors present in our mixture! Without it, our donuts could taste flat or one-dimensional.
- ½ tsp baking soda: This ingredient serves as leavening agent number one! It reacts with acidity present in other ingredients (like brown sugar), producing carbon dioxide bubbles which contribute lift during baking—resulting in light and airy donuts!
- ½ tsp baking powder: Combining baking powder with baking soda ensures extra fluffiness by providing a double boost of leavening action—this is absolutely paramount for our chocolate mini donuts!
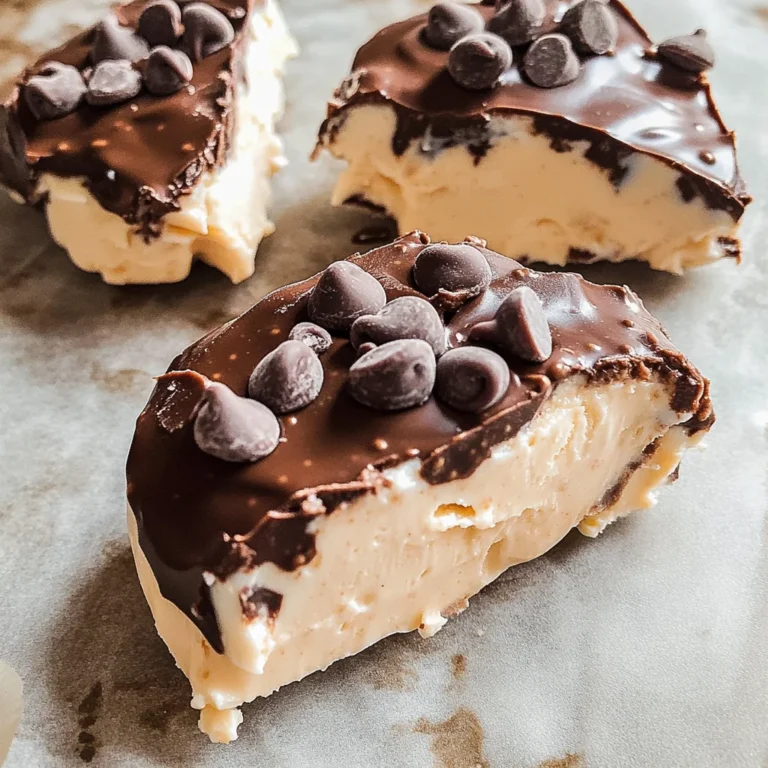
- 6 tbsp chocolate chips (regular or dairy-free): Chocolate chips add little pockets of melted heaven within each bite! Opt for dairy-free varieties if needed; no one should miss out on this chocolaty goodness!
- 1½ tbsp butter, melted (regular or dairy-free): Butter enriches our glaze without overpowering its sweetness—a perfect finishing touch! Make sure it’s cooled slightly before adding it into mixtures so we don’t scramble any eggs along the way!
- 3 tbsp milk (regular or dairy-free): Just like earlier mentioned milk ingredient—here it helps thin out our glaze until we reach drizzling consistency!
- ¾ cup icing sugar: The star of our glaze! It creates an irresistibly sweet finish atop each donut while also providing lovely shine—we want every donut looking delectable!
Equipment You’ll Need:
As we prepare to create these delectable treats together, having the right tools at hand makes all the difference in ensuring everything runs smoothly during baking time! While they may not be ingredients, think of these tools as essential partners helping us craft something truly wonderful—and delicious!
- Donut pan: This specialized pan shapes our batter perfectly into adorable mini donuts while allowing them to bake evenly throughout—all without needing any frying involved! If you don’t have one yet—trust me—that’s an investment worth making!
- Mixing bowls: Having various sizes handy lets us mix dry ingredients separately from wet ones before combining them together—keeping clumping at bay while ensuring proper incorporation throughout every stage!
- Whisk: An essential tool for blending everything together smoothly without lumps lurking around—that silky consistency is key! A whisk aerates mixtures beautifully too; don’t underestimate its power!
- Rubber spatula: Perfectly designed for scraping down sides of bowls ensuring nothing gets left behind during mixing sessions… We want every last morsel included!
Now that we’ve got everything essential laid out before us let’s get ready to dive into creating these heavenly chocolate mini donuts!
Step 1: Preheat Your Oven
Before anything else begins happening in your kitchen—a crucial first step awaits us—preheating your oven! Set your oven temperature to 350°F (175°C). Preheating allows baked goods like our mini donuts to rise properly right from the get-go rather than languishing around waiting for heat up time later on—it leads directly towards achieving optimal results each time you bake!
Step 2: Prepare Your Donut Pan
While waiting patiently for those heated delights ahead… Let’s prep our trusty donut pan by lightly greasing each cavity with cooking spray or brushing them gently using melted butter—you wouldn’t want any sticking happening post-baking now would you? Ensure even coverage because nobody likes sad stuck-on bits at cleanup time after indulging in such sweet goodness later on!
Step 3: Mix Dry Ingredients
Gather together flour (1 cup), cocoa powder (⅓ cup), baking soda (½ tsp), baking powder (½ tsp), salt (⅛ tsp)—and sift them all together using either sifter tool or fine-mesh sieve directly over another bowl—it helps break up clumps preventing uneven distribution within mixtures down line! Sifting also adds air into dry components making way lighter baked results which translate directly into fluffy textures upon serving time later—the success lies here!
Step 4: Combine Wet Ingredients
In another mixing bowl combine light brown sugar (¼ cup), white sugar (⅓ cup), sunflower oil (4 tbsp), vanilla extract (1 tsp) along with egg—as well as milk (½ cup)—whisk vigorously until everything blends harmoniously no lumps remaining visible… You’ll notice how smooth this mixture becomes—it acts like liquid gold bringing forth flavors melding beautifully together already setting stage perfectly preparing us delightfully ahead toward final steps soon enough!
With each step taken thus far beating steadily toward delicious outcomes ahead—I’m beyond excited for what awaits us next… Stay tuned as we dive deeper into creating those dreamy little bites soon enough!
Step 5: Whisking to Perfection
Now comes the moment where all your ingredients transform into a luscious batter that will soon become the chocolate mini donuts of your dreams. In a large mixing bowl, take that enticing blend of light brown sugar and white sugar we prepared earlier, and add in the sunflower oil (or melted butter, if you went that route). The oil is not just for moisture; it creates a rich texture that keeps these delights soft and fluffy, making each bite melt in your mouth. Next, pour in that golden splash of vanilla extract—this isn’t just an optional flavor; it’s crucial for enhancing the overall taste, creating what I like to call a symphony of flavors. Now, crack in one egg. Eggs are the binding agents here, providing structure and stability to our donuts while also contributing to their delightful fluffiness.
Using a whisk, beat everything together until you achieve a smooth consistency—this should take about a minute or two. Don’t rush this step! A well-combined mixture will ensure that every donut has an even distribution of sweetness and richness. It’s essential to incorporate air into this mixture as well; the more air captured during whisking, the lighter and fluffier your donuts will be. You want it to look glossy and slightly frothy with no lumps in sight—if you spot any stubborn bits of sugar or flour, don’t hesitate to keep whisking until they vanish. This is where the magic begins!
Step 6: The Dry Ingredients Dance
Once you have your wet ingredients shining beautifully in their bowl, it’s time to bring in the dry ingredients for their grand entrance. In another bowl, combine 1 cup of all-purpose flour with ⅓ cup of cocoa powder—we’re using unsweetened cocoa here so we can control the sweetness ourselves later on. Cocoa powder is what gives our mini donuts that deep chocolate flavor that makes them utterly irresistible. Add in ⅛ teaspoon of salt; this isn’t just a seasoning but a flavor enhancer that helps balance out the sweetness and brings out the cocoa’s complexity. Then, sprinkle in ½ teaspoon each of baking soda and baking powder—these leavening agents are absolutely paramount because they work together to create lift during baking.
Now here’s where you need to pay attention: gently sift these dry ingredients together before folding them into your wet mixture. Sifting ensures there are no clumps and allows for an airy blend—trust me on this one! Once sifted, take a spatula and gradually fold the dry ingredients into the wet mix. Be gentle; overmixing can lead to dense donuts rather than light ones. You want just enough action here to combine everything without losing that precious air you’ve incorporated earlier.
Step 7: Chocolate Chips Galore
Ahh, we’re almost there! The best part? Adding those heavenly chocolate chips! Fold in 6 tablespoons of chocolate chips—feel free to use regular or dairy-free depending on your preference. This step is where flavor meets indulgence; those little morsels will melt slightly during baking, creating pockets of gooey chocolate throughout each donut—a truly extraordinary experience when you take that first bite! Gently folding them in ensures they’re evenly distributed but still intact enough to deliver bursts of chocolatey goodness.
As you fold them in, keep an eye on your batter—it should be thick yet pourable, resembling a luscious cake batter that’s ready for action. If it feels too thick for pouring into your mini donut pan later on, don’t hesitate to stir in a splash more milk (about a tablespoon or so). We want our finished product moist yet sturdy enough to hold its shape as it bakes into perfection.
Step 8: Prepping the Pan for Magic
Before we dive into baking our masterpiece, we need to prepare our mini donut pan properly—it’s time for some serious love here! Preheat your oven to 350°F (175°C). While it’s warming up, grab your mini donut pan and give it a light coating with non-stick spray or brush it with melted butter—this step is non-negotiable if you want easy removal post-baking! Nobody wants their beloved donuts to stick stubbornly in their molds; trust me on this one!
Once prepared, carefully spoon or pipe (using a zip-top bag with one corner snipped off) the batter into each cavity about halfway full—this allows room for rising while still giving you those adorable donut shapes we crave. As you fill them up, take a moment to admire how rich and decadent this batter looks; you’re already halfway there! After filling each mold evenly, give the pan a gentle tap against your counter—a simple yet effective technique that helps eliminate any air bubbles trapped inside before they meet their oven fate.
Enjoy every moment as you share these delectable Chocolate Mini Donuts with friends or family—or simply savor them solo with coffee or tea while basking in kitchen glory knowing you’ve created something truly special from scratch!
Storage and Enjoyment Tips for Your Chocolate Mini Donuts
Now that your kitchen is filled with the intoxicating aroma of freshly baked Chocolate Mini Donuts, it’s time to dig in and enjoy these little bites of joy! But let’s be honest; sometimes we can’t eat them all in one sitting, and that’s perfectly okay. In fact, knowing how to store these delightful treats will ensure that every bite remains as delicious as the first. With just a few simple steps, you can savor your mini donuts over the days to come without sacrificing their fluffy texture or rich chocolate flavor. So grab a container and let’s talk storage!
Storing Leftover Chocolate Mini Donuts
To keep your Chocolate Mini Donuts fresh and irresistibly soft, I recommend placing them in an airtight container—this is crucial! A glass or plastic container with a tight-sealing lid works wonders for maintaining moisture. If you take extra care, they can last up to three days at room temperature. However, if you want to extend their life a bit longer, consider refrigerating them, where they can survive for about a week. Pro tip: place a slice of bread in the container with the donuts; this little trick keeps everything moist and prevents drying out—trust me on this one! After a day or two, the donuts might lose some of their initial fluffiness due to air exposure, but don’t worry! A quick reheat in the microwave for about 10 seconds brings back that warm freshness as if they were just baked. Enjoy them plain or perhaps dusted with a little icing sugar for that added sweetness!
Freezing Chocolate Mini Donuts for Later
If you find yourself with more mini donuts than you can eat right away (which is often the case because they are just so tempting!), freezing them is an excellent option. To freeze properly, allow your donuts to cool completely before placing them in a single layer on a baking sheet lined with parchment paper. Freeze them for about an hour until they’re solid, then transfer them to an airtight freezer bag or container. This method helps prevent them from sticking together. They can stay happily frozen for up to three months—how great is that? When you’re ready for a treat, simply remove however many you desire and let them thaw at room temperature for about 30 minutes or pop them in the microwave for a burst of warmth. The convenience of having homemade Chocolate Mini Donuts at your fingertips makes this option not only practical but also profoundly satisfying!
Chocolate Mini Donuts

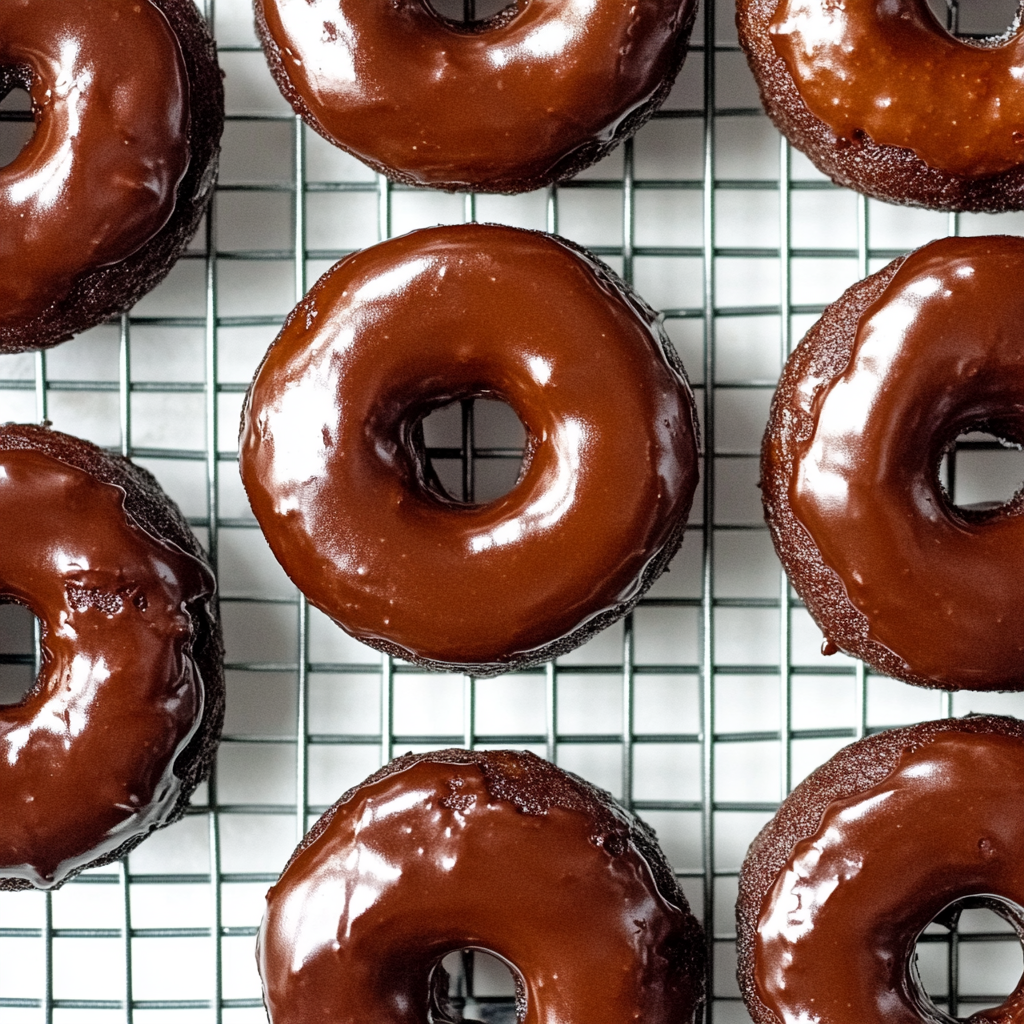
Indulge in the delightful experience of making Chocolate Mini Donuts that are as soft and fluffy as they are rich in flavor. These baked treats come together in just 20 minutes, making them perfect for a quick breakfast or a sweet snack any time of the day. With a perfect blend of cocoa and sweetness, each bite transports you to a world of chocolatey bliss. Easy to prepare and adaptable for various occasions, these mini donuts are sure to become a beloved staple in your home. Whether you enjoy them plain, glazed, or with a sprinkle of fresh fruit, they’re bound to bring smiles all around!
- Prep Time: 10 minutes
- Cook Time: 8 minutes
- Total Time: 18 minutes
- Yield: Approximately 12 mini donuts 1x
- Category: Dessert
- Method: Baking
- Cuisine: American
Ingredients
- ¼ cup light brown sugar
- ⅓ cup white sugar
- 4 tbsp sunflower oil
- 1 tsp vanilla extract
- 1 egg
- ½ cup milk (dairy-free options available)
- 1 cup all-purpose flour
- ⅓ cup cocoa powder
- ½ tsp baking soda
- ½ tsp baking powder
- 6 tbsp chocolate chips (dairy-free if needed)
Instructions
- Preheat oven to 350°F (175°C) and lightly grease a mini donut pan.
- In a bowl, whisk together light brown sugar, white sugar, sunflower oil, vanilla extract, egg, and milk until smooth.
- In another bowl, sift together flour, cocoa powder, baking soda, baking powder, and salt.
- Gradually fold the dry ingredients into the wet mixture until just combined; avoid overmixing.
- Gently fold in chocolate chips.
- Spoon or pipe batter into the donut pan cavities halfway full.
- Bake for 8-10 minutes until donuts spring back when touched.
- Allow cooling slightly before glazing with icing sugar mixed with milk and melted butter.
Nutrition
- Serving Size: 1 mini donut (30g)
- Calories: 114
- Sugar: 8g
- Sodium: 62mg
- Fat: 5g
- Saturated Fat: 0.5g
- Unsaturated Fat: 4g
- Trans Fat: 0g
- Carbohydrates: 16g
- Fiber: 1g
- Protein: 2g
- Cholesterol: 20mg