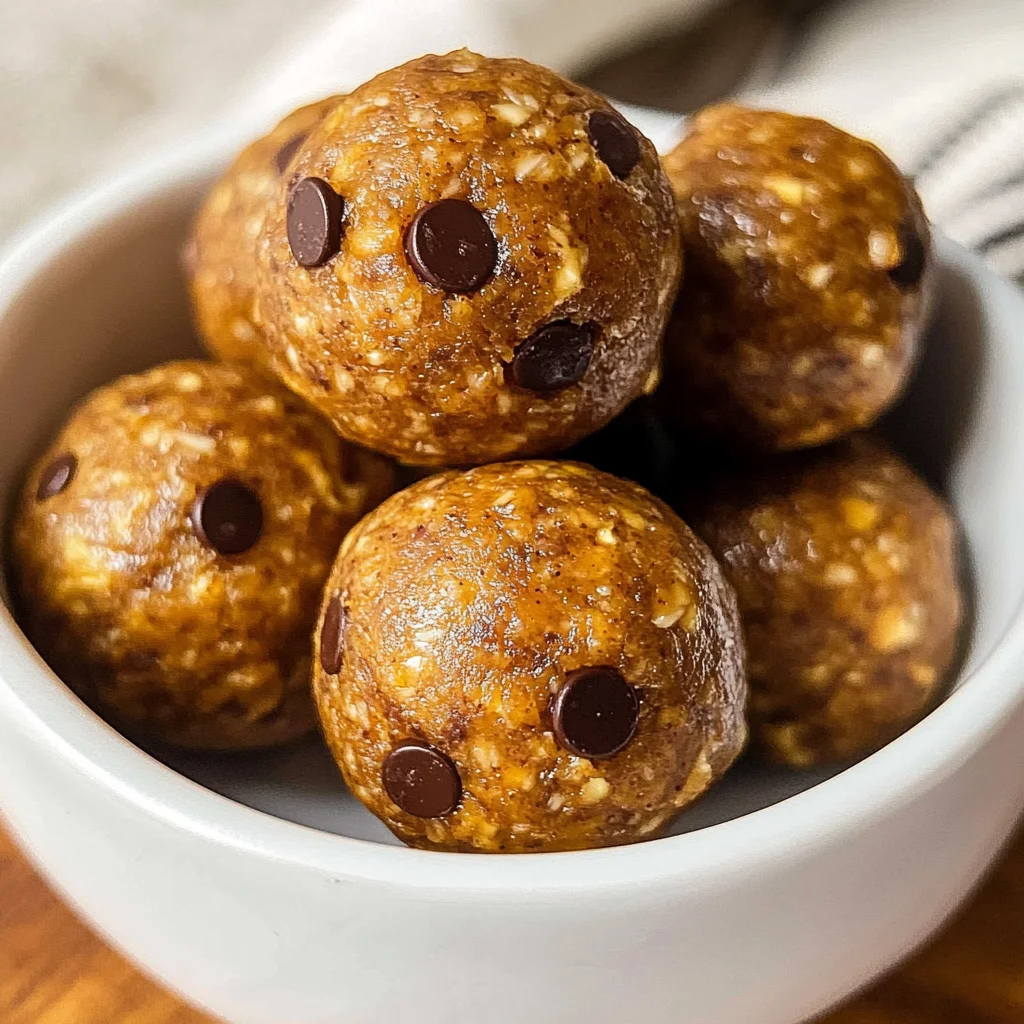
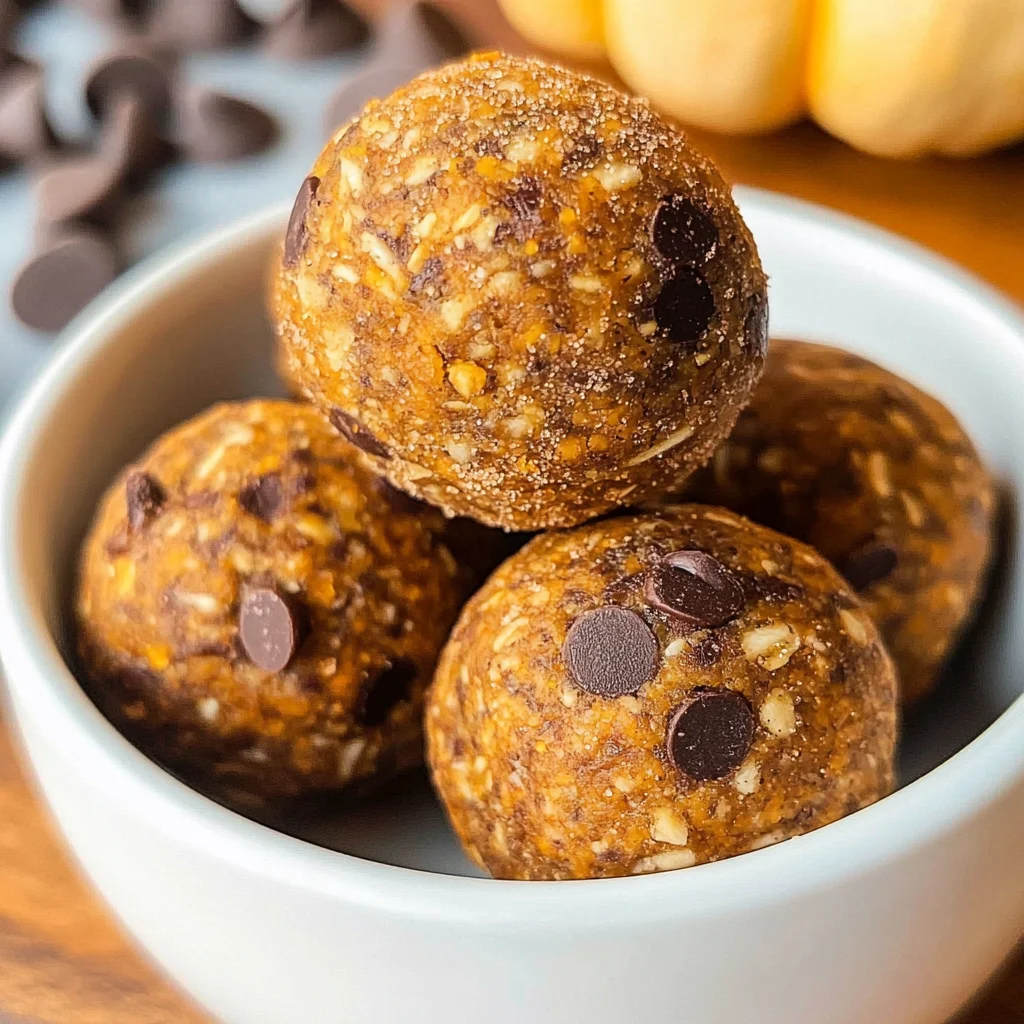
Pumpkin Protein Balls
There’s something truly magical about the arrival of fall, isn’t there? The crispness in the air, the vibrant hues of orange and gold filling our surroundings, and oh—the comforting aroma of spices wafting through our homes. It’s a season that invites us to gather with loved ones, share stories, and savor delectable treats that warm our hearts and nourish our bodies. Among these delights is a recipe that has quickly become a favorite in my household: Pumpkin Protein Balls. These little gems are not just snacks; they are a celebration of autumn’s bounty, blending the rich flavors of pumpkin with the wholesome goodness of oats and almond butter. I promise you, once you make these, they will become a staple in your kitchen.
As I stir together the ingredients for these no-bake wonders, I am reminded of cozy afternoons spent with family. Each ball is like a bite-sized hug—perfect for busy days when I need a quick energy boost or for those moments when I’m craving something sweet yet nourishing. The unique combination of pumpkin and spices creates an utterly intoxicating experience that evokes nostalgia while delivering modern-day health benefits. Trust me on this: whether you’re looking for a post-workout snack or simply something delightful to enjoy with your afternoon tea, these Pumpkin Protein Balls are here to elevate your snacking game!
Pumpkin Protein Balls: A Heartwarming Autumn Treat
Let’s embark on this culinary journey together! Making these Pumpkin Protein Balls is not only incredibly simple but also immensely satisfying. You’ll find joy in every step as we blend wholesome ingredients into delightful bites that capture the essence of fall.
Ingredients:
To create these scrumptious bites, we’ll need some key ingredients that each play an essential role in achieving both flavor and texture. Let’s explore what makes each one special!
- 1 cup no salt added creamy drippy almond butter. This ingredient is absolutely paramount for binding everything together while adding a rich creaminess that coats your palate like liquid gold. When selecting almond butter, look for brands with no added sugars or oils—just pure almonds ground down into a velvety spread. The drippy consistency is crucial here; it helps to meld seamlessly with the other ingredients, ensuring that each pumpkin protein ball has that delightful chewiness we adore.
- ⅓ cup canned pumpkin. Ahh, pumpkin—the star of our show! Canned pumpkin (not to be confused with pumpkin pie filling) provides moisture and flavor without overwhelming sweetness. It’s packed with vitamins and antioxidants too! When purchasing canned pumpkin, aim for organic varieties if possible; they tend to have richer flavors and are free from preservatives. Plus, using canned pumpkin saves time since there’s no need for peeling or cooking fresh pumpkins—simple convenience at its best!
- ¼ teaspoon cinnamon. This warm spice adds an aromatic depth that transforms our protein balls into something truly extraordinary. Cinnamon not only enhances flavor but also offers health benefits like anti-inflammatory properties and blood sugar regulation—talk about a win-win! Freshly ground cinnamon can take your recipe to new heights; however, if you’re using store-bought ground cinnamon, ensure it’s within date for optimal potency.
- ½ cup honey. Nature’s sweet nectar serves as both a binding agent and a natural sweetener in our recipe. Honey adds moisture while enhancing flavor without being overly saccharine—a non-negotiable element here! Choose raw or local honey if possible; it often retains more nutrients compared to processed varieties.
- ½ cup vanilla protein powder. This ingredient not only boosts the protein content but also contributes to the overall texture by adding structure to our balls. When selecting a protein powder, opt for one that’s plant-based and free from artificial additives—your body will thank you! Plus, vanilla-flavored powders bring an extra layer of deliciousness to each bite.
- 1 ½ cups rolled oats. Those hearty oats provide bulk and fiber while creating that perfect chew we crave in snacks like these Pumpkin Protein Balls. They act as little sponges soaking up all the flavorful goodness around them! Make sure to use rolled oats rather than quick oats; rolled oats maintain their texture better during mixing and chilling.
- Salt (to taste). While it may seem counterintuitive to add salt to something sweet, it’s actually crucial for balancing flavors! A pinch can elevate the sweetness of honey and the warmth of spices without making any dish taste salty—it’s all about harmony!
- 1 ½ teaspoons pumpkin pie spice. This delightful blend typically includes cinnamon along with nutmeg, ginger, and cloves—all those quintessential autumn flavors wrapped up in one package! Using this spice mix will transport you straight into fall festivities with every bite.
- ½ cup mini chocolate chips. And now comes my favorite part—the chocolate! These tiny morsels add bursts of sweetness throughout each protein ball while providing an indulgent contrast to the earthy tones of pumpkin and spices we’ve incorporated so far. Opt for dairy-free mini chocolate chips if you’d like to keep things plant-based!
Equipment You’ll Need:
Before we dive into preparing these delicious Pumpkin Protein Balls, let’s chat about the essential tools you’ll need by your side during this process. Having the right equipment makes everything smoother—and let me tell you from experience; it can turn cooking from a chore into pure joy!
- Mixing bowl – A sturdy mixing bowl is where all the magic happens! Opt for one large enough to hold all your ingredients comfortably without risking any spills over the edges—trust me; nobody wants sticky counters!
- Rubber spatula – This trusty tool is perfect for folding in ingredients smoothly without leaving anything behind (we want every last bit!). Its flexibility allows you to scoop out every precious particle from the bowl effortlessly.
- Cookie scoop or tablespoon – Having either on hand will help you portion out uniform balls easily instead of relying on guesswork alone—consistency is key when preparing snacks like these!
- Baking sheet lined with parchment paper – This will serve as your assembly line where those beautiful protein balls rest before heading into their chilly abode—the fridge! Parchment paper ensures easy removal later on without sticking issues.
Step 1: Combine Your Dry Ingredients
Let’s get started by bringing all those lovely dry ingredients together in one big mixing bowl! Begin by adding your rolled oats along with vanilla protein powder and spices such as cinnamon and pumpkin pie spice—you want them evenly distributed so every bite carries those cozy autumnal notes! Stir gently using your rubber spatula until they’re well mixed; this step helps ensure even flavor throughout each ball later on.
Step 2: Embrace Creaminess
Now it’s time to invite in our wet ingredients: scoop in that luscious almond butter alongside canned pumpkin and honey! At this stage, don’t rush—take your time blending everything together thoroughly until it resembles an inviting thick batter oozing warmth from all corners (seriously—you might just want to dive right in). The reason behind this thorough mixing? We want every ingredient harmonizing beautifully with one another—a symphony of flavors waiting patiently under their cozy blanket until transformation occurs!
Step 3: Fold In Chocolate Chips
Once everything looks beautifully combined, gently fold in those mini chocolate chips using your rubber spatula again (it’s okay if some pieces start getting mashed slightly—that extra melty goodness adds character!). Take care not to overmix at this stage so those sweet morsels remain intact—we want surprises waiting within each bite!
Step 4: Shape Into Balls
Grab your cookie scoop or tablespoon now because it’s time for shaping fun! Scoop out portions about one inch wide onto your lined baking sheet—this should yield around twenty-six protein balls total depending on how generous you’ve been feeling today (no judgement here!). Place them evenly spaced apart so they have room when chilling later but don’t worry too much about perfection—they’re homemade after all!
With each step taken towards creating these delightful Pumpkin Protein Balls filled with love from start-to-finish brings us closer together through shared meals enjoyed among friends or family members alike—we cherish moments created during food preparation just as much as what ends up on plates afterward!
Stay tuned because there’s more exciting guidance coming up soon as we finish off our preparation process—and trust me; it will be worth every minute spent crafting something utterly extraordinary together!
Create Irresistible Pumpkin Protein Balls
As we dive deeper into the world of these delightful Pumpkin Protein Balls, I can’t help but feel the warmth radiating from my kitchen. The scent of cinnamon and pumpkin wafts through the air, wrapping around me like a cozy blanket, instantly transporting me to crisp autumn days filled with the laughter of friends and family. This recipe is not just about creating a snack; it’s about embracing the season, nourishing our bodies, and indulging in flavors that remind us of home.
Step 5: The Art of Combining Ingredients
Once you’ve gathered all your ingredients together—a beautiful medley of creamy almond butter, luscious pumpkin, fragrant spices, and wholesome oats—it’s time to bring them together in a loving embrace. Start by taking a large mixing bowl and adding in 1 cup of no salt added creamy drippy almond butter, ⅓ cup of canned pumpkin, ¼ teaspoon of cinnamon, and ½ cup of honey. Trust me on this: the almond butter acts as a glue, binding everything together while providing that delightful nutty richness that makes these balls utterly irresistible. Using a sturdy rubber spatula, blend these ingredients until they are fully integrated into a smooth mixture—this step is crucial because it ensures that every bite is bursting with flavor.
Next, it’s time to incorporate the dry ingredients: add in ½ cup of vanilla protein powder, 1 ½ cups of rolled oats, salt to taste, and 1 ½ teaspoons of pumpkin pie spice. As you fold these elements into your mixture, you’ll notice how the texture begins to shift from creamy to something more substantial—this is where the magic truly happens! The rolled oats not only add chewiness but also serve as a source of complex carbohydrates, providing lasting energy for those days when you need a little pick-me-up. Keep mixing until there are no visible streaks left; your batter should be thick yet cohesive, almost like cookie dough ready for the oven.
Step 6: Folding in the Sweet Surprise
Now comes one of my favorite parts—the addition of those delightful mini chocolate chips! Gently fold in ½ cup of chocolate chips into your mixture with care; this step feels like tucking in warm blankets on a chilly evening. Chocolate has this magical ability to enhance flavors; it’s the sweet surprise that invites each nibble to dance on your tongue. Don’t rush this step! You want to ensure that those chocolate morsels are evenly distributed throughout your batter so every bite gets its fair share of sweetness.
As you fold them in, let yourself get lost in the process. Feel how the mixture transforms under your spatula, becoming even richer with texture and flavor. And remember: patience is key here! Take your time to do it right because uneven distribution could lead to some bites feeling too rich while others lack that chocolatey goodness. So go ahead and take a moment—enjoy this sensory experience before moving on!
Step 7: Forming Your Snackable Treasures
Now we’re at an incredibly exciting juncture—the moment where we shape our pumpkin protein goodness into perfectly sized balls! Using a cookie scoop or simply your hands (which I find adds a personal touch), gently drop spoonfuls of dough onto a lined baking sheet. Aim for roughly 1-inch balls; you should be able to yield about 26 pieces from this batch! As you work through forming these little treasures, relish how satisfying it feels to mold them with your hands—the heat from your palms slightly warming each ball as if they’re being cradled by love itself.
This shaping process isn’t just about aesthetics; it plays an important role in ensuring even chilling later on. If they’re too large or unevenly shaped, some may take longer to firm up than others—a frustrating surprise when you’re eager for that first bite! So keep an eye on uniformity here; it’s absolutely paramount for consistency across all your treats. Plus, just think about how lovely they’ll look when shared with friends—they beg for admiration!
Step 8: Chilling for Perfection
After all those delightful shapes have been formed onto your baking sheet, it’s time for them to relax and chill out—literally! Pop these beauties into the refrigerator for at least 30 minutes or until they are firm to the touch. Why chill? This step is essential because refrigeration allows all those wonderful flavors to meld together beautifully while helping them set up firmly enough so you can enjoy them without falling apart at first bite.
While they chill, take this time for yourself—maybe brew a cup of tea or coffee as you bask in anticipation. Visual cues will help you know when they’re ready: after about half an hour, gently press one ball with your finger—you should feel resistance without any stickiness remaining on your hands. It’s almost like waiting for dough to rise; patience here transforms these protein-packed snacks from good to truly extraordinary! After chilling, store any leftovers (if there are any!) in a Ziploc bag—these can stay fresh in the fridge or freezer for weeks; trust me when I say they make an excellent grab-and-go snack!
Final Touches
With our delicious Pumpkin Protein Balls now perfectly chilled and ready for devouring, it’s time for that final flourish before indulging in their gloriousness.
Step 9: Savoring Every Bite
Once chilled and firmed up beautifully, it’s finally time to indulge! As you reach into that Ziploc bag or onto your plate filled with these golden-hued gems, take a moment just to appreciate their beauty—the way they glisten ever so slightly under light whispers promises of flavor and satisfaction waiting within each one. I promise you, every bite will be like autumn dancing on your palate—a delightful balance between nutritional goodness and sheer indulgence thanks to those chocolate chips sprinkled throughout.
I encourage you not just to eat but truly savor each pumpkin protein ball as if it were crafted just for you—after all, food is meant not only for nourishment but also enjoyment! Whether you’re sharing them at gatherings or keeping them all for yourself (no judgment here!), remember that these little bites embody comfort during busy days or cozy nights alike—they hold stories waiting to be shared with loved ones.
So gather around friends and family or simply treat yourself because you’ve earned it! Dive into this symphony of flavors wrapped snugly within these Pumpkin Protein Balls—you won’t regret it!
Storage and Enjoyment Tips for Your Pumpkin Protein Balls
Oh, my friends, the moment you’ve been waiting for has arrived! Your delightful creation of Pumpkin Protein Balls is ready to be enjoyed, and I can just imagine the excitement in your kitchen right now. These little bites of joy are not only a treat but also an excellent way to embrace the warmth of fall with every delicious morsel. But before you dive in, let’s talk about how to keep these gems fresh and flavorful so you can savor them for days to come!
Storing Leftover Pumpkin Protein Balls
To ensure your Pumpkin Protein Balls remain as delectable as the moment they were made, proper storage is essential. I recommend placing them in an airtight container; this seals in their moisture and keeps them wonderfully chewy. You can store them in your refrigerator, where they’ll stay fresh for up to a week. If you want to preserve that delightful texture even longer, why not pop a slice of bread into the container? This clever trick helps maintain moisture levels, so your protein balls don’t dry out over time. After chilling in the fridge, these little beauties taste just as incredible—if not even more so—as the flavors meld beautifully together. For those busy afternoons when you need a quick snack, simply grab one or two straight from the fridge—no reheating necessary!
Freezing Pumpkin Protein Balls for Later
Now, if you’re like me and want to stock up on these tasty treats for future cravings, freezing is an absolute game changer! To freeze your Pumpkin Protein Balls, simply lay them out on a baking sheet lined with parchment paper first. This step ensures they don’t stick together during freezing. Once they’re solid (about 1-2 hours), transfer them into a zip-top freezer bag or an airtight container. They’ll keep beautifully frozen for up to three months! When that pumpkin craving hits you during a busy week or after an intense workout, just pull out a few from the freezer and let them thaw at room temperature for about 10-15 minutes. The convenience of having these on hand makes healthy snacking effortless and keeps your energy levels high without compromising flavor!
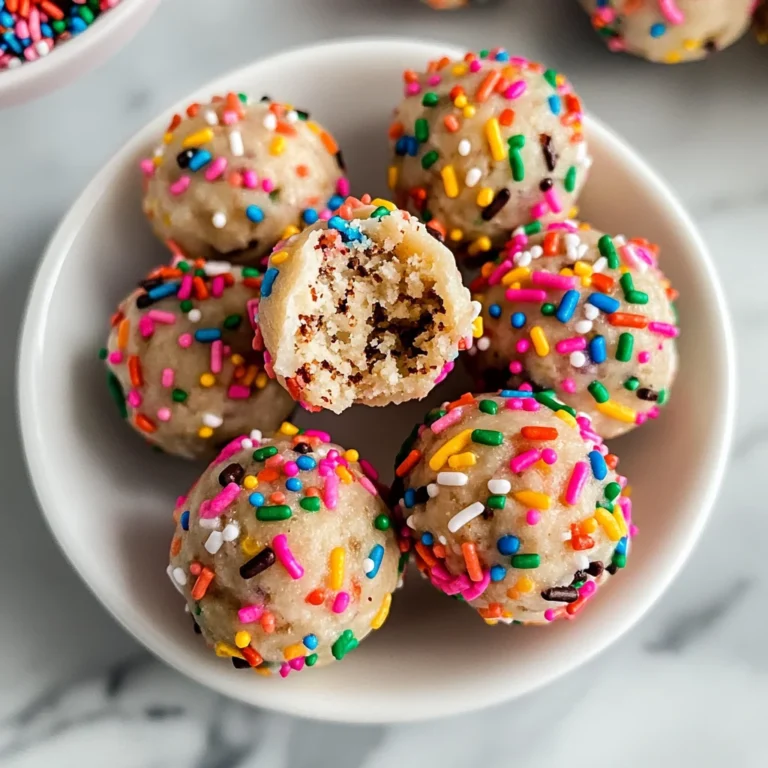
Pumpkin Protein Balls
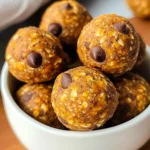
Pumpkin Protein Balls are the perfect autumn-inspired snack that combines the rich flavors of pumpkin with wholesome ingredients to create a deliciously nutritious treat. These no-bake energy bites are quick to prepare and packed with protein, making them an ideal choice for busy days when you need a healthy boost. With the warmth of cinnamon and the sweet richness of almond butter, each bite offers a delightful balance of flavors while keeping you satisfied. Plus, they are incredibly versatile—perfect for sharing with friends or enjoying as an afternoon pick-me-up. Get ready to savor the essence of fall in every bite!
- Prep Time: 15 minutes
- Cook Time: None
- Total Time: 0 hours
- Yield: Approximately 26 servings 1x
- Category: Snack
- Method: No-bake
- Cuisine: American
Ingredients
- 1 cup no salt added creamy drippy almond butter
- ⅓ cup canned pumpkin
- ¼ teaspoon cinnamon
- ½ cup honey
- ½ cup vanilla protein powder
- 1 ½ cups rolled oats
- Salt (to taste)
- 1 ½ teaspoons pumpkin pie spice
- ½ cup mini chocolate chips
Instructions
- In a large mixing bowl, combine almond butter, canned pumpkin, honey, cinnamon, and mix until smooth.
- Add vanilla protein powder, rolled oats, salt, and pumpkin pie spice; mix until well incorporated.
- Gently fold in mini chocolate chips until evenly distributed.
- Scoop out portions approximately one inch wide onto a lined baking sheet.
- Refrigerate for at least 30 minutes or until firm.
Nutrition
- Serving Size: 1 serving
- Calories: 100
- Sugar: 7g
- Sodium: 40mg
- Fat: 5g
- Saturated Fat: 0.5g
- Unsaturated Fat: 4.5g
- Trans Fat: 0g
- Carbohydrates: 12g
- Fiber: 2g
- Protein: 3g
- Cholesterol: 0mg