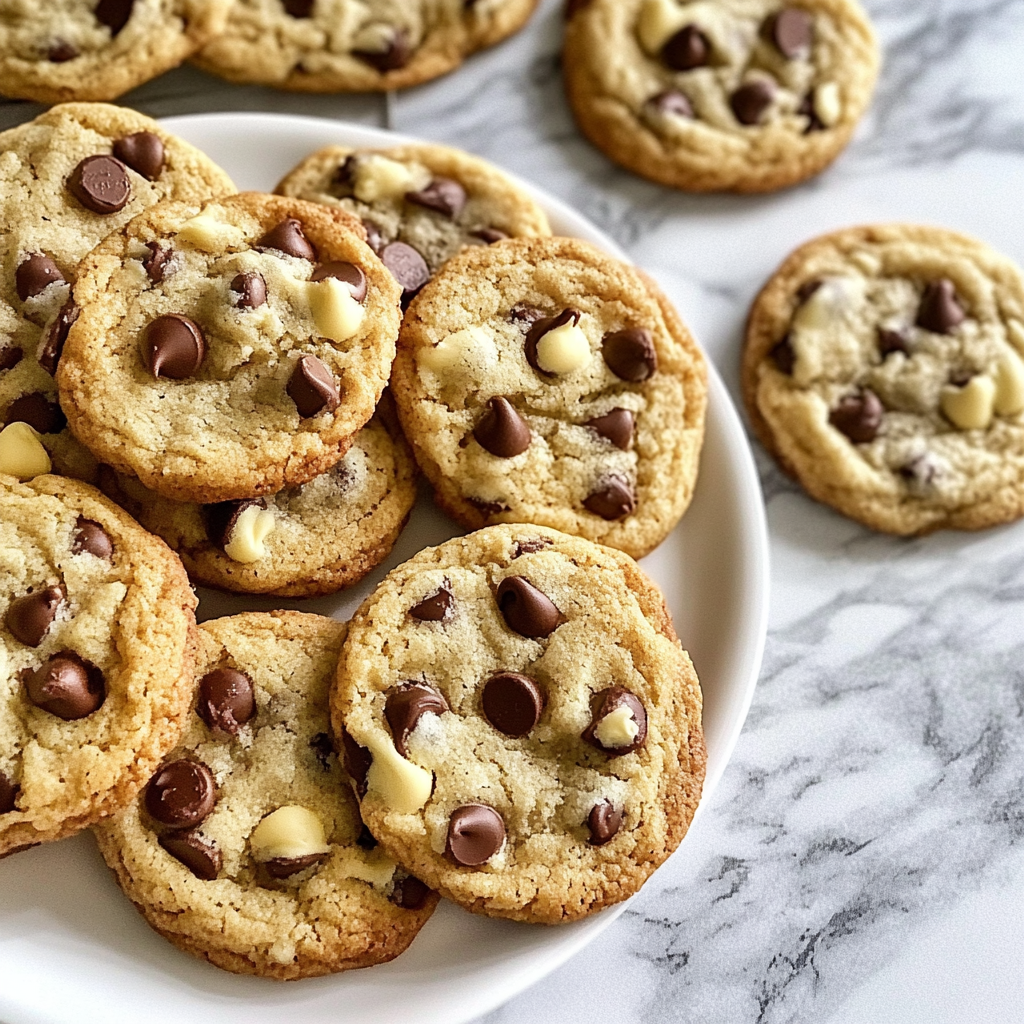
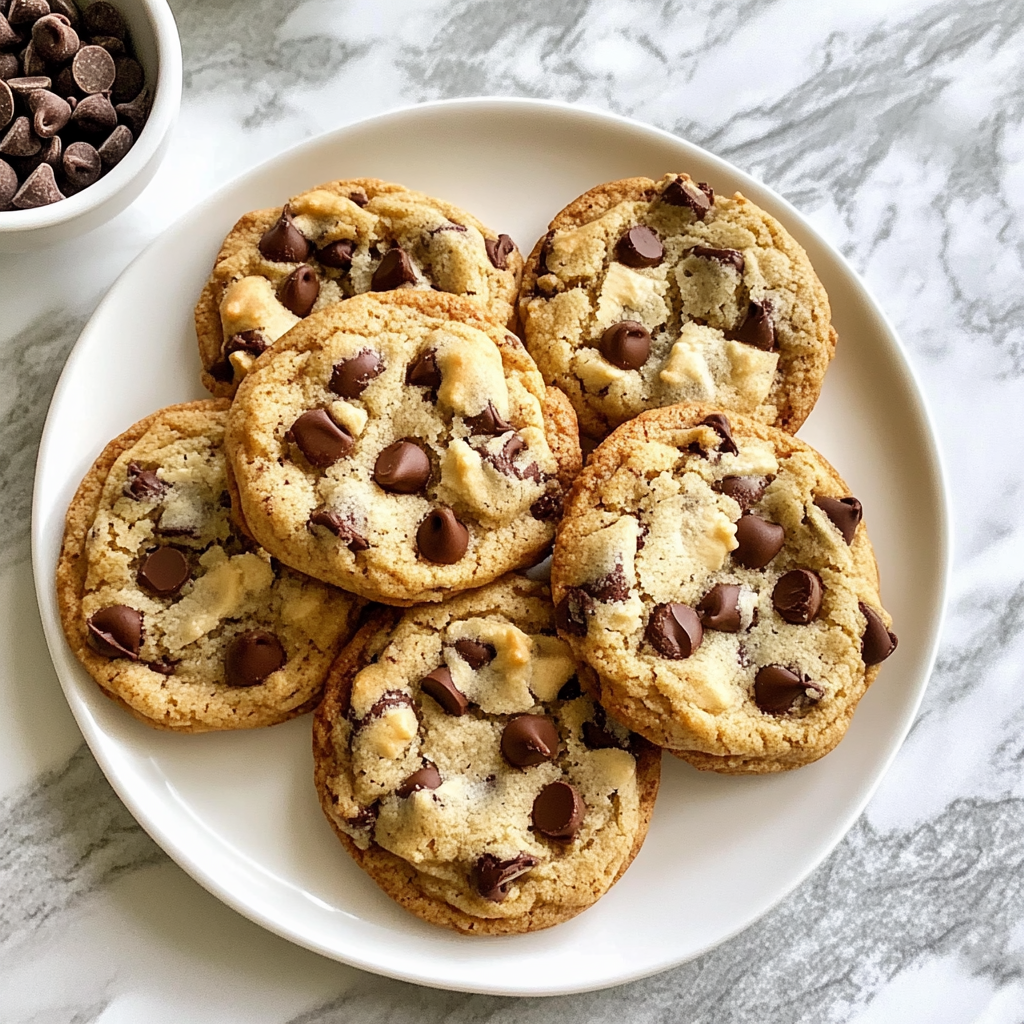
Everyday Chocolate Chip Cookies
If you’re looking for a cookie recipe that feels like a warm hug, you’ve come to the right place! These Everyday Chocolate Chip Cookies are not just any cookies; they are the ultimate treat for any occasion. Whether it’s a busy weeknight, a cozy family gathering, or just because you need a little sweetness in your life, this recipe delivers. The best part? You don’t even have to chill the dough before baking!
What makes these cookies truly special is the use of brown butter. It adds a rich, nutty flavor that takes them from ordinary to extraordinary! Trust me; once you try these, they will become your go-to for satisfying those cookie cravings.
Why You’ll Love This Recipe
- Quick and Easy: With just 15 minutes of prep time, you can whip up a batch of delicious cookies in no time.
- Family-Friendly: Kids and adults alike will fall in love with the gooey chocolate chips and soft texture.
- Make-Ahead Convenience: Feel free to freeze the cookie dough for up to 2 months—perfect for last-minute treats!
- Rich Flavor: The brown butter adds depth and warmth, making every bite unforgettable.
- Versatile Treat: Enjoy them fresh from the oven or pack them as snacks for school or work.
Ingredients You’ll Need
You won’t need anything fancy for these cookies—just simple, wholesome ingredients that you probably already have in your pantry! Here’s what you’ll need:
For the Cookie Dough
- 14 tablespoons (196g) salted butter
- 2 and 1/2 (300g) cups all-purpose flour
- 1 teaspoon baking soda
- 1/2 teaspoon flaky sea salt
- 1 cup + 2 Tablespoons (237g) dark brown sugar (packed)
- 1/2 cup (99g) granulated sugar
- 2 teaspoons vanilla
- 2 large eggs (room temperature)
- 1 cup milk chocolate chips
- 1 cup dark chocolate chips
- 1/2 cup bittersweet chocolate chips
Variations
The beauty of these Everyday Chocolate Chip Cookies is their flexibility! Feel free to mix things up based on your preferences or what you have on hand.
- Add Nuts: Toss in some chopped walnuts or pecans for an extra crunch.
- Make Them Chewy: For chewier cookies, substitute half of the all-purpose flour with oats.
- Try Different Chips: Use white chocolate or butterscotch chips instead of chocolate for a fun twist.
- Infuse Flavors: Add a teaspoon of instant coffee granules to enhance the chocolate flavor!
How to Make Everyday Chocolate Chip Cookies
Step 1: Brown the Butter
Start by placing the butter in a small saucepan over medium-high heat. Cook it for about 2 minutes while stirring almost constantly. This step is key because browning the butter brings out its nutty flavor, which makes these cookies so special!
Step 2: Cool Down
Once your butter is beautifully browned, remove it from heat. Scrape all those lovely brown bits into a heatproof bowl and let it cool down in the refrigerator until it’s back at room temperature—this will take about an hour.
Step 3: Preheat Your Oven
While waiting for that delicious butter to cool down, preheat your oven to 375 degrees Fahrenheit. Also, line two large baking sheets with parchment paper. This ensures that your cookies don’t stick and come out perfectly golden.
Step 4: Whisk Dry Ingredients
In a medium-sized bowl, whisk together the flour, baking soda, and sea salt. This step helps distribute the baking soda evenly throughout the flour so that each cookie rises beautifully as they bake.
Step 5: Mix Wet Ingredients
In your stand mixer fitted with the paddle attachment, combine the cooled brown butter with both sugars. Beat on medium speed until light and fluffy—this should take about 2 minutes. Add in the vanilla extract next; it will add an inviting aroma to your batter.
Step 6: Add Eggs
Now it’s time to incorporate those eggs! Add them one at a time and beat well after each addition. This helps create an airy texture that every good cookie needs!
Step 7: Combine Flour Mixture
Gently fold in your dry ingredients using a wooden spoon until just combined. Be careful not to overmix—this keeps those cookies soft and chewy! Finally, fold in all those delightful chocolate chips.
Step 8: Shape Your Cookies
Roll generous tablespoon-sized balls of dough between your palms—aiming for about a quarter cup per ball—and place them on your prepared sheets with plenty of space in between. These cookies will spread while baking!
Step 9: Bake & Cool
Pop one baking sheet at a time into your preheated oven and bake for about 11 minutes. You want them golden around the edges but still soft in the middle—that’s where all the gooey goodness lies! Let them cool on the sheet for about 10 minutes before transferring them to a wire rack to cool completely.
And there you have it—your very own batch of Everyday Chocolate Chip Cookies! Enjoy them warm with a glass of milk or share them with loved ones who are sure to appreciate this sweet treat. Happy baking!
Pro Tips for Making Everyday Chocolate Chip Cookies
Baking the perfect chocolate chip cookie is a delightful journey, and with these handy tips, you’ll be well on your way to cookie perfection!
- Use room temperature ingredients: Having your eggs and butter at room temperature ensures they mix more easily and evenly, resulting in a smooth dough that bakes beautifully.
- Don’t overmix the dough: Once you add the flour mixture, mix just until combined. Overmixing can lead to tough cookies instead of the soft and chewy texture we all love.
- Watch your baking time: Every oven is different! Start checking your cookies at around 9 minutes to avoid overbaking. You want them golden around the edges but still soft in the center.
- Cool before enjoying: Allowing cookies to cool on the baking sheet for 10 minutes before transferring them to a wire rack lets them set up perfectly without falling apart.
- Experiment with chocolate types: Feel free to swap out different kinds of chocolate chips based on your taste preferences! Whether it’s milk chocolate, dark chocolate, or even white chocolate, each variation adds its own unique flavor.
How to Serve Everyday Chocolate Chip Cookies
These Everyday Chocolate Chip Cookies are deliciously versatile and can be served in various fun ways. Here are some delightful ideas to enhance their presentation!
Garnishes
- Sprinkle of sea salt: A light sprinkle of flaky sea salt on top of warm cookies not only adds a beautiful touch but also enhances their sweet flavor.
- Chocolate drizzle: Melt some extra chocolate chips and drizzle over the cooled cookies for an elegant touch that makes them truly irresistible.
Side Dishes
- Vanilla ice cream: Serve these warm cookies alongside a scoop of creamy vanilla ice cream for an indulgent dessert experience that everyone will adore.
- Fresh fruit salad: A refreshing side of mixed seasonal fruits balances out the sweetness of the cookies, adding a burst of color and nutrients to your dessert table.
- Milk or dairy-free alternative: Pairing these cookies with a tall glass of cold milk (or almond/coconut milk) is a classic combo that never fails to satisfy those sweet cravings.
- Coffee or tea: For an afternoon treat, serve these cookies with a side of freshly brewed coffee or herbal tea. The flavors complement each other beautifully while providing a cozy vibe.
Now that you have all these tips and serving ideas, you’re ready to bake up a storm with your Everyday Chocolate Chip Cookies! Enjoy every bite!
Make Ahead and Storage
These Everyday Chocolate Chip Cookies are perfect for meal prep! Whether you want to bake a batch for a special occasion or simply stock up for the week, this recipe has got you covered.
Storing Leftovers
- Place completely cooled cookies in an airtight container.
- Store at room temperature for up to 1 week.
- For longer freshness, consider refrigerating them!
Freezing
- Allow the cookie dough to cool completely before freezing.
- Scoop and form the dough into balls as per the recipe.
- Place the dough balls on a baking sheet and freeze until solid.
- Transfer frozen dough balls to a freezer-safe bag or container.
- They can be stored in the freezer for up to 2 months!
Reheating
- Preheat your oven to 350 degrees (F).
- Place cookies on a baking sheet and heat for about 5-7 minutes, or until warmed through.
- Enjoy them fresh out of the oven as if they were just baked!
FAQs
If you’re curious about these delicious treats, here are some common questions!
Can I make Everyday Chocolate Chip Cookies with only one type of chocolate?
Absolutely! You can use just milk chocolate chips or dark chocolate chips. The flavor will vary slightly, but they’ll still be delicious.
Should I chill the dough for Everyday Chocolate Chip Cookies?
No need to chill the dough! This recipe is designed for immediate baking, which makes it perfect for last-minute treats.
How can I ensure my Everyday Chocolate Chip Cookies come out chewy?
Make sure not to overbake them! Pull them out of the oven while they’re still soft in the middle for that perfect chewy texture.
Can I substitute any ingredients in my Everyday Chocolate Chip Cookies?
Yes! You can use plant-based butter instead of regular butter and swap in dairy-free chocolate chips if you prefer a vegan option.
What’s the best way to store my Everyday Chocolate Chip Cookies?
Store them in an airtight container at room temperature. They’ll stay fresh and delicious for up to a week!
Final Thoughts
Baking these Everyday Chocolate Chip Cookies is not just about enjoying a treat; it’s about creating joyful moments that fill your home with warmth and sweetness. I hope you find joy in making these delightful cookies as much as I do! Don’t hesitate to get creative with them and make them your own. Happy baking, friends!
Everyday Chocolate Chip Cookies

If you’re in search of a delightful cookie recipe that brings comfort with every bite, look no further than these Everyday Chocolate Chip Cookies. Infused with the rich, nutty flavor of brown butter, these cookies elevate the classic treat to new heights. With a soft, chewy texture and gooey chocolate chips, they’re perfect for any occasion—whether it’s a busy weeknight or a cozy family gathering. Best of all, you don’t have to chill the dough beforehand, making them a quick and satisfying sweet fix. Get ready to savor each delicious bite!
- Prep Time: 15 minutes
- Cook Time: 11 minutes
- Total Time: 26 minutes
- Yield: Approximately 24 cookies 1x
- Category: Dessert
- Method: Baking
- Cuisine: American
Ingredients
- 14 tablespoons salted butter
- 2 and 1/2 cups all-purpose flour
- 1 teaspoon baking soda
- 1/2 teaspoon flaky sea salt
- 1 cup + 2 Tablespoons dark brown sugar (packed)
- 1/2 cup granulated sugar
- 2 teaspoons vanilla extract
- 2 large eggs (room temperature)
- 1 cup milk chocolate chips
- 1 cup dark chocolate chips
- 1/2 cup bittersweet chocolate chips
Instructions
- Brown the Butter: In a saucepan over medium heat, melt butter while stirring until it becomes golden and fragrant. Let cool.
- Preheat Oven: Set your oven to 375°F and line baking sheets with parchment paper.
- Mix Dry Ingredients: Whisk together flour, baking soda, and sea salt in a bowl.
- Combine Wet Ingredients: In a mixer, beat cooled brown butter with sugars until fluffy; add vanilla.
- Add Eggs: Incorporate eggs one at a time, mixing well after each addition.
- Combine Mixtures: Gradually fold in dry ingredients until just combined; add chocolate chips.
- Shape Cookies: Roll spoonfuls of dough into balls and place on prepared sheets.
- Bake: Bake for about 11 minutes or until edges are golden but centers are soft.
- Cool: Allow cookies to cool on the sheet for 10 minutes before transferring to wire racks.
Nutrition
- Serving Size: 1 cookie (30g)
- Calories: 150
- Sugar: 10g
- Sodium: 90mg
- Fat: 7g
- Saturated Fat: 4g
- Unsaturated Fat: 3g
- Trans Fat: 0g
- Carbohydrates: 19g
- Fiber: <1g
- Protein: 2g
- Cholesterol: 20mg