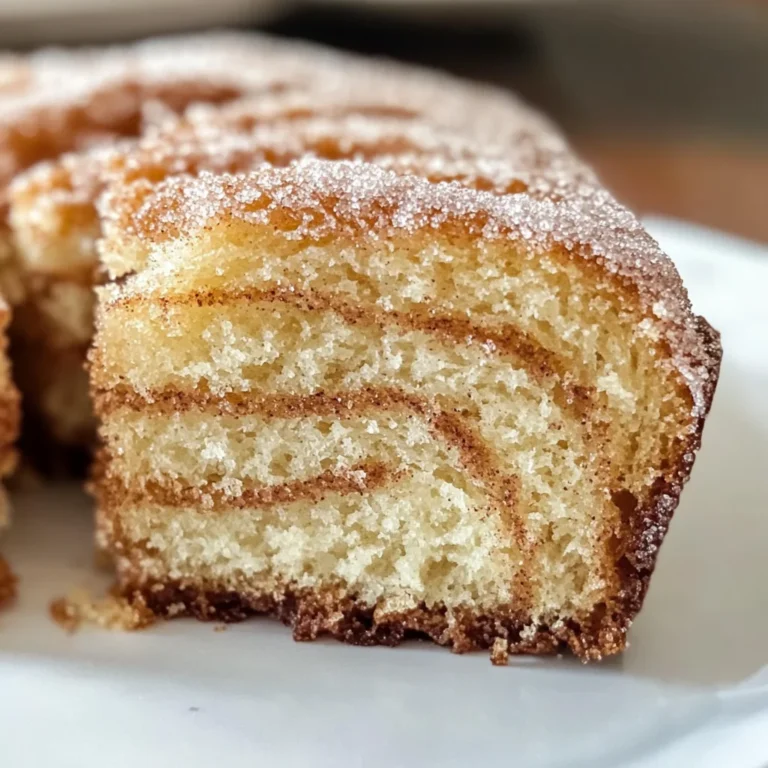
Cheesecake Stuffed Apples: A Delicious Twist on a Classic Dessert
If you’re looking for a dessert that warms your heart and fills your home with delightful aromas, you’ve come to the right place! These Cheesecake Stuffed Apples: A Delicious Twist on a Classic Dessert are not just a treat; they are a hug in dessert form. Imagine tender apples baked to perfection, bursting with a creamy cheesecake filling that’s sweet, tangy, and oh-so-satisfying. They’re perfect for busy weeknights, cozy family gatherings, or when you’re simply craving something sweet to brighten your day.
What makes this recipe even more special is its simplicity. With just a handful of wholesome ingredients and easy steps, you can create an impressive dessert that everyone will love. So grab your apron and let’s dive into this delicious adventure together!
Why You’ll Love This Recipe
- Easy preparation: This recipe takes just 20 minutes of prep time, making it perfect for busy weeknights.
- Family-friendly appeal: Kids and adults alike will adore these sweet treats—who can resist the combination of apple and cheesecake?
- Make-ahead convenience: Prepare the apples ahead of time and bake them just before serving for a warm, fresh dessert.
- Customizable flavors: You can easily tweak the filling or toppings to suit your taste preferences or what you have on hand.
- Deliciously comforting: The warm apples combined with creamy cheesecake create a cozy dessert experience that feels like home.
Ingredients You’ll Need
Making Cheesecake Stuffed Apples is super simple with these wholesome ingredients. You probably have many of them in your pantry already! Gather these items to get started:
For the Stuffed Apples
- 4 medium-sized apples (Granny Smith or Honeycrisp)
- 1 tbsp lemon juice (to prevent browning of apples)
For the Cheesecake Filling
- 8 oz cream cheese, softened
- 1/2 cup granulated sugar
- 1/4 cup brown sugar
- 1 tsp vanilla extract
- 1/2 tsp ground cinnamon
- 1/4 tsp salt
- 1/2 cup sour cream
- 1/2 cup crushed graham crackers
- 1/4 cup chopped nuts (optional, walnuts or pecans)
For Drizzling
- 1/4 cup caramel sauce (for drizzling)
Variations
This recipe is wonderfully flexible! Feel free to experiment with different flavors and textures to make it your own.
- Try different fruits: Swap out apples for pears or peaches for a unique twist on this classic.
- Add chocolate chips: Mix in some dairy-free chocolate chips with the cheesecake filling for an indulgent touch.
- Use flavored extracts: Experiment with almond or lemon extract instead of vanilla for a different flavor profile.
- Make it nut-free: Simply omit the nuts or replace them with seeds like sunflower seeds if allergies are a concern.
How to Make Cheesecake Stuffed Apples: A Delicious Twist on a Classic Dessert
Step 1: Preheat Your Oven
Start by preheating your oven to 350°F (175°C). This ensures that the apples cook evenly and helps bring out their natural sweetness as they bake.
Step 2: Prepare the Apples
Wash each apple thoroughly under cold water and pat them dry. Carefully remove the core from each apple while keeping the bottom intact; this creates the perfect cavity for our creamy filling. Drizzle a little lemon juice inside each apple to prevent browning—it also adds a nice tang!
Step 3: Make the Cheesecake Filling
In a large mixing bowl, combine softened cream cheese and granulated sugar. Beat on medium speed until smooth and creamy—this should take about 2-3 minutes. Then add in brown sugar, vanilla extract, ground cinnamon, and salt. Mixing these ingredients well is key; it ensures every bite is flavorful!
Step 4: Incorporate Sour Cream
Add sour cream into your mixture and mix until fully combined. This step gives the filling its signature creaminess, making it luscious and delightful.
Step 5: Add Crunchy Elements
Gently fold in crushed graham crackers and chopped nuts (if using) with a spatula. The graham crackers add texture while enhancing the cheesecake flavor—think of it as adding a little crust inside!
Step 6: Fill Your Apples
Using either a spoon or piping bag, fill each apple cavity with your cheesecake mixture. Pack it gently but firmly; we want those flavors snug inside!
Step 7: Bake It Right
Place your filled apples upright in a baking dish. Spoon any leftover filling around them—it’s too good to waste! Cover with aluminum foil to keep moisture in, then bake in your preheated oven for about 25-30 minutes until tender but not mushy.
Step 8: Finish Baking Uncovered
Remove the foil from your baking dish and pop it back into the oven for an additional 10-15 minutes. This allows the tops to brown slightly—a beautiful finish that adds depth to our dessert.
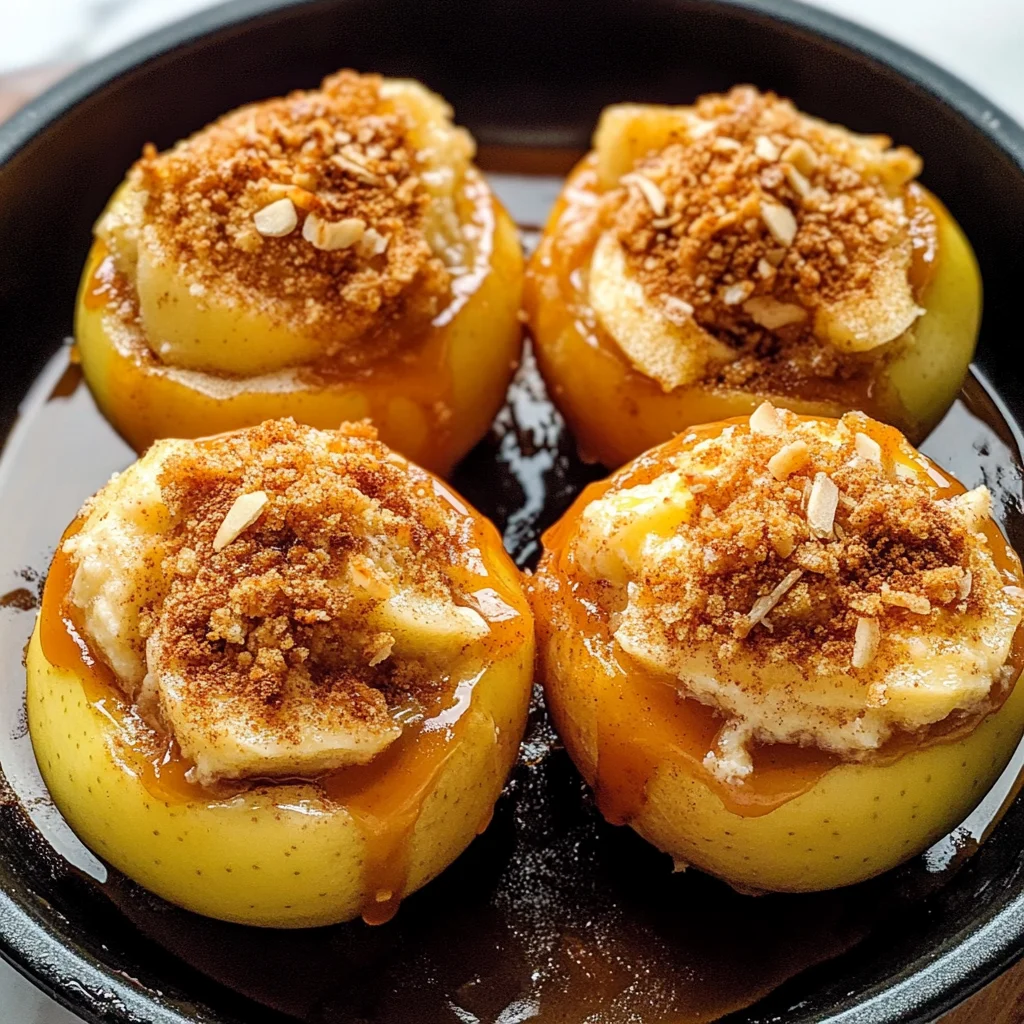
Step 9: Cool and Serve
Once done baking, let your delicious creations cool for about 10 minutes before serving. Drizzle those warm apples generously with caramel sauce and sprinkle extra cinnamon if desired. For an extra touch of decadence, serve them warm alongside vanilla ice cream or whipped cream.
Enjoy every bite of these Cheesecake Stuffed Apples—they’re sure to become one of your favorite go-to desserts! If you have any leftovers (which I doubt!), simply allow them to cool completely before storing them in an airtight container in the refrigerator. Happy baking!
Pro Tips for Making Cheesecake Stuffed Apples: A Delicious Twist on a Classic Dessert
Creating the perfect Cheesecake Stuffed Apples is all about attention to detail and a little love. Here are some helpful tips to make your dessert truly shine!
- Choose the Right Apples: Opt for firm apples like Granny Smith or Honeycrisp. Their tartness balances the sweetness of the cheesecake filling, creating a delightful contrast in flavors.
- Soften Cream Cheese Properly: Make sure your cream cheese is softened at room temperature before mixing. This ensures a smooth and creamy filling without lumps, which is key for that luscious cheesecake texture.
- Don’t Overfill: While it might be tempting to pack the apples to the brim with cheesecake mixture, leave a little space at the top. As they bake, the filling may expand slightly, and you want to avoid any overflow.
- Monitor Baking Time: Every oven is different! Keep an eye on your apples during the last few minutes of baking. You want them tender but not mushy, so adjust baking time as needed based on their size and your oven’s performance.
- Let Them Rest: After baking, let your Cheesecake Stuffed Apples cool for about 10 minutes before serving. This helps them set up a bit more and makes them easier to handle.
How to Serve Cheesecake Stuffed Apples: A Delicious Twist on a Classic Dessert
Presenting your Cheesecake Stuffed Apples can elevate this delightful dish even further! Here are some creative ideas to make serving special.
Garnishes
- Chopped Nuts: Sprinkle some toasted walnuts or pecans on top for added crunch and flavor.
- Cinnamon Dusting: A light dusting of ground cinnamon not only enhances the apple flavor but also adds visual appeal.
- Fresh Mint Leaves: Adding a sprig of mint provides a pop of color and freshness that contrasts beautifully with the warm apples.
Side Dishes
- Vanilla Ice Cream: A scoop of creamy vanilla ice cream complements the warm cheesecake filling perfectly, creating a classic dessert pairing that’s hard to resist.
- Caramel Sauce Drizzle: Serve extra caramel sauce on the side for drizzling; it enhances sweetness and adds an inviting look.
- Spiced Whipped Cream: Lightly spiced whipped cream (made with cinnamon or nutmeg) adds a fluffy texture that pairs well with the dense filling.
- Fruit Salad: A refreshing fruit salad can act as a palate cleanser between bites, featuring seasonal fruits like berries or citrus for brightness and acidity.
Enjoy making these delicious Cheesecake Stuffed Apples! They’re sure to become a new favorite in your dessert repertoire.
Make Ahead and Storage
These Cheesecake Stuffed Apples are a fantastic option for meal prep, allowing you to enjoy a delicious dessert without the last-minute rush. They can easily be made ahead of time and stored for later enjoyment!
Storing Leftovers
- Allow the stuffed apples to cool completely.
- Place them in an airtight container.
- Store in the refrigerator for up to 3 days.
Freezing
- Wrap each stuffed apple tightly in plastic wrap or aluminum foil.
- Place wrapped apples in a freezer-safe container or zip-top bag.
- Freeze for up to 2 months for best quality.
Reheating
- Thaw apples overnight in the refrigerator before reheating.
- For best results, reheat in the oven at 350°F (175°C) until warmed through (about 15-20 minutes).
- You can also use the microwave; heat on medium power for short intervals until warm.
FAQs
Here are some common questions about making Cheesecake Stuffed Apples:
Can I make these Cheesecake Stuffed Apples ahead of time?
Absolutely! You can prepare these cheesecake stuffed apples a day in advance. After baking, store them in an airtight container in the fridge until you’re ready to serve.
How do I store leftover Cheesecake Stuffed Apples?
Store any leftovers in an airtight container in the refrigerator for up to 3 days. They can also be frozen for longer storage if needed.
What type of apples work best for Cheesecake Stuffed Apples?
For this recipe, medium-sized Granny Smith or Honeycrisp apples are ideal as they hold their shape well while baking and provide a nice tart contrast to the sweet cheesecake filling.
Can I use a different filling for my Cheesecake Stuffed Apples?
Yes! Feel free to experiment with different flavors by adding chocolate chips, fruit preserves, or even spices like nutmeg to customize your cheesecake mixture.
Final Thoughts
I hope you find joy in making these delightful Cheesecake Stuffed Apples! They blend the warm comfort of baked apples with the creamy goodness of cheesecake, creating a truly special dessert. Whether it’s for a cozy night at home or sharing with friends, this recipe is sure to become a favorite. Enjoy every bite, and don’t hesitate to get creative with your toppings!
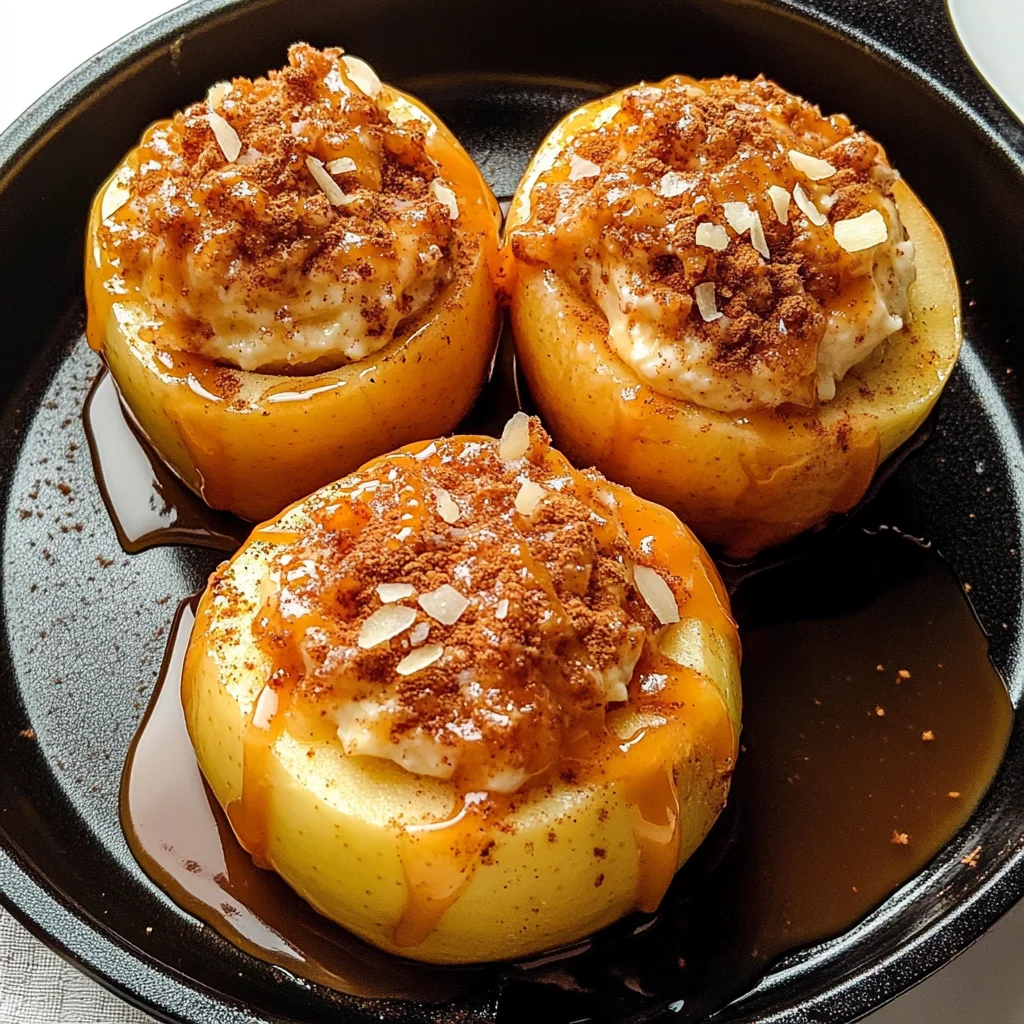
Cheesecake Stuffed Apples

If you’re searching for a heartwarming dessert that fills your home with inviting aromas, look no further than Cheesecake Stuffed Apples. This delightful twist on a classic dessert combines tender baked apples with a creamy cheesecake filling, offering a perfect blend of sweet and tangy flavors. Ideal for busy weeknights, cozy family gatherings, or simply when you crave something comforting, these stuffed apples are sure to impress everyone at the table. With just a handful of wholesome ingredients and straightforward steps, you can create an impressive dessert that feels like a warm hug.
- Prep Time: 20 minutes
- Cook Time: 45 minutes
- Total Time: 1 hour 5 minutes
- Yield: Serves 4
- Category: Dessert
- Method: Baking
- Cuisine: American
Ingredients
- 4 medium-sized apples (Granny Smith or Honeycrisp)
- 1 tbsp lemon juice
- 8 oz cream cheese, softened
- 1/2 cup granulated sugar
- 1/4 cup brown sugar
- 1/2 tsp vanilla extract
- 1/2 tsp ground cinnamon
- 1/4 tsp salt
- 1/2 cup sour cream
- 1/2 cup crushed graham crackers
- 1/4 cup chopped nuts (optional, walnuts or pecans)
- 1/4 cup caramel sauce (for drizzling)
Instructions
- Preheat your oven to 350°F (175°C).
- Wash and core the apples, then drizzle with lemon juice.
- In a bowl, mix cream cheese and sugars until smooth. Add in sour cream, graham crackers, and nuts (if using).
- Fill each apple cavity with the cheesecake mixture.
- Place apples in a baking dish; cover with foil and bake for 25-30 minutes.
- Remove foil and bake for another 10-15 minutes until tops are golden.
- Let cool for 10 minutes before drizzling with caramel sauce.
Nutrition
- Serving Size: 1 serving
- Calories: 335
- Sugar: 33g
- Sodium: 220mg
- Fat: 14g
- Saturated Fat: 7g
- Unsaturated Fat: 6g
- Trans Fat: 0g
- Carbohydrates: 51g
- Fiber: 4g
- Protein: 5g
- Cholesterol: 30mg