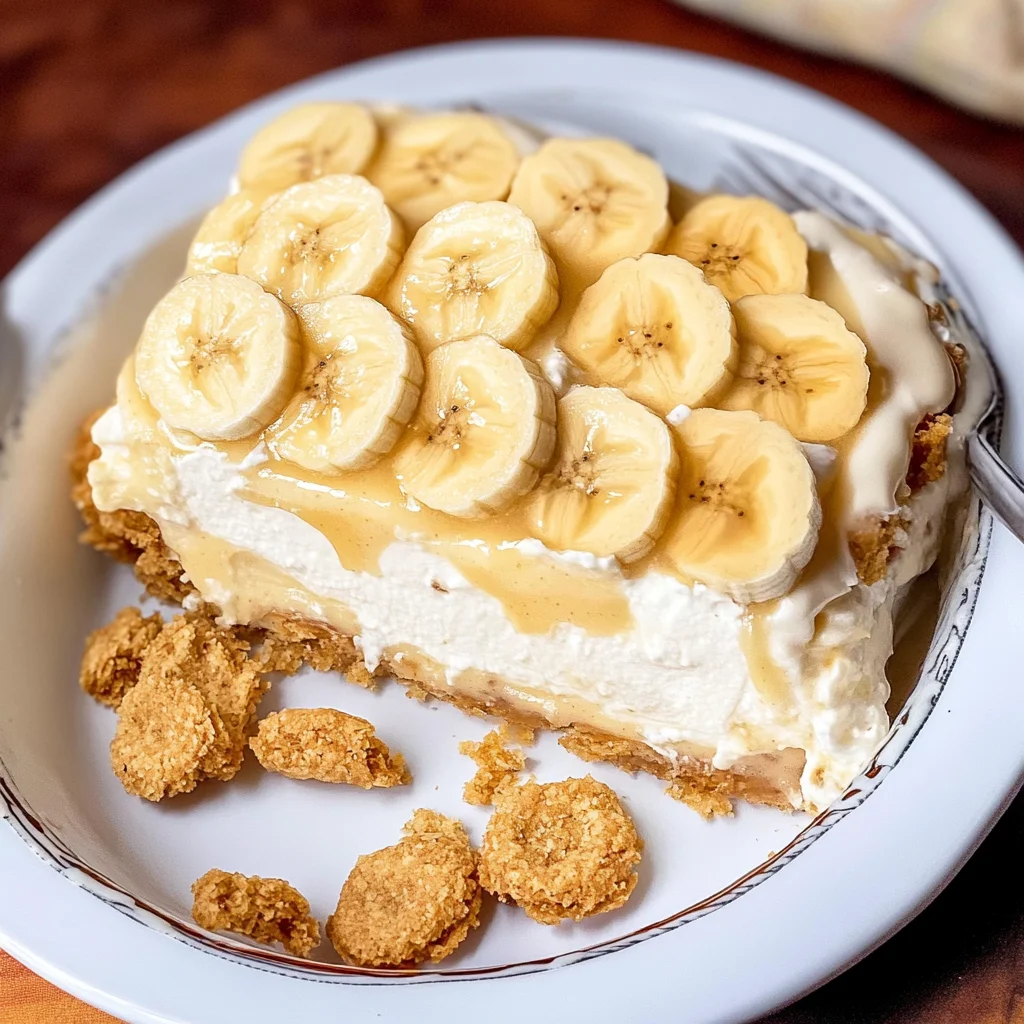
Layered Banana Pudding
If you’re looking for a dessert that feels like a warm hug on a plate, then this Layered Banana Pudding is just what you need! This creamy delight has been a family favorite for as long as I can remember. It’s perfect for busy weeknights when you want something sweet without spending hours in the kitchen. Plus, it’s a showstopper at family gatherings and potlucks—everyone will be asking for seconds!
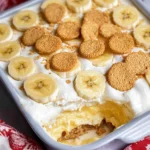
What makes this recipe special is its simplicity and that delightful combination of flavors. The bananas, creamy pudding, and crunchy Nilla wafers come together beautifully to create a dessert that feels both comforting and indulgent.
Why You’ll Love This Recipe
- Quick to Make: This recipe comes together in just 30 minutes, making it perfect for those last-minute cravings.
- Family-Friendly: Kids and adults alike adore this layered banana pudding, ensuring everyone leaves the table happy.
- Make-Ahead Convenience: Prepare it the night before and let it chill overnight—less stress for you!
- Customizable: You can easily adapt the recipe to suit your taste—more bananas or different cookies? The choice is yours!
- Deliciously Creamy: Each bite is rich and smooth, making it hard to resist going back for more!
Ingredients You’ll Need
Let’s gather some simple, wholesome ingredients to create this delicious dessert. You might already have some of these in your pantry!
For the Pudding
- 8 ounce block cream cheese (softened to room temperature)
- 14 ounce can of sweetened condensed milk
- 5 ounce package of instant vanilla pudding mix
- 2 cups milk
- 2 teaspoons vanilla extract
- 8 ounce tub of Cool Whip whipped topping (thawed)
For the Layers
- 12 ounce box of Nilla wafers
- 5-7 bananas (peeled and sliced into coins)
Variations
One of the best things about this layered banana pudding is how flexible it is! Feel free to get creative with these variation ideas:
- Add some crunch: Try adding crushed nuts like pecans or walnuts between layers for extra texture.
- Go chocolatey: Swap out some Nilla wafers for chocolate wafers to give your pudding a delightful twist.
- Mix in other fruits: Add strawberries or blueberries for a fruity burst that pairs perfectly with bananas.
- Try different extracts: Experiment with almond or coconut extract instead of vanilla for unique flavor profiles.
How to Make Layered Banana Pudding
Step 1: Beat the Cream Cheese
In a large bowl, beat the softened cream cheese with an electric mixer on medium speed until it’s nice and smooth. This step is key because it helps form the base of your pudding mixture. A fluffy cream cheese ensures every bite is creamy!
Step 2: Combine Ingredients
Next, add in the sweetened condensed milk, instant vanilla pudding mix, milk, and vanilla extract. Mix everything together until well combined. This mixture will create that luscious pudding layer we all love.
Step 3: Fold in Whipped Topping
Gently stir in half of the whipped topping into your pudding mixture. This step adds lightness and fluffiness to your dessert. It’s what makes each spoonful feel so indulgent!
Step 4: Layer It Up
Now it’s time to start layering! Line a 9 x 13 baking dish with one layer of Nilla Wafer cookies. Top them with half of your banana slices, followed by half of the pudding mixture spread evenly over them.
Step 5: Repeat Layers
Add another layer of Nilla wafers on top of the pudding followed by more banana slices. Repeat pouring in the remaining pudding mixture on top until you’re finished layering. Ending with pudding gives it a beautiful finish!
Step 6: Chill Out
Cover your delicious creation and let it chill in the refrigerator for at least 4 hours or overnight if possible. Chilling allows all those flavors to meld beautifully.
Step 7: Final Touches Before Serving
When you’re ready to serve, take it out from the fridge and add some fresh Nilla Wafers and banana slices on top. This final touch not only looks great but also adds freshness!
And there you have it—a delightful Layered Banana Pudding that’s bound to become a staple in your home! Enjoy every creamy bite!
Pro Tips for Making Layered Banana Pudding
Creating the perfect layered banana pudding is all about attention to detail and a few helpful strategies. Here are some pro tips to ensure your dessert turns out as delicious as possible!
- Use ripe bananas: Choosing bananas that are just ripe ensures they are sweet and flavorful. Overripe bananas can become mushy, while underripe ones may not provide the rich taste you desire.
- Chill before serving: Allowing the pudding to chill for at least four hours (or overnight) helps the flavors meld beautifully and gives the dish a firmer texture, making it easier to serve.
- Layer carefully: When layering your ingredients, take your time! Even layers create a beautiful presentation and ensure that each bite is filled with the same delightful combination of flavors.
- Opt for homemade whipped topping: If you’re feeling adventurous, making your own whipped cream can elevate this dessert. It’s light, fluffy, and free from preservatives, enhancing the overall taste of your pudding.
- Experiment with flavor variations: While this recipe features classic vanilla pudding, feel free to try different flavors like chocolate or butterscotch for a fun twist on this beloved dessert!
How to Serve Layered Banana Pudding
Serving layered banana pudding can be as enjoyable as making it! With a few simple touches, you can present this delightful dish beautifully.
Garnishes
- Sliced fresh bananas: Adding fresh banana slices on top right before serving not only looks appealing but also emphasizes the key ingredient in this dessert.
- Crushed Nilla wafers: Sprinkling crushed Nilla wafers over the top adds a nice crunch and enhances the cookie flavor that everyone loves.
Side Dishes
- Fresh fruit salad: A refreshing fruit salad complements the creamy texture of the banana pudding. Choose seasonal fruits for added flavor and color!
- Vanilla ice cream: Serve with a scoop of vanilla ice cream on the side to create a delightful contrast between warm and cold textures while enhancing sweetness.
- Chocolate chip cookies: Crispy chocolate chip cookies provide a wonderful contrast in flavor and texture, making them an excellent partner for your layered banana pudding.
Enjoy creating and serving this delicious layered banana pudding! It’s sure to become a favorite at any gathering or family meal.
Make Ahead and Storage
This Layered Banana Pudding recipe is perfect for meal prep! You can prepare it ahead of time, making it an ideal dessert for gatherings or a sweet treat to enjoy throughout the week.
Storing Leftovers
- Store any leftovers in an airtight container in the refrigerator.
- Enjoy within 3-4 days for the best taste and texture.
Freezing
- This dessert isn’t ideal for freezing due to its creamy texture, but you can freeze the pudding mixture before layering if needed.
- If you choose to freeze, make sure to store it in a freezer-safe container and consume within 1 month.
Reheating
- There’s no need to reheat this dessert; it’s best served chilled.
- Simply remove from the fridge and add the fresh banana slices and Nilla wafers just before serving.
FAQs
Here are some frequently asked questions about Layered Banana Pudding that might help you as you prepare this delightful treat!
Can I use a different type of pudding mix for Layered Banana Pudding?
Absolutely! While vanilla pudding is traditional, you can experiment with other flavors like banana or butterscotch for a unique twist on this classic dessert.
How long does Layered Banana Pudding last in the fridge?
Layered Banana Pudding will last about 3-4 days when stored properly in the refrigerator. Just remember to add fresh toppings before serving!
Is Layered Banana Pudding suitable for kids?
Yes! Layered Banana Pudding is a kid-friendly dessert that is creamy, delicious, and fun to eat. Just be mindful of any allergies your guests may have!
Final Thoughts
I hope you find joy in making this Layered Banana Pudding! It’s such a comforting dessert that brings back fond memories of family gatherings. Whether you’re serving it at a party or enjoying it on a quiet evening at home, this delightful treat is sure to bring smiles all around. Don’t hesitate to try it out, and happy cooking!
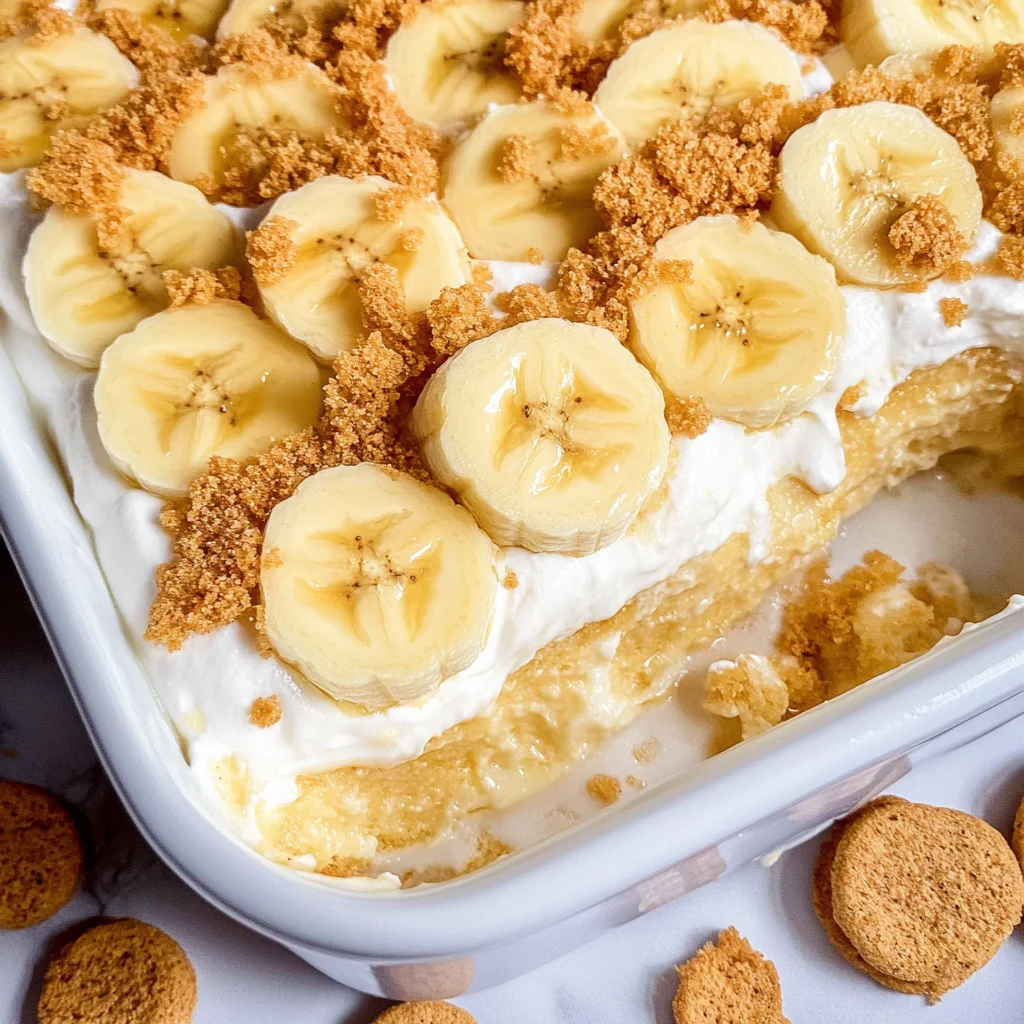
Layered Banana Pudding
Layered Banana Pudding is a delightful dessert that combines creamy pudding, fresh bananas, and crunchy cookie layers to create a comforting treat everyone loves. This no-bake recipe is perfect for quick weeknight desserts or as a showstopper at gatherings. With just a few simple ingredients, you can whip up this nostalgic favorite that will have family and friends asking for seconds. Easy to make ahead and customize, this banana pudding brings smiles and satisfaction in every bite.
- Prep Time: 30 minutes
- Cook Time: None
- Total Time: 0 hours
- Yield: Serves approximately 8
- Category: Dessert
- Method: No-Bake
- Cuisine: American
Ingredients
- 8 ounces cream cheese (softened)
- 14 ounces sweetened condensed milk
- 5 ounces instant vanilla pudding mix
- 2 cups milk
- 2 teaspoons vanilla extract
- 8 ounces whipped topping (thawed)
- 12 ounces Nilla wafers
- 5–7 bananas (sliced)
Instructions
- In a large bowl, beat the softened cream cheese until smooth.
- Add sweetened condensed milk, instant vanilla pudding mix, milk, and vanilla extract; mix until combined.
- Fold in half of the whipped topping gently.
- In a 9 x 13 baking dish, layer Nilla wafers followed by half of the banana slices and half of the pudding mixture.
- Repeat with another layer of Nilla wafers, remaining banana slices, and top with the last of the pudding mixture.
- Cover and chill in the refrigerator for at least 4 hours or overnight.
- Before serving, top with fresh banana slices and crushed Nilla wafers.
Nutrition
- Serving Size: 1 cup (240g)
- Calories: 320
- Sugar: 29g
- Sodium: 210mg
- Fat: 15g
- Saturated Fat: 8g
- Unsaturated Fat: 6g
- Trans Fat: 0g
- Carbohydrates: 43g
- Fiber: 1g
- Protein: 4g
- Cholesterol: 30mg