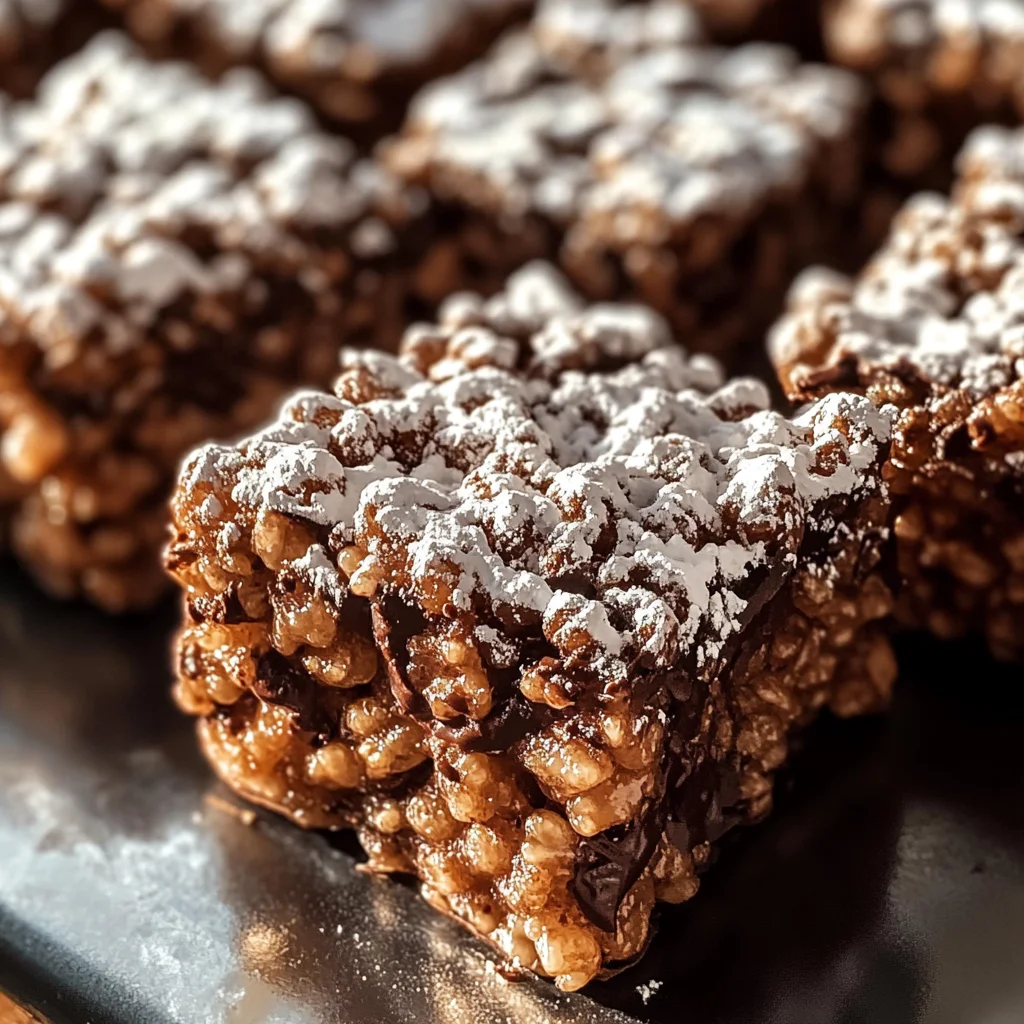
Muddy Buddy Rice Krispies
If you’re looking for a delightful treat that’s both sweet and crunchy, look no further than Muddy Buddy Rice Krispies! This recipe has been a family favorite for years, and I can’t wait to share it with you. It’s so easy to whip up and requires no baking, making it perfect for those busy weeknights or spontaneous gatherings with friends. The combination of chocolate, peanut butter, and crispy rice cereal creates a flavor explosion that will have everyone asking for seconds!
What makes these Muddy Buddy Rice Krispies extra special is how versatile they are. Whether you’re packing them in lunchboxes, serving them at parties, or simply enjoying them yourself during movie night, this treat never disappoints.
Why You’ll Love This Recipe
- Quick and Easy: With just a few simple steps, you can make this delicious snack in no time.
- No-Bake Convenience: Perfect for hot days or when you want to skip the oven.
- Family-Friendly: Kids love the sweetness and crunch—it’s a great way to get them involved in the kitchen!
- Make Ahead: These treats store well, so you can prepare them in advance for events or snack attacks.
- Customizable Flavor: Add your favorite mix-ins or toppings to make it your own!
Ingredients You’ll Need
Making Muddy Buddy Rice Krispies is a breeze with these simple, wholesome ingredients. You probably have most of them in your pantry already! Let’s gather what we need:
- 6 cups Rice Krispies cereal
- 2 cups chocolate chips
- 1/2 cup creamy peanut butter
- 1/4 cup unsalted butter
- 1 teaspoon vanilla extract
- 1 1/2 cups powdered sugar, shaken (or 1/2 cup, sprinkled)
Variations
The beauty of this recipe is its flexibility! You can easily switch things up based on your preferences or what you have on hand. Here are some fun ideas:
- Add Nuts: Toss in some chopped peanuts or almonds for added crunch and protein.
- Mix Up the Chocolate: Use milk chocolate or white chocolate chips if you’re feeling adventurous!
- Incorporate Sprinkles: Add colorful sprinkles before the mixture sets for a festive touch.
- Try Different Nut Butters: Swap out creamy peanut butter for almond butter or sunflower seed butter for a different flavor profile.
How to Make Muddy Buddy Rice Krispies
Step 1: Melt the Chocolate and Peanut Butter
In a microwave-safe bowl, combine the chocolate chips and creamy peanut butter. Microwave in 30-second intervals, stirring between each session until the mixture is smooth and well-blended. It may be tempting to heat it all at once, but trust me—slow and steady wins the race here! This ensures that everything melts evenly without burning.
Step 2: Add Butter and Vanilla
Once your chocolate and peanut butter mixture is silky smooth, stir in the unsalted butter and vanilla extract. The butter gives it that extra creamy texture while the vanilla adds a subtle but delightful depth of flavor. Mixing these ingredients together creates an irresistible base for our treat!
Step 3: Coat the Rice Krispies
In a large mixing bowl, pour in the Rice Krispies cereal. Then, slowly drizzle the chocolate-peanut butter mixture over the cereal, folding gently to ensure even coverage. Be patient here—you want every crispy bit to be coated! This step is crucial for achieving that signature Muddy Buddy goodness.
Step 4: Let It Cool
Spread the coated cereal mixture onto a lined baking sheet. Allow it to cool and set for about 15-20 minutes. Don’t rush this step—letting it cool ensures the cereal maintains its crunch while the chocolate mixture firms up beautifully.
Step 5: Add the Powdered Sugar
Once cooled, transfer the coated cereal into a large resealable plastic bag. Add the powdered sugar and gently shake until everything is dusted in a sugary blanket. This gives them that signature Muddy Buddy look and taste! If you’re feeling fancy, you can opt to sprinkle the sugar instead—it works just as well!
Step 6: Serve and Enjoy
Now that everything’s set and ready, cut your Muddy Buddy Rice Krispies into squares and serve! This snack is perfect for any occasion—whether you’re hosting a party or simply craving something sweet and crunchy. Enjoy sharing this beloved treat with friends and family!
Pro Tips for Making Muddy Buddy Rice Krispies
Making Muddy Buddy Rice Krispies is a breeze, but these tips will ensure your treats are absolutely perfect!
- Use fresh ingredients: Fresh Rice Krispies and chocolate chips make a noticeable difference in taste and texture. Stale ingredients can lead to a less satisfying crunch.
- Be patient while melting: Melting the chocolate and peanut butter slowly prevents burning and ensures a smooth, even mixture. This is key for the best coating on your cereal.
- Fold gently: When mixing the Rice Krispies with the chocolate-peanut butter blend, use a gentle folding motion to avoid crushing the cereal. This helps maintain that delightful crunch.
- Allow ample cooling time: Giving your treats enough time to cool will help them set properly without losing their crispy texture. Rushing this step can lead to soggy treats.
- Experiment with flavors: Feel free to add a pinch of sea salt or swap in different nut butters for variety. Customizing your treats can enhance the flavor and make them uniquely yours!
How to Serve Muddy Buddy Rice Krispies
These delightful treats are not only delicious but can also be presented beautifully! Here are some creative ways to serve them that will impress your guests.
Garnishes
- Chocolate Drizzle: A simple drizzle of melted chocolate over the top adds an elegant touch and extra flavor.
- Chopped Nuts: Sprinkling some finely chopped nuts on top gives an added crunch and enhances the nutty essence of the peanut butter.
- Sprinkles: For a fun twist, colorful sprinkles can make these treats more festive, perfect for parties or celebrations.
Side Dishes
- Fresh Fruit Salad: A refreshing mix of seasonal fruits complements the sweetness of the Rice Krispies treats and adds a healthy balance.
- Yogurt Parfaits: Layering yogurt with berries and granola creates a creamy, crunchy contrast that pairs beautifully with the Muddy Buddy Rice Krispies.
- Veggie Platter: A colorful array of crunchy vegetables served with hummus provides a savory option that balances out the sweetness of your treat.
- Milk or Plant-Based Alternatives: A cold glass of milk (or almond/cashew milk) makes for the perfect pairing to wash down these sweet snacks!
With these serving suggestions and pro tips in your back pocket, you’re all set to enjoy Muddy Buddy Rice Krispies like never before! Happy snacking!
Make Ahead and Storage
Muddy Buddy Rice Krispies are not only a delightful treat but also a fantastic option for meal prep. You can easily whip up a batch ahead of time and store them for snacking throughout the week or for special occasions.
Storing Leftovers
- Allow the Muddy Buddy Rice Krispies to cool completely before storing.
- Place them in an airtight container to maintain their crunch.
- Store at room temperature for up to one week.
Freezing
- If you want to extend their shelf life, freezing is a great option.
- Cut the treats into squares and wrap each piece in plastic wrap or parchment paper.
- Place the wrapped pieces in a resealable freezer bag, removing as much air as possible.
- Freeze for up to three months. When you’re ready to enjoy them, simply thaw at room temperature.
Reheating
- There’s no need to reheat Muddy Buddy Rice Krispies since they’re best enjoyed at room temperature.
- If they have been frozen, allow them to thaw fully before serving.
FAQs
Here are some common questions about making Muddy Buddy Rice Krispies.
What are Muddy Buddy Rice Krispies?
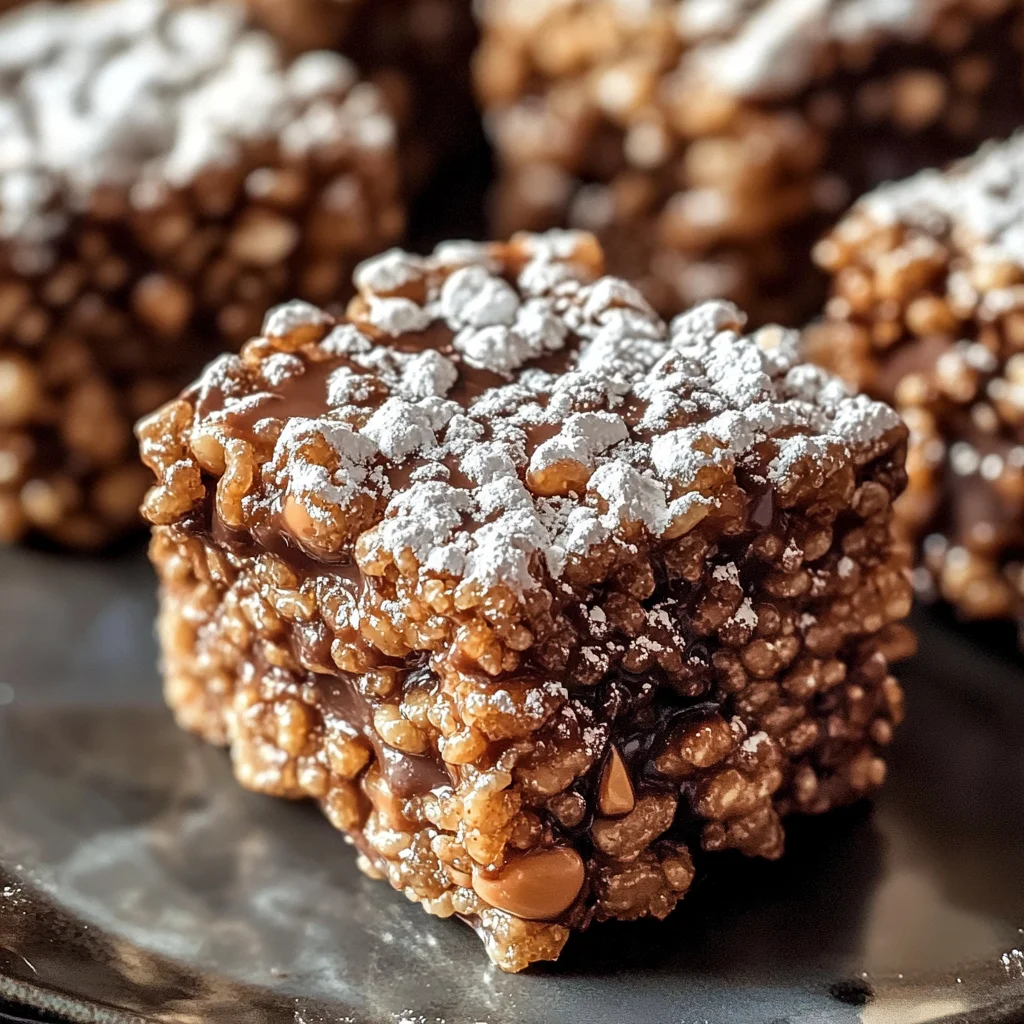
Muddy Buddy Rice Krispies are a no-bake treat made from crispy Rice Krispies cereal coated in a delicious mixture of chocolate and peanut butter, then dusted with powdered sugar. They’re perfect for satisfying your sweet cravings!
Can I make Muddy Buddy Rice Krispies ahead of time?
Absolutely! These treats store well and can be prepared ahead of time. Just follow the storage guidelines to keep them fresh and crunchy for later enjoyment.
How should I serve Muddy Buddy Rice Krispies?
Cut them into squares or bars, making it easy for guests or family members to grab and enjoy. They’re great for parties, picnics, or just as an afternoon snack!
Final Thoughts
I hope you find joy in making these Muddy Buddy Rice Krispies! They’re not just a treat—they’re a way to share sweet moments with friends and family. Whether you’re hosting a gathering or simply indulging in a little self-care, this recipe is sure to bring smiles all around. Enjoy every crunchy bite!
Muddy Buddy Rice Krispies
If you’re on the lookout for a deliciously sweet and crunchy treat, Muddy Buddy Rice Krispies are your answer! This no-bake delight combines the rich flavors of chocolate and peanut butter with the satisfying crunch of Rice Krispies cereal. Perfect for busy weeknights or impromptu gatherings, these treats are not only simple to make but incredibly versatile as well. Whether you’re packing them in lunchboxes, enjoying them during movie nights, or serving them at parties, they are bound to be a hit. With customizable options and easy-to-follow steps, creating this family favorite is both fun and rewarding!
- Prep Time: 15 minutes
- Cook Time: None
- Total Time: 0 hours
- Yield: Approximately 24 squares 1x
- Category: Dessert
- Method: No-Bake
- Cuisine: American
Ingredients
- 6 cups Rice Krispies cereal
- 2 cups chocolate chips
- 1/2 cup creamy peanut butter
- 1/4 cup unsalted butter
- 1 teaspoon vanilla extract
- 1 1/2 cups powdered sugar
Instructions
- In a microwave-safe bowl, combine chocolate chips and peanut butter. Heat in 30-second intervals, stirring until smooth.
- Stir in unsalted butter and vanilla extract until well blended.
- Pour Rice Krispies into a large bowl and drizzle the chocolate-peanut butter mixture over them. Gently fold until evenly coated.
- Spread the mixture onto a lined baking sheet and allow it to cool for 15-20 minutes.
- Transfer to a resealable bag with powdered sugar, seal, and shake until coated.
- Cut into squares and serve!
Nutrition
- Serving Size: 1 serving
- Calories: 150
- Sugar: 12g
- Sodium: 50mg
- Fat: 8g
- Saturated Fat: 3g
- Unsaturated Fat: 4g
- Trans Fat: 0g
- Carbohydrates: 18g
- Fiber: <1g
- Protein: 2g
- Cholesterol: 10mg