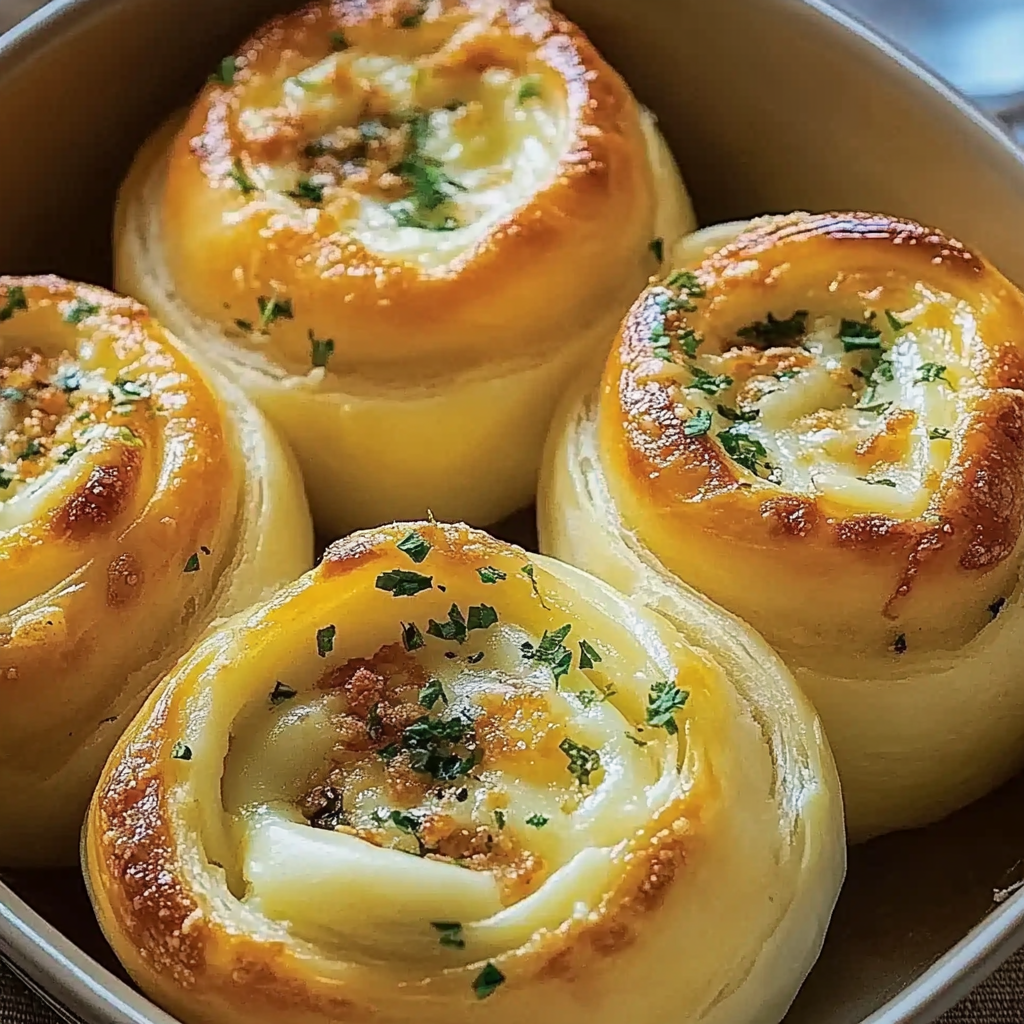
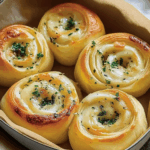
Cheesy Garlic Butter Rollups
If you’re looking for a quick and delicious snack that guarantees smiles all around, then you’ve come to the right place! These Cheesy Garlic Butter Rollups are a favorite in my house, and I bet they’ll become a staple in yours too. With their gooey cheese filling and fragrant garlic flavor, they make for perfect appetizers at family gatherings or cozy evenings in. Plus, they’re super easy to whip up on busy weeknights when you need something comforting yet delightful.
What I love most about these rollups is how versatile they are; whether it’s movie night or a casual get-together, everyone digs right in. The best part? You only need a handful of simple ingredients to create this cheesy goodness!
Why You’ll Love This Recipe
- Quick Preparation: With just 15 minutes of prep time, you can have these delicious rollups ready to bake!
- Family-Friendly Appeal: Kids and adults alike love cheesy snacks, making them perfect for any occasion.
- Make-Ahead Convenience: Prepare them ahead of time and pop them in the oven when you’re ready to serve.
- Irresistible Flavor: The combination of garlic and melted cheese will have everyone coming back for seconds!
Ingredients You’ll Need
Let’s gather some simple, wholesome ingredients that you probably already have on hand! These will come together beautifully to create the cheesy magic of our rollups.
For the Rollups
- 1 can (8 oz) refrigerated crescent roll dough
- 1 cup shredded mozzarella cheese
- 1/2 cup grated Parmesan cheese
For the Garlic Butter Mixture
- 1/4 cup unsalted butter, melted
- 2 cloves garlic, minced
- 1 teaspoon Italian seasoning
- 1/4 teaspoon salt
Optional Garnishes
- Chopped fresh parsley
- Extra Parmesan cheese
Variations
One of the best things about these Cheesy Garlic Butter Rollups is how flexible they are! Feel free to get creative with fillings or garnishes based on your taste. Here are some ideas:
- Add Veggies: Include spinach or diced bell peppers inside for added nutrition and flavor.
- Try Different Cheeses: Experiment with cheddar or pepper jack for a different twist on the classic.
- Spice It Up: Add a pinch of red pepper flakes to the garlic butter for a little kick.
- Make It Herby: Swap out Italian seasoning for your favorite fresh herbs like basil or chives.
How to Make Cheesy Garlic Butter Rollups
Step 1: Preheat the Oven
Start by preheating your oven to 375°F (190°C). This ensures that our rollups bake evenly and turn golden brown. While the oven heats up, line your baking sheet with parchment paper or a silicone baking mat—this helps prevent sticking!
Step 2: Prepare the Dough
Unroll that crescent roll dough and separate it into 8 triangles. This is where the fun begins! Each triangle will be filled with cheesy goodness, so don’t worry if some seem imperfect; they’ll still taste amazing.
Step 3: Fill Each Triangle
Sprinkle about 1-2 tablespoons of shredded mozzarella and a light sprinkle of Parmesan cheese onto each triangle. Be generous but not overwhelming; we want gooey cheese but also need our rollups to hold together.
Step 4: Roll Them Up
Starting from the wide end of each triangle, roll it up tightly towards the tip. Make sure to enclose all that lovely cheese inside! Place the rollups seam side down on your prepared baking sheet. This helps keep everything tucked neatly in as they bake.
Step 5: Make the Garlic Butter Mixture
In a small bowl, mix together your melted butter, minced garlic, Italian seasoning, and salt. This flavorful blend will bring out all those delicious notes in our rollups!
Step 6: Brush with Garlic Butter
Generously brush that scrumptious garlic butter over each rollup. Don’t be shy—this adds all the flavor! Save some butter for later; we’ll use it again after baking.
Step 7: Bake Until Golden Brown
Pop those beauties into your preheated oven and bake for about 10-12 minutes. You’ll know they’re ready when they turn golden brown and start smelling heavenly.
Step 8: Final Touches
Once baked, give them another brush with any remaining garlic butter. If you’d like, sprinkle some chopped parsley and extra Parmesan cheese on top for an elegant finish. Serve warm and watch them disappear!
Pro Tips for Making Cheesy Garlic Butter Rollups
These Cheesy Garlic Butter Rollups are not only delicious but also super easy to make. Here are some pro tips to elevate your rollups and impress your guests!
- Use fresh ingredients: Fresh garlic and herbs make a world of difference in flavor compared to dried versions. Fresh ingredients can enhance the overall taste, making your rollups even more aromatic and delightful.
- Experiment with cheese: While mozzarella and Parmesan are classic choices, feel free to mix in other cheeses like cheddar or pepper jack for a spicy kick. This adds depth to the flavor profile and allows you to customize according to your taste preferences.
- Don’t skip the butter: Brushing the rollups with garlic butter before baking ensures they have a golden, crispy exterior packed with flavor. The butter also helps keep the rollups moist and delicious as they bake.
- Serve immediately: These rollups are best enjoyed straight from the oven when they’re still warm and gooey. Serving them hot maximizes their cheesy goodness, making them irresistible to everyone.
- Make it a meal: Consider serving these rollups with a side salad or soup for a complete meal. Pairing them with something light balances out their richness and makes for a satisfying dining experience.
How to Serve Cheesy Garlic Butter Rollups
When it comes to serving Cheesy Garlic Butter Rollups, presentation is key! With a few simple touches, you can turn this snack into an impressive appetizer or part of a meal.
Garnishes
- Chopped fresh parsley: A sprinkle of fresh parsley adds a pop of color and freshness that brightens up the dish.
- Extra Parmesan cheese: A light dusting of grated Parmesan on top right before serving elevates both the look and flavor!
- Red pepper flakes: For those who enjoy some heat, adding red pepper flakes as a garnish gives an extra zing that pairs beautifully with the garlic.
Side Dishes
- Mixed green salad: A crisp salad tossed with vinaigrette provides a refreshing contrast to the rich flavors of the rollups. The acidity cuts through the richness and balances your plate nicely.
- Tomato soup: A warm bowl of tomato soup complements the cheesy rollups perfectly. The combination creates a comforting and nostalgic meal that’s loved by many.
- Vegetable platter: Pairing these rollups with fresh veggies like carrots, celery, or bell peppers offers a crunchy texture that contrasts nicely with the soft rollups while providing additional nutrition.
- Garlic bread: If you’re really craving that garlic flavor, serving these alongside some garlic bread creates an indulgent feast that’s perfect for sharing!
With these tips and serving suggestions, your Cheesy Garlic Butter Rollups will be an absolute hit at any gathering! Enjoy every cheesy bite!
Make Ahead and Storage
These Cheesy Garlic Butter Rollups are not just delicious; they’re also perfect for meal prep! You can easily make them ahead of time and store them for later, ensuring you always have a tasty snack or appetizer on hand.
Storing Leftovers
- Place any leftover rollups in an airtight container.
- Store them in the refrigerator for up to 3 days.
- For best results, reheat them before serving to regain their crispy texture.
Freezing
- Allow the baked rollups to cool completely before freezing.
- Arrange them in a single layer on a baking sheet and freeze until solid.
- Transfer the frozen rollups to a freezer-safe bag or container, where they can be stored for up to 2 months.
Reheating
- To reheat from frozen: Preheat your oven to 375°F (190°C) and bake for about 15-20 minutes or until heated through.
- If reheating refrigerated rollups, bake at the same temperature for about 10 minutes, or until warm and crispy.
- For a quicker option, use a microwave but note that this may make them less crispy.
FAQs
Here are answers to some common questions about Cheesy Garlic Butter Rollups:
Can I use different types of cheese in Cheesy Garlic Butter Rollups?
Absolutely! Feel free to mix and match your favorite cheeses. Cheddar, gouda, or even a spicy pepper jack can add a unique twist to your rollups.
How do I make Cheesy Garlic Butter Rollups vegetarian?
This recipe is already vegetarian-friendly as it doesn’t include any meat or animal-derived products. Just ensure your cheese is rennet-free if you’re looking for a strict vegetarian option.
What can I serve with Cheesy Garlic Butter Rollups?
These rollups pair wonderfully with marinara sauce, ranch dressing, or even a simple garlic aioli for dipping.
Can I prepare the filling ahead of time for Cheesy Garlic Butter Rollups?
Yes! You can prepare the cheese mixture ahead of time and store it in the refrigerator. Just assemble the rollups right before baking for fresh-out-of-the-oven goodness!
Final Thoughts
I hope you give these Cheesy Garlic Butter Rollups a try! They’re not only simple to make but also incredibly satisfying with their gooey cheese and aromatic garlic flavor. Whether you’re hosting friends or just treating yourself, these rollups are sure to impress. Enjoy the process of making them and savor every delicious bite!
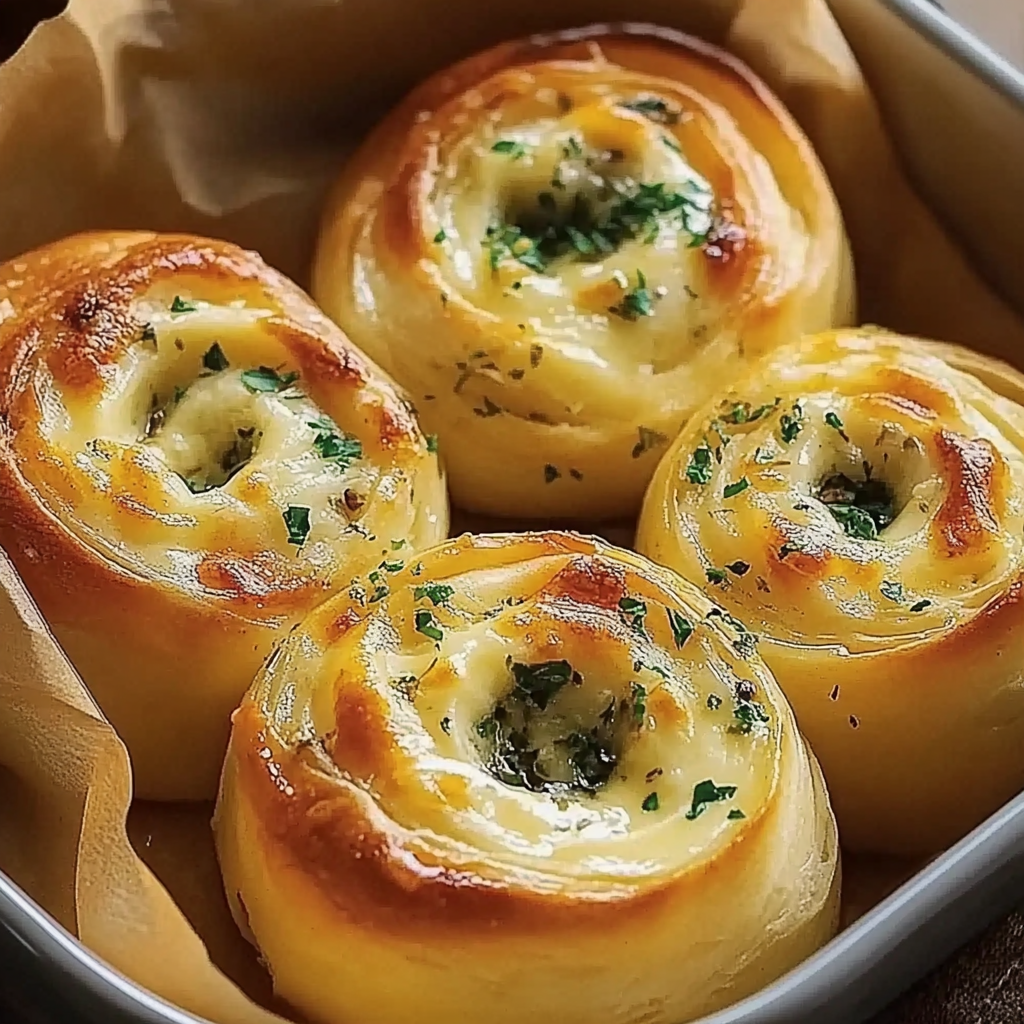
Cheesy Garlic Butter Rollups
If you’re craving a quick and delicious snack that everyone will love, these Cheesy Garlic Butter Rollups are the perfect solution. With their gooey cheese interior and fragrant garlic butter glaze, they serve as delightful appetizers or comforting snacks for any occasion. Whether it’s a movie night or a casual gathering, these rollups are sure to be a crowd-pleaser. Made with just a few simple ingredients, they come together in no time—perfect for busy weeknights or entertaining guests.
- Prep Time: 15 minutes
- Cook Time: 12 minutes
- Total Time: 27 minutes
- Yield: Approximately 8 servings 1x
- Category: Snack/Appetizer
- Method: Baking
- Cuisine: American
Ingredients
- 1 can (8 oz) refrigerated crescent roll dough
- 1 cup shredded mozzarella cheese
- 1/2 cup grated Parmesan cheese
- 1/4 cup unsalted butter, melted
- 2 cloves garlic, minced
- 1 teaspoon Italian seasoning
- 1/4 teaspoon salt
Instructions
- Preheat your oven to 375°F (190°C) and prepare a baking sheet with parchment paper.
- Unroll the crescent roll dough and separate it into 8 triangles.
- Sprinkle each triangle with 1-2 tablespoons of mozzarella and a light sprinkle of Parmesan cheese.
- Roll the triangles from the wide end to the tip, sealing in the cheese.
- In a small bowl, combine melted butter, minced garlic, Italian seasoning, and salt.
- Brush the garlic butter mixture over each rollup before placing them on the baking sheet.
- Bake for 10-12 minutes until golden brown and aromatic.
- Brush with remaining garlic butter after baking, if desired.
Nutrition
- Serving Size: 1 rollup (40g)
- Calories: 150
- Sugar: 0g
- Sodium: 250mg
- Fat: 10g
- Saturated Fat: 6g
- Unsaturated Fat: 3g
- Trans Fat: 0g
- Carbohydrates: 11g
- Fiber: 0g
- Protein: 5g
- Cholesterol: 20mg